For years, making Classic Creamy Lemon Bars felt like a gamble-the flavor was there, but serving them always resulted in a sticky, crumbly mess stuck to the knife.
I finally mastered the technique that guarantees firm, beautifully defined squares every single time, proving that achieving a clean-cut citrus dessert is possible without sacrificing that perfect balance of tart and sweet.
Say Goodbye to Sticky Messes: Why This Classic Recipe Works Every Time
The Clean-Cut Solution: The Extended Chilling Secret
The single most crucial step in this recipe is the extended chilling time, which is often rushed in other recipes.
Allowing the baked bars to chill in the refrigerator for a minimum of three to six hours-preferably overnight-gives the egg-based custard ample time to fully stabilize and firm up, ensuring non-sticky, beautiful slices.
Preventing Rubbery Custard: The Critical Dry-Mix Stabilization
A common mistake is dumping all the wet and dry filling ingredients together, which can activate the flour’s gluten too quickly and lead to a dense, rubbery filling.
Whisking the sugar, flour, and baking powder together first stabilizes the custard mixture. This technique disperses the flour evenly, preventing clumps and guaranteeing a smooth, silky texture.
Achieving the Perfect Textural Balance: Fluffy, Not Dense
While eggs and lemon juice provide the structure, the tiny amount of baking powder included in the filling helps create a slightly lighter, airier custard.
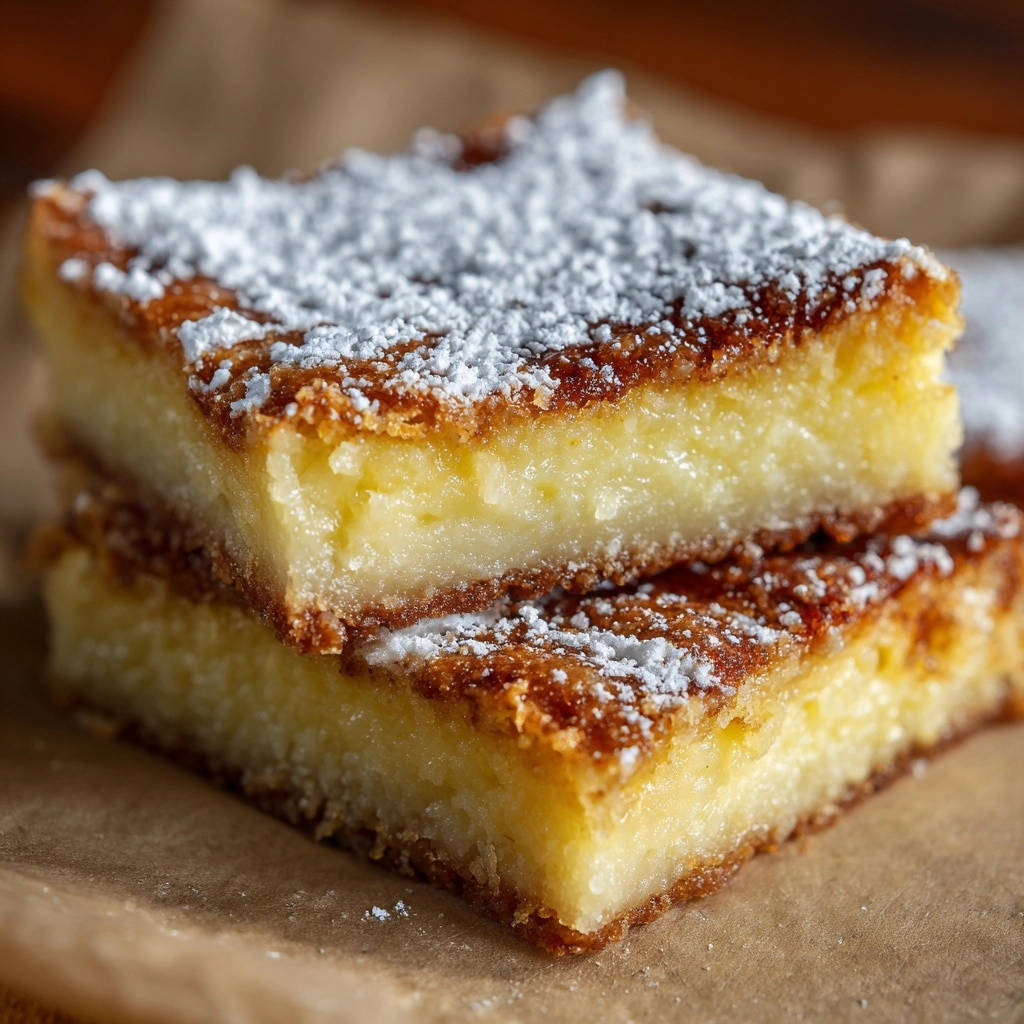
This subtle lift ensures that the resulting Classic Creamy Lemon Bars filling is fluffy and luscious, contrasting perfectly with the dense shortbread crust.
Essential Components for Irresistible Classic Creamy Lemon Bars
Building the Sturdy Shortbread Foundation (The Crust)
-
Cold Butter is Non-Negotiable: Using cold, cubed unsalted butter cut into the flour is vital for texture.
As the cold butter melts in the oven, it creates pockets of steam, resulting in a flaky, tender, melt-in-your-mouth shortbread foundation.
-
The Role of Salt: A small measure of salt prevents the crust from tasting flat.
It provides necessary balance to the sweetness and greatly enhances the overall buttery notes of the shortbread.
Creating the Vibrant, Silky Filling (The Custard)
-
Fresh Lemon Juice vs. Bottled: For the required intense, bright flavor and the correct acidity needed to set the custard, use only freshly squeezed lemon juice.
Bottled lemon juice often contains preservatives or diluted flavor that compromises both the texture and the vivid taste.
-
Using Lemon Zest Wisely: The zest contains all the essential lemon oils, providing the aroma and depth of flavor the juice alone cannot achieve.
Ensure you only grate the bright yellow outer layer, avoiding the bitter white pith underneath.
-
Flour and Baking Powder Duo: This combination acts as a powerful stabilizing agent for the eggs and sugar.
It guarantees the custard sets firmly enough to slice cleanly while retaining a delightful, light mouthfeel.
Baking Success: A Step-by-Step Guide to Classic Creamy Lemon Bars
-
Phase 1: Crafting the Golden Shortbread Crust
-
Preparation: Preheat the oven to 350°F (175°C).
Crucially, line your 8×8 inch pan with parchment paper, leaving generous overhangs on two sides. This is essential for lifting the chilled slab out intact later.
-
Mixing the Dough: Combine the dry ingredients, then use a pastry blender or your cold fingers to cut in the cold butter until the mixture resembles coarse, shaggy crumbs.
Press the crumbs firmly and evenly into the bottom of the prepared pan, working quickly to keep the butter cold.
-
Pre-Baking Notes: Bake the crust for 18 to 20 minutes.
The edges should appear lightly golden brown; this pre-bake is mandatory to ensure the crust is fully cooked and sturdy enough to support the moist filling.
-
-
Phase 2: Mastering the Smooth Lemon Custard
-
Executing the Critical Dry Mix (Step 4): While the crust bakes, whisk together the sugar, flour, and baking powder in a large bowl.
Ensure the mixture is totally uniform; this process activates the stabilizers before they encounter the moisture.
-
Incorporating Wet Ingredients: Whisk in the large eggs one at a time until they are just combined, then incorporate the fresh lemon juice and zest.
Avoid overmixing at this stage, as incorporating too much air can cause the filling to bubble or separate during baking.
-
Baking the Bars: Gently pour the lemon filling over the hot, pre-baked crust.
Return the pan to the oven and bake for 20 to 22 minutes; the bars are ready when the edges are set and the center has only a slight jiggle, usually developing a delicate golden film on top.
-
-
Phase 3: The Crucial Setting and Presentation
-
Cooling Strategy: Do not rush the cool down.
First, let the pan cool completely at room temperature for about one hour, then place the entire pan, uncovered, into the refrigerator and chill for a non-negotiable minimum of three hours.
-
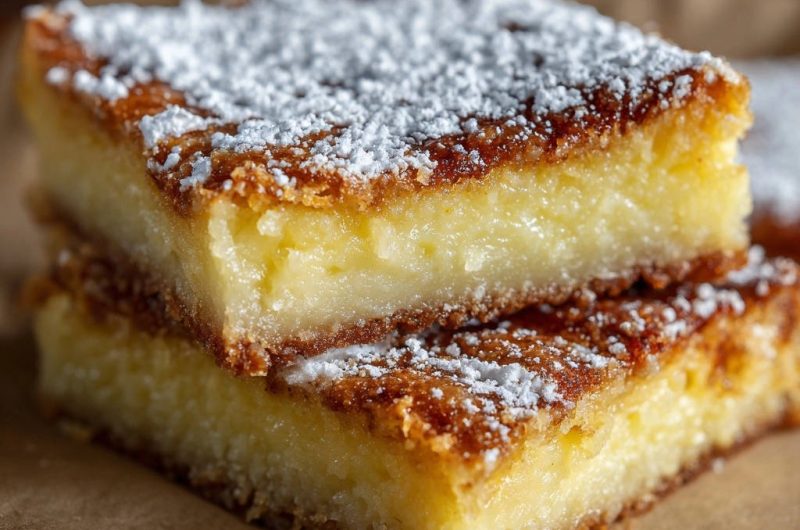
The Slicing Technique: Use the parchment overhang to lift the chilled slab onto a cutting board.
For the signature clean edges, use a long, sharp knife dipped in hot water, wiping the blade perfectly clean between every single cut.
-
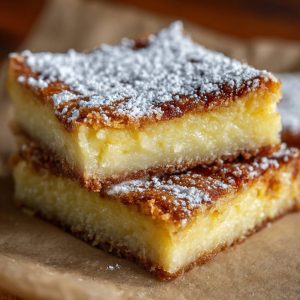
The Final Dusting: Powdered sugar provides the classic visual finish for these Classic Creamy Lemon Bars.
Apply the powdered sugar generously just moments before you intend to serve them; dusting too early will cause the sugar to absorb moisture and disappear.
-
Chef’s Corner: Troubleshooting and Elevating Your Lemon Bars
Why Is My Filling Still Runny? (Heat and Time Factors)
-
Oven Temperature: The primary culprit for unset filling is often an inaccurate oven temperature.
Using a reliable oven thermometer ensures the bars bake at the correct heat necessary for the custard proteins to set.
-
Patience is Key: Even if the bars look set when they come out, they require the full chemical stabilization period provided by extended chilling.
Do not attempt to slice them until they have rested for at least four to six hours in the refrigerator.
Preventing the Crust from Shrinking or Getting Tough
-
Don’t Overwork the Dough: The crust should be handled minimally.
Overmixing develops gluten, which results in a tough, bread-like texture rather than a tender shortbread.
-
Docking the Crust: For extra insurance against bubbling or shrinkage, lightly prick the pressed crust all over with a fork before pre-baking.
This allows trapped steam to escape, keeping the crust flat and even.
Creative Serving Suggestions Beyond Powdered Sugar
-
A Fresh Raspberry Swirl: The tart flavor of these treats is perfectly complemented by red fruits.
Serve each bar alongside fresh raspberries or a quick, sweet-tart raspberry coulis.
-
Creamy Topping: For a decadent finish, add a small dollop of fresh, lightly sweetened whipped cream just before serving.
Mascarpone cheese, whipped until soft, also offers a rich, smooth contrast.
Storage, Make-Ahead, and FAQs for Classic Creamy Lemon Bars
Can I Make Classic Creamy Lemon Bars Ahead of Time?
Lemon bars benefit significantly from an overnight chill, making them an ideal make-ahead dessert.
You can prepare them completely 24 to 48 hours in advance of serving; simply keep them refrigerated until you are ready to dust and cut.
Best Practices for Storing Leftovers
Leftover lemon bars must be stored in an airtight container in the refrigerator for up to 5 days.
For longer storage, freeze the sliced bars (without powdered sugar) for up to 3 months, ensuring layers are separated with parchment to prevent sticking.
What if I Don’t Have an 8×8 Pan? Adjusting Pan Size
This recipe is calibrated for a dense, tall bar standard to an 8×8 inch pan.
If using a larger 9×13 inch pan, you must increase all recipe quantities by 1.5 times to achieve the correct bar height; note that the baking time will likely decrease slightly, so watch closely for the center jiggle test.
Ready to Impress? Share Your Classic Creamy Lemon Bars Masterpiece!
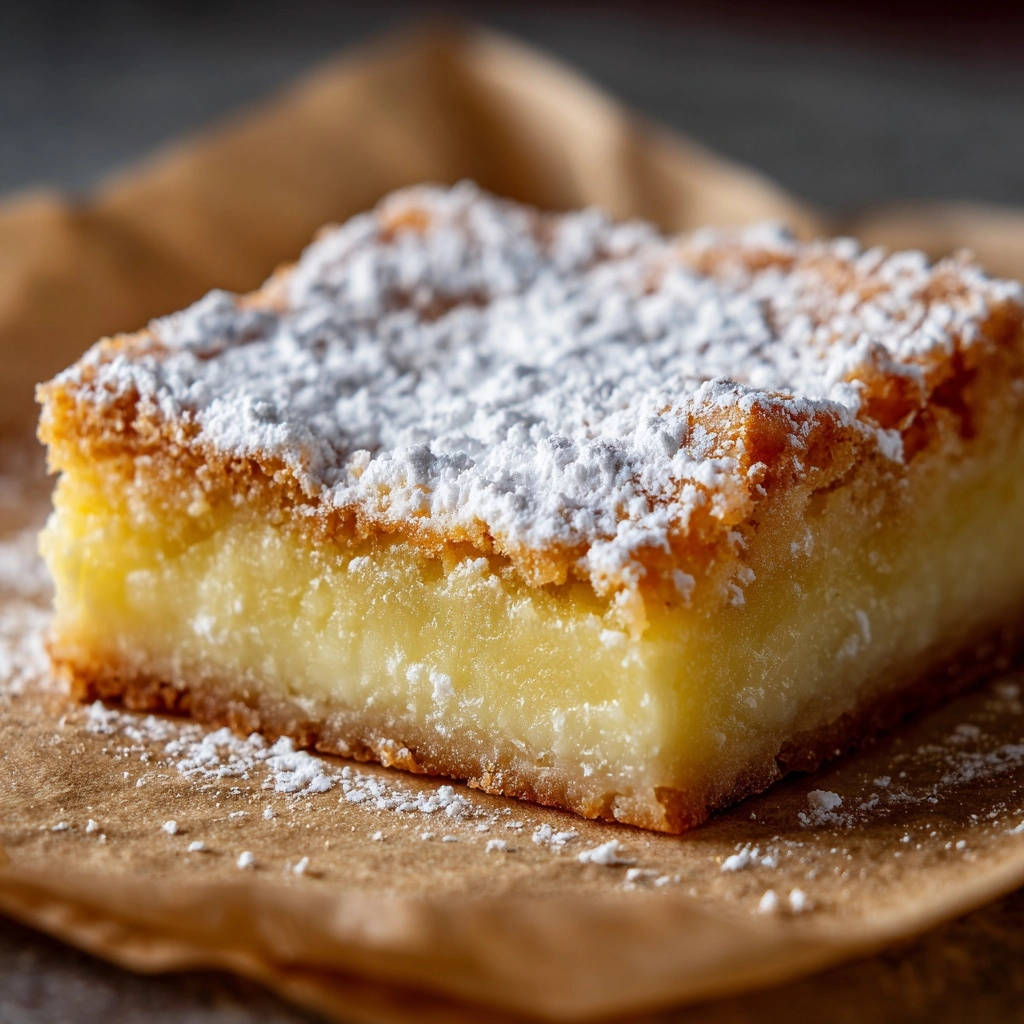
This method ensures the buttery shortbread crust remains perfectly tender while the creamy lemon filling sets up beautifully, promising a dessert that looks as professional and clean as it tastes.
We encourage you to try this “never fail” technique and discover the joy of slicing flawlessly firm Classic Creamy Lemon Bars. Don’t forget to share your finished product!
Classic Creamy Lemon Bars
Course: DessertCuisine: American CuisineDifficulty: easy12
servings15
minutes40
minutes240
minutesAmerican Cuisine
Ingredients
For the Crust:
1 cup all purpose flour
1/4 cup granulated sugar
1/2 cup (1 stick) cold unsalted butter, cubed
1/4 teaspoon salt
For the Lemon Filling:
1 1/2 cups granulated sugar
1/4 cup all purpose flour
1/2 teaspoon baking powder
4 large eggs
1/2 cup fresh lemon juice
1 tablespoon lemon zest
For Dusting:
Powdered sugar
Directions
- Prepare the Crust. Preheat your oven to 350 degrees F. Line an 8×8 inch baking pan with parchment paper, leaving enough overhang on two sides to easily lift the bars out later.
- Mix the Dough. In a medium bowl, whisk together the flour, sugar, and salt. Cut in the cold butter cubes using a pastry blender or your fingers until the mixture resembles coarse crumbs.
- Press and Bake. Press the crumb mixture evenly into the bottom of the prepared pan. Bake the crust for 18 to 20 minutes, until the edges are lightly golden brown.
- Prepare the Filling. While the crust is baking, whisk together the sugar, flour, and baking powder in a large bowl. This critical dry mix step prevents a rubbery texture and helps stabilize the custard.
- Add Wet Ingredients. Whisk in the eggs one at a time until just combined. Then whisk in the lemon juice and lemon zest until the mixture is uniform and smooth.
- Bake the Bars. Pour the lemon filling gently over the hot, pre-baked crust. Return the pan to the oven and bake for an additional 20 to 22 minutes. The bars are done when the center is set but still slightly jiggly, and the top has a slight golden film.
- The Clean-Cut Solution (Crucial Step). Remove the pan from the oven. Allow the bars to cool completely at room temperature, about 1 hour. Once cooled, place the entire pan, uncovered, into the refrigerator and chill for a minimum of 3 hours, preferably 4 to 6 hours or overnight. This extended chilling time is the absolute key to setting the custard fully, ensuring it separates easily from the parchment and slices without any sticking or crumbling.
- Slice and Serve. Use the parchment overhang to lift the entire chilled slab out of the pan. Place on a cutting board. Use a sharp, long knife to cut the bars into squares. Wipe the knife clean between each cut for the cleanest edges. Dust generously with powdered sugar just before serving.
Notes
- The extended chilling time (minimum 3 hours) is absolutely crucial for setting the custard fully. Wipe the knife clean between each cut for the cleanest edges.