

Oh, classic blueberry scones! There’s really nothing quite like that moment: pulling a tray of golden, domed beauties from the oven, the sweet scent of blueberries and butter filling your kitchen. It’s a little piece of heaven, perfect for pairing with your morning coffee or a cozy afternoon tea. But let’s be honest, making truly spectacular scones – the kind that are light, tender, and crumbly, not dense or dry – can feel a bit intimidating. For years, mine turned out heavy or just… okay. It was frustrating!
Thankfully, I finally unlocked the secrets to consistently fluffy and moist Classic Blueberry Scones. It’s not about complicated techniques; it’s about understanding a few simple, crucial steps. Once you grasp these principles, you’ll be baking perfect scones every single time. Get ready to impress yourself and everyone you share them with!
For another fluffy bake, try these classic buttermilk scones.
Why These Classic Blueberry Scones Are Simply the Best
What makes this recipe stand out? It’s all about achieving that coveted bakery-quality texture right in your own home. No more disappointment with hard, hockey puck-like scones! Here’s why this recipe is a keeper:
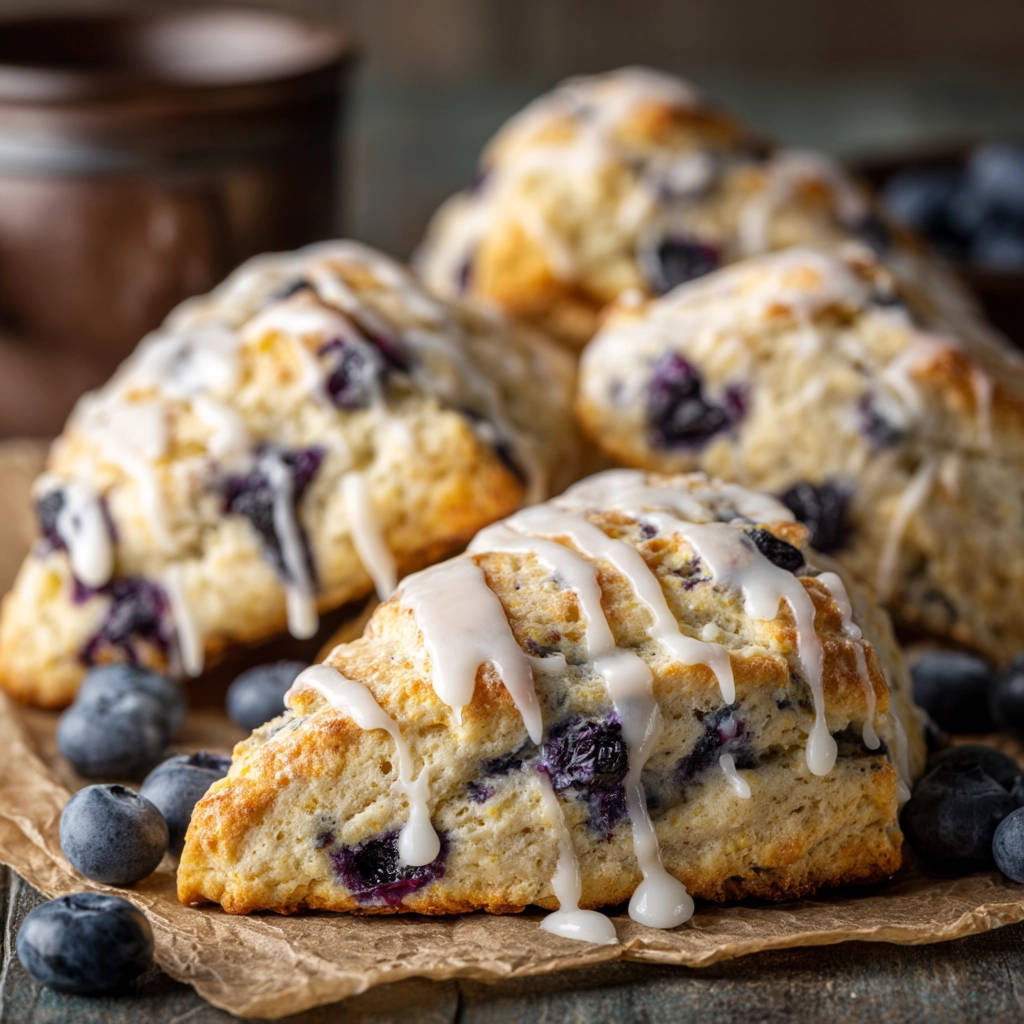
- Incredible Texture: They are wonderfully light, tender, and flaky on the inside, with a perfectly golden exterior.
- Bursting with Flavor: Each bite is packed with sweet, juicy blueberries.
- Foolproof Method: We focus on techniques that guarantee success, even if you’re new to scone making.
- Quick & Easy: From start to finish, you’re only about 35 minutes away from warm, homemade scones.
- That Glaze: A simple, sweet glaze adds just the right touch of sweetness to finish them off.
Essential Ingredients for Fluffy Blueberry Scones
Creating these delightful treats starts with gathering the right components. Think of these not just as items on a list, but as building blocks for that perfect texture and flavor. Using cold ingredients is absolutely key here, so make sure your butter, cream, and egg are chilled!
Here’s what you’ll need:
- All-Purpose Flour: The foundation of our scones. Make sure it’s standard all-purpose; specialty flours can change the texture dramatically.
- Granulated Sugar: Provides sweetness to the dough itself, balancing the tartness of the blueberries.
- Baking Powder: This is your primary leavening agent. Using a full two teaspoons ensures a good, tall rise, contributing to that fluffy texture. Make sure your baking powder isn’t expired!
- Salt: Just a touch to enhance all the other flavors.
- Cold Unsalted Butter: Cut into small cubes. The colder the butter, the better. As the butter melts in the oven, it creates steam pockets, which results in a flaky, tender scone interior. Using unsalted butter gives you control over the salt level.
- Fresh Blueberries: The star of the show! Plump, fresh berries are best. If using frozen, don’t thaw them first – just add them directly to the dry mixture (you might need to add a minute or two to the bake time).
- Cold Heavy Cream (or Whole Milk): Cold dairy is essential. Heavy cream provides richness and moisture, leading to a more tender crumb. Whole milk is a suitable substitute, though the scones might be slightly less rich.
- Large Egg: Acts as a binder and adds richness and helps with the rise. Again, keep it cold!
- Vanilla Extract: Adds a lovely warmth and enhances the overall sweetness.
For the Simple Glaze:
- Powdered Sugar: Creates that classic smooth glaze.
- Milk (or Lemon Juice): Thins the powdered sugar. Using milk gives you a simple sweet glaze, while lemon juice adds a bright, tangy counterpoint to the sweet berries.
Crafting Your Classic Blueberry Scones: A Step-by-Step Guide
Ready to bake? Follow these steps closely, paying special attention to temperature and handling the dough gently. These are the secrets to avoiding dry or dense scones!
Get Ready: Heat the Oven and Prep Your Pan. Start by preheating your oven to 400°F (200°C). A hot oven is crucial for a good rise. Line a standard baking sheet with parchment paper. This prevents sticking and makes cleanup a breeze.
Combine the Dry Team. In a spacious mixing bowl, measure out your all-purpose flour, granulated sugar, baking powder, and salt. Give them a good whisk together. This ensures that the leavening (baking powder) and salt are evenly distributed throughout the flour, which is important for an even rise and flavor.
Cut in That Cold Butter. Add the small cubes of very cold unsalted butter to the dry ingredients. Now, using a pastry blender, two forks, or even your fingertips, work the butter into the flour mixture. Your goal is to break down the butter until it resembles coarse crumbs, with some pieces still remaining about the size of small peas. Don’t overwork it into a fine powder! These small, cold pockets of butter are absolutely critical; they melt during baking, creating steam and resulting in those desirable flaky layers and a wonderfully tender texture.
Fold in the Jewels. Gently add your fresh blueberries to the flour-butter mixture. Use your hands or a spatula to carefully fold them in. Try your best not to crush the berries at this stage, as this can turn your dough purple and potentially make the scones wet in spots.
Whisk Up the Wet Ingredients. In a separate, smaller bowl, whisk together the cold heavy cream (or milk), the large egg, and the vanilla extract until they are well combined. Ensure these ingredients are cold – the contrast between the cold wet ingredients and the cold butter helps maintain those crucial butter pockets.
Bring it All Together – Gently! Pour the combined wet ingredients into the bowl with the dry ingredients. Using a fork or a spatula, mix everything together just until the dry ingredients are barely incorporated. Seriously, stop mixing as soon as you see no more dry flour pockets. The dough will look shaggy, a bit messy, and potentially slightly wet in places. This is exactly what you want! Overmixing develops gluten, which is what makes bread chewy, but makes scones tough. Be gentle and minimal with this step.
Shape Without Kneading. Turn the shaggy dough out onto a lightly floured surface. Gently bring the dough together with your hands a couple of times, just enough to coax it into a rough ball. Do not knead the dough like you would bread! Kneading will develop gluten and lead to tough scones. Think of it more like gently gathering it together.
Pat into a Circle. Very gently, pat the dough into a circle about 7 to 8 inches in diameter and roughly 1 inch thick. Keep the edges relatively neat.
Cut the Wedges. Using a sharp knife or a bench scraper, cut the circle into 8 equal wedges, just like cutting a pizza. A sharp tool helps make clean cuts, which encourages a better rise.
Place on the Baking Sheet. Carefully transfer the cut wedges to your prepared baking sheet. Space them slightly apart to allow for airflow and even baking.
Bake Until Golden. Pop the baking sheet into your preheated 400°F (200°C) oven. Bake for 18 to 22 minutes. You’ll know they’re ready when they are beautifully golden brown on top and underneath, and a toothpick inserted into the center of a scone comes out clean.
Whip Up the Glaze. While the scones are cooling slightly on the baking sheet after coming out of the oven, make your glaze. In a small bowl, whisk together the powdered sugar with the milk (or lemon juice, if you prefer a tangier glaze). Add the liquid a tablespoon at a time until you reach a smooth, pourable consistency.
Glaze and Serve. Drizzle the glaze generously over the warm scones while they are still on the baking sheet. Serving them warm is highly recommended for the best experience, but they are also delicious at room temperature. Enjoy every tender, buttery bite!
Expert Tips & Variations for Your Scones
Want to make these scones even better, or try a new twist? Here are some pro tips and simple variations:
If you’re looking for another great way to get perfectly baked bars, check out these cranberry pistachio shortbread bars.
- Keep Everything COLD: I cannot stress this enough! Cold butter cut into the flour creates steam pockets as it melts during baking, giving you that crucial lift and flakiness. Cold wet ingredients prevent the butter from softening prematurely. Seriously, keep it all cold! You can even chill your dry ingredients and baking sheet briefly before starting if your kitchen is warm.
- Handle with Care: Don’t Overmix or Knead: This is the second golden rule of scones. Overmixing develops gluten, resulting in a tough, dense texture. Mix just until the ingredients are combined. Resist the urge to knead the dough – simply bring it together gently. For another flaky baked good option, check out our recipe for fluffy homemade biscuits, which also benefit from gentle handling!
- Use Fresh Berries: Fresh blueberries are ideal for their texture and burst of flavor. If using frozen blueberries, do not thaw them. Add them directly to the dry mixture. This prevents them from bleeding too much color into the dough and keeps the dough cold. You may need to add a minute or two to the bake time.
- Fruit & Flavor Variations: Not a blueberry fan, or want to mix it up? Swap blueberries for other berries like raspberries or chopped strawberries. You can also add other mix-ins like chocolate chips (white chocolate is lovely with blueberries!), or a little lemon zest to the dry ingredients for extra brightness.
- Glaze Options: The simple milk glaze is classic, but try substituting the milk with fresh lemon juice for a tangy lemon glaze. You could also omit the glaze entirely and just dust the warm scones with powdered sugar.
- Making Ahead & Freezing: Scones are best fresh, but you can prepare the dough ahead of time. Cut the scones and place them on the parchment-lined baking sheet. Freeze them solid, then transfer to a freezer-safe bag or container for up to 1 month. Bake from frozen (no need to thaw!), adding 5-10 minutes to the baking time. Alternatively, baked scones can be frozen and reheated gently.
Serving Suggestions
These blueberry scones are incredibly versatile! While perfect on their own or simply with the glaze, they pair wonderfully with:
- A dollop of clotted cream or whipped cream
- Your favorite jam or preserves
- A smear of soft butter
- Fresh fruit salad
- Of course, a hot cup of coffee or tea!
If you’re building a full brunch spread, consider pairing them with something savory like crispy gourmet breakfast toast or a simple egg dish.
Complementary Dishes
If you’re enjoying these blueberry scones, here are some other comforting dishes that go well with them.
- For a hearty meal, consider making creamy chicken and wild rice soup, which offers a warm and satisfying contrast.
- You might also enjoy pairing your scones with creamy chicken and dumplings for a comforting experience.
Your Classic Blueberry Scones Questions Answered (FAQ)
Got questions about making blueberry scones? Here are some common ones:
Can I use frozen blueberries instead of fresh?
Yes, absolutely! If using frozen blueberries, do not thaw them before adding them to the dry ingredients. Add them frozen. They might bleed a little color into the dough, but this is normal. You might need to add a minute or two to the bake time as they cool the dough down.
Why did my scones turn out tough or dry?
The most common culprits for tough or dry scones are overmixing the dough and/or using butter that wasn’t cold enough (or handling the dough too much, which warms the butter). Remember to mix the wet and dry ingredients just until combined and avoid kneading. Ensure your butter and liquid are cold.
How long do homemade blueberry scones last?
Scones are best enjoyed fresh, ideally the day they are baked. They can be stored in an airtight container at room temperature for up to 2 days, but they will lose some of their tenderness. Reheating them gently in a low oven or toaster oven can help revive them.
Can I make the scone dough ahead of time?
Yes! You can prepare the dough, cut the scones, and place them on a parchment-lined baking sheet. Cover tightly with plastic wrap and refrigerate for up to 24 hours before baking. For longer storage, you can freeze the cut scones solid on the baking sheet, then transfer to a freezer bag and freeze for up to a month. Bake directly from frozen, adding a few minutes to the baking time.
What’s the difference between a scone and a biscuit?
While they share some similarities (both are quick breads made with cold butter cut into flour), there are differences. Scones typically contain egg and sugar, giving them a slightly richer, sweeter dough and often a more crumbly texture. Biscuits usually do not contain egg or much sugar and are known for their flaky layers.
Bake, Glaze, and Enjoy Your Delicious Blueberry Scones!
See? Making those dreamily light and tender Classic Blueberry Scones isn’t magic; it’s just following a few simple rules, especially the ones about keeping things cold and being gentle with your dough. This recipe takes the guesswork out and delivers consistently delicious results.
Whether you’re hosting brunch, looking for a comforting breakfast treat, or just craving something sweet and satisfying with your afternoon cup, these scones are the answer. Give this recipe a try, and I promise you won’t be disappointed. They’re sure to become a regular in your baking rotation.
Have you made them? I’d love to hear how they turned out! Leave a comment below and let me know your favorite way to enjoy them.
Blueberry Scones
Course: PastryCuisine: BritishDifficulty: medium450
kcalLearn how to bake perfect Classic Blueberry Scones that are never dry or dense! This easy recipe guarantees light, fluffy results every time.
Ingredients
2 cups all-purpose flour
1/2 cup granulated sugar
2 teaspoons baking powder
1/4 teaspoon salt
1/2 cup cold unsalted butter, cut into small cubes
1 cup fresh blueberries
1/2 cup cold heavy cream (or whole milk)
1 large egg
1 teaspoon vanilla extract
For the Glaze:
1 cup powdered sugar
2 tablespoons milk (or lemon juice)
Directions
- Preheat oven to 400°F (200°C). Line a baking sheet with parchment paper.
- In a large bowl, whisk together the flour, granulated sugar, baking powder, and salt.
- Add the cold cubed butter to the dry ingredients. Use a pastry blender or your fingertips to cut the butter into the flour mixture until it resembles coarse crumbs with some pea sized pieces of butter remaining. This is crucial for a tender scone.
- Gently fold in the fresh blueberries, trying not to crush them.
- In a separate small bowl, whisk together the cold heavy cream, egg, and vanilla extract.
- Pour the wet ingredients into the dry ingredients. Use a fork or spatula to mix until just combined. Do not overmix the dough; it should be shaggy and slightly wet in places. Overmixing develops gluten and leads to tough scones.
- Turn the dough out onto a lightly floured surface. Gently bring the dough together with your hands a couple of times, just enough to form a rough ball. Do not knead.
- Gently pat the dough into a circle about 7-8 inches in diameter and about 1 inch thick.
- Cut the circle into 8 wedges using a sharp knife or bench scraper.
- Carefully transfer the wedges to the prepared baking sheet, spacing them slightly apart.
- Bake for 18-22 minutes, or until the scones are golden brown and a toothpick inserted into the center comes out clean.
- While the scones cool slightly on the baking sheet, make the glaze. In a small bowl, whisk together the powdered sugar and milk until smooth and pourable.
- Drizzle the glaze over the warm scones. Serve warm or at room temperature.


