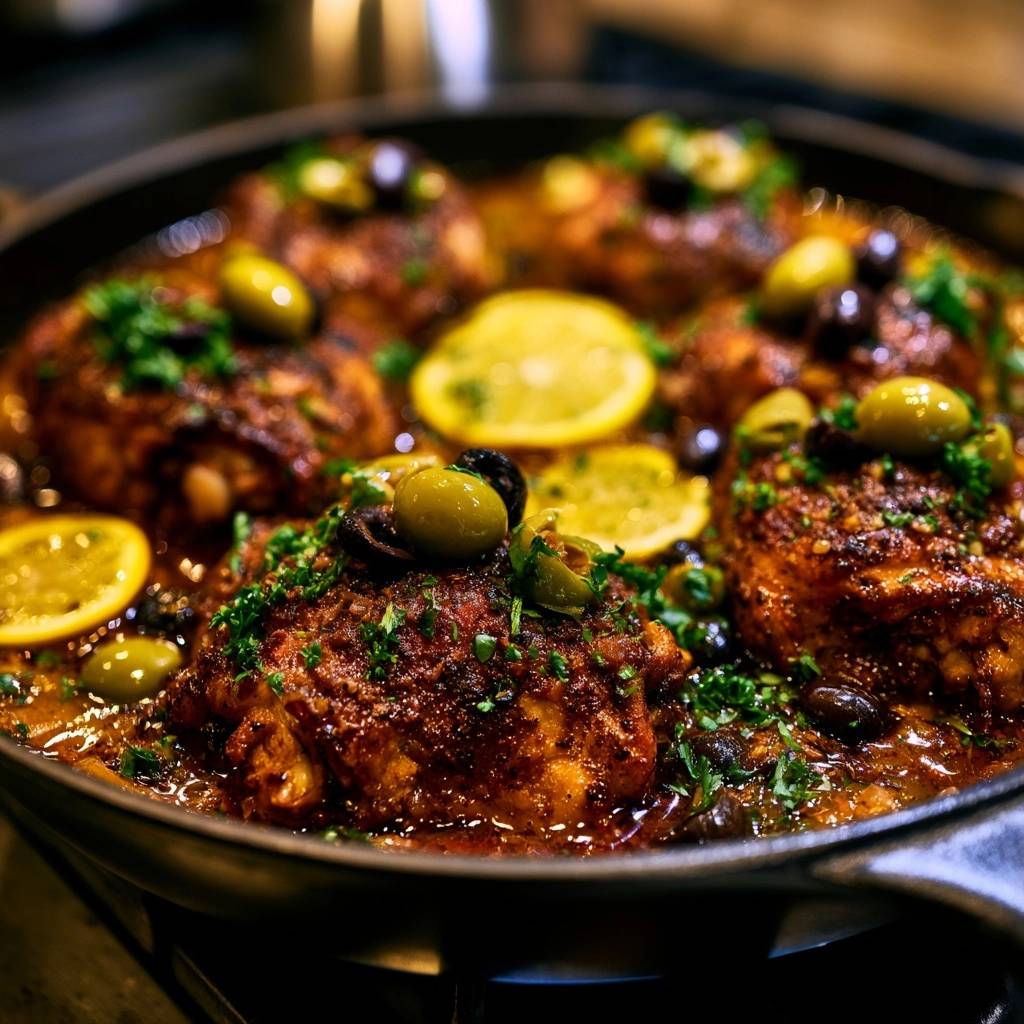
Most people think braising and crispy skin are mutually exclusive. Usually, when you nestle chicken into a flavorful liquid, the steam turns that beautiful golden skin into something rubbery and unappealing. It’s a common kitchen heartbreak, but it doesn’t have to be that way.
This recipe changes the game by focusing on moisture management and heat application. You’ll get that satisfying, crackling crunch on the outside while the meat underneath stays incredibly tender and saturated with the briny flavors of olives and lemon. It’s the ultimate sensory contrast that makes every bite feel like a Mediterranean vacation.
The secret to this success lies in the “shallow braise” technique. By keeping the liquid level low and the oven heat high, we protect the skin from the rising steam. I’ve found that using a heavy cast-iron skillet is the best way to maintain the consistent temperature needed to render the fat properly without burning the spices.
The Science of Achieving Crispy Braised Skin
Achieving a perfect crust on a braised chicken thigh is all about the Maillard reaction. This chemical process occurs when proteins and sugars are exposed to high heat, creating that deep brown color and complex flavor. However, moisture is the absolute enemy of this reaction. If the skin is wet, the heat goes toward evaporating water instead of browning the meat.
Bone-in, skin-on thighs are the perfect candidate for this method because they have a high fat content. As the chicken sears, the fat renders out, essentially frying the skin in its own juices. This creates a protective barrier that stays crisp even when the bottom of the thigh is submerged in broth. The bone also acts as an insulator, ensuring the meat doesn’t dry out during the 40-minute process.
To maximize this effect, you must start with dry chicken. I always recommend patting the thighs with paper towels until the surface feels tacky. Any lingering moisture will create steam the moment it hits the oil, which leads to a pale, soggy texture rather than a mahogany crunch.
Why Shallow Braising Beats Submerged Simmering
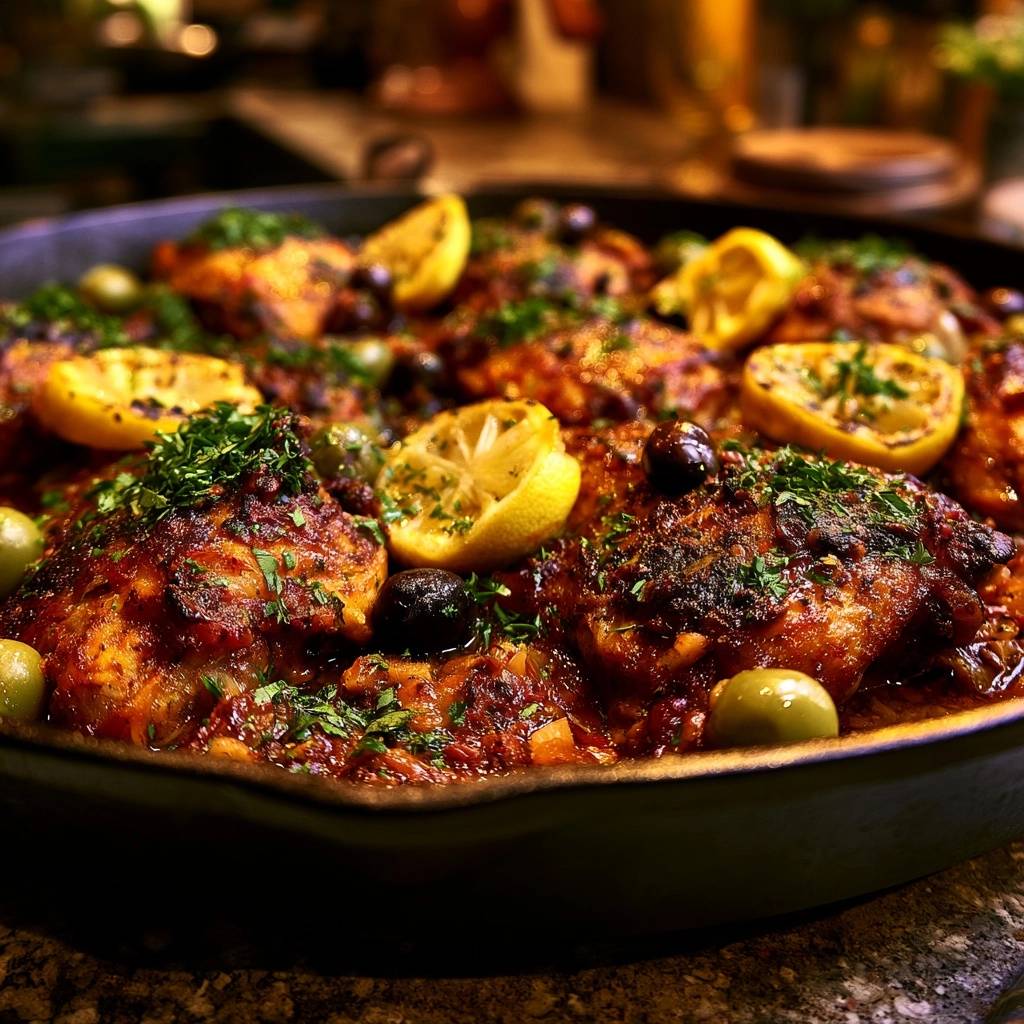
Traditional braises often submerge the meat halfway or more, which is great for tough cuts of beef but disastrous for chicken skin. We use the “Island Method” here. By filling the skillet only about one-third of the way up, the chicken thighs sit like little islands in a sea of broth.
This allows the bottom of the meat to poach gently in the aromatics while the top remains exposed to the dry, circulating heat of the oven. The result is a dual-texture masterpiece. You get the benefits of a slow-cooked, infused sauce without sacrificing the structural integrity of the skin.
Essential Components for Mediterranean Braised Chicken Thighs
Quality ingredients are the backbone of Mediterranean cooking. Since the ingredient list is relatively short, each item needs to pull its weight. Smoked paprika is a key player here; it provides a deep, earthy red color and a hint of wood-fired flavor that mimics a professional rotisserie.
I always reach for bone-in thighs over boneless. The bone adds significant flavor to the braising liquid as it cooks, creating a natural gelatin that gives the sauce a silky mouthfeel. If you use boneless thighs, they will likely overcook and turn stringy before the skin has a chance to reach its full potential.
Freshness matters for your spices too. If that jar of dried oregano has been sitting in your pantry for three years, it’s time for a new one. You want that punchy, herbal aroma to cut through the richness of the chicken fat.
Selecting the Right Olives and Aromatics
The olives act as little salt bombs in this dish. I love using a mix of Castelvetrano and Kalamata. Castelvetranos are buttery and mild, while Kalamatas offer a sharp, vinegary bite. Together, they create a complex brine that seasons the chicken from the outside in.
Shallots and garlic provide the aromatic foundation. Shallots are much sweeter and more delicate than standard yellow onions, which means they melt into the sauce without becoming chunky. When you sauté them in the rendered chicken fat, they pick up all those browned bits from the bottom of the pan.
The Role of Acid: Lemon
Acidity is what makes this dish feel light instead of heavy. The lemon slices don’t just look pretty; they soften during the braise, releasing their oils and juices into the broth. This brightens the entire flavor profile and balances the saltiness of the olives.
A tablespoon of white wine vinegar or extra lemon juice in the broth works well too. The goal is to provide a sharp note that cuts through the fat. This acidity also helps tenderize the meat fibers, ensuring every forkful is succulent.
Step-by-Step: Searing Mediterranean Braised Chicken Thighs
The sear is the most critical part of the entire process. Once you place the chicken skin-side down in the hot oil, you must leave it alone. It’s tempting to peek, but moving the chicken too early will cause the skin to stick and tear, leaving the best part of the dish behind in the pan.
Wait for about 8 to 10 minutes. You’ll hear a vigorous sizzling sound that gradually settles as the fat renders. You are looking for a deep, dark golden-brown color. If the skin looks pale, give it another two minutes. This is your only chance to build that crust, so don’t rush it.
Once flipped, the chicken only needs a minute or two on the flesh side. This is when you toss in your garlic and shallots. They should cook just until they become fragrant and translucent. Be careful not to let the garlic turn dark brown, or it will become bitter and ruin the sauce.
Deglazing and Building the Braising Base
Deglazing is the process of adding liquid to a hot pan to loosen the “fond”—those caramelized brown bits stuck to the bottom. These bits are concentrated flavor gold. When you pour in the broth, use a wooden spoon to gently scrape the bottom of the skillet.
Remember the golden rule: never pour the liquid directly over the crispy skin. Pour it into the empty spaces between the chicken pieces. This keeps the skin dry and maintains the crunch you worked so hard to achieve during the searing phase.
The Oven Finish: Dehydrating for Maximum Crunch
Moving the skillet to a 400°F oven is what separates a good braise from a great one. The high heat of the oven acts like a secondary sear. While the bottom of the chicken is poaching in the Mediterranean broth, the top is being hit with dry, hot air that further dehydrates the skin.
This step ensures that any moisture that managed to creep into the skin during the deglazing phase is evaporated. It also allows the lemon slices to caramelize slightly on the edges, intensifying their sweetness. Keep the skillet uncovered; a lid would trap steam and turn your crispy skin into a soggy mess.
Monitoring Internal Temperatures for Juicy Results
While 165°F is the standard safety temperature for poultry, chicken thighs are very forgiving. Because they have more connective tissue than breasts, they actually taste better when cooked to about 175°F. At this temperature, the collagen breaks down into gelatin, making the meat feel even juicier.
Use an instant-read thermometer to check the thickest part of the thigh, making sure not to hit the bone. Once they reach the desired temperature, let the chicken rest in the skillet for five minutes. This allows the juices to redistribute so they don’t run out the moment you cut into the meat.
Troubleshooting Common Braising Obstacles
If your chicken skin sticks to the pan during the initial sear, it usually means the pan wasn’t hot enough or you tried to flip it too soon. The skin will naturally release from the surface once a proper crust has formed. If it’s sticking, just wait another minute.
If you find your sauce has reduced too much and the pan looks dry, simply splash in a little more broth. On the flip side, if the sauce is too thin, you can remove the chicken after cooking and simmer the liquid on the stovetop for a few minutes to thicken it into a glaze.
Burning the garlic is another common pitfall. If the pan is extremely hot after searing the chicken, you can briefly remove it from the heat before adding the aromatics. The residual heat of the cast iron is often enough to cook the garlic and shallots without scorching them.
Flavor Variations and Regional Swaps
You can easily pivot this dish to different regional flavors. For a Greek-style twist, add a handful of cherry tomatoes and finish the dish with a sprinkle of crumbled feta cheese and fresh dill. The salty cheese pairs beautifully with the roasted lemons.
If you want something with a Moroccan flair, swap the oregano for ground cumin and coriander. Add some dried apricots or raisins to the braising liquid for a sweet and savory contrast. This version works exceptionally well with the smokiness of the paprika.
For a brighter, herb-forward version, use a mix of fresh basil and mint at the very end. You can also add artichoke hearts or capers to the skillet along with the olives to increase the briny, Mediterranean profile.
Starch Pairings for Mediterranean Braised Chicken Thighs
You need something to soak up that incredible braising liquid. Saffron-infused couscous is a classic choice because it cooks in minutes and has a light, fluffy texture that doesn’t compete with the chicken. The yellow hue also looks stunning on the plate.
Roasted lemon potatoes are another fantastic option. You can roast them on a separate sheet pan while the chicken is in the oven. The crispy edges of the potatoes mimic the texture of the chicken skin, creating a cohesive meal. A crusty loaf of sourdough is also essential for mopping up every last drop of the garlic-olive sauce.
If you want something lighter, serve the chicken over a bed of wilted spinach or sautéed kale. The greens will absorb the savory broth, making them taste much more indulgent than a standard side salad.
Make-Ahead Strategies and Storage Protocols
Leftover braised chicken is often even more flavorful the next day as the spices have more time to meld. However, the skin will lose its crunch in the refrigerator. Store the chicken and sauce in an airtight container for up to three days.
To revive the crispy skin, avoid the microwave at all costs. Instead, place the chicken in an air fryer at 375°F for about 5 minutes, or under a broiler for 2-3 minutes. This will heat the meat through while re-crisping the fat on top. Heat the sauce separately in a small saucepan.
I don’t recommend freezing this dish with the olives and lemons included. The olives can become mushy and the lemons may turn bitter when frozen and thawed. It is best enjoyed fresh or within a few days of cooking.
Expert Tips for Skillet Maintenance
A heavy, oven-safe skillet is the most important tool for this recipe. Cast iron is my top pick because it holds heat better than any other material. This ensures that when you drop cold chicken into the pan, the temperature doesn’t plummet, which is vital for a good sear.
If you use stainless steel, make sure it is a “tri-ply” or “5-ply” pan. These have a core of aluminum or copper that helps distribute heat evenly, preventing hot spots that could burn your garlic. Regardless of the pan, always preheat it for a few minutes before adding your oil to ensure a non-stick surface.
How do I keep the chicken skin from getting soggy in the fridge?
The best way to preserve the texture is to store the chicken skin-side up in a container without covering it tightly until it has cooled completely. Moisture from the heat creates condensation, which softens the skin. When reheating, use an oven or air fryer rather than a microwave to draw out the moisture and restore the crunch.
Can I use chicken breasts instead of thighs?
You can, but it is much trickier. Chicken breasts are leaner and dry out quickly at the high temperatures required for this braise. If you use breasts, you should reduce the oven time significantly and use a meat thermometer to ensure you pull them out exactly at 165°F. Thighs are much more forgiving and flavorful for this specific method.
How can I make the sauce brighter?
Add a teaspoon of white wine vinegar or an extra squeeze of fresh lemon juice to the broth before pouring it into the skillet. This ensures the sauce remains balanced and bright.
Why is my braising liquid too salty?
This usually happens if your chicken broth is high in sodium or if your olives were particularly briny. To fix this, you can add a splash of water or a little more lemon juice to balance the salt. Next time, try using a low-sodium broth and rinsing your olives under cold water before adding them to the pan.
Do I have to use a cast-iron skillet?
While cast iron is ideal for heat retention, any heavy, oven-safe skillet will work. The key is that it must be able to go from the stovetop to a 400°F oven. Avoid pans with plastic handles or non-stick coatings that aren’t rated for high heat, as they can release fumes or melt in the oven.
Can I add other vegetables to the pan?
Absolutely. Bell peppers, cherry tomatoes, or even sliced zucchini work well. Just be mindful of the “Island Method”—don’t crowd the pan so much that the vegetables cover the chicken skin. If you add watery vegetables like zucchini, you may need to simmer the sauce a bit longer at the end to reduce the extra liquid.
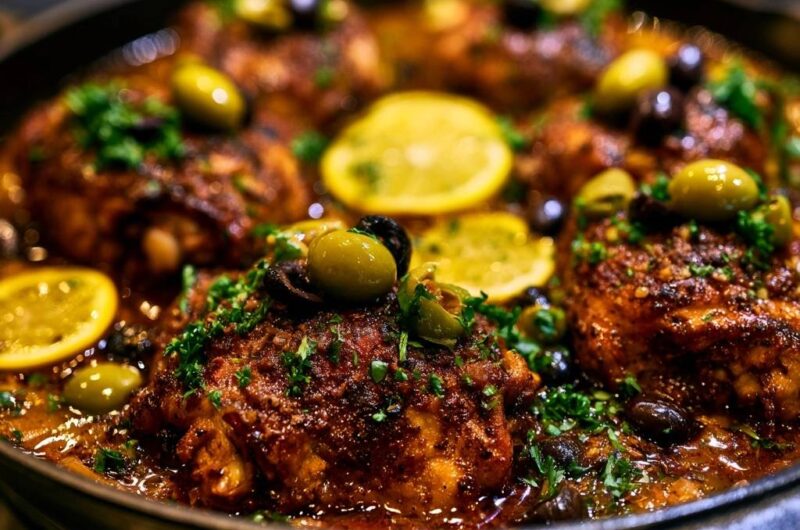
Mediterranean Braised Chicken Thighs
Course: Main CourseCuisine: MediterraneanDifficulty: easy6
servings15
minutes40
minutes55
Minutes440
kcalMediterranean
Ingredients
6 bone-in, skin-on chicken thighs
1 tablespoon olive oil
1 tablespoon smoked paprika
1 teaspoon dried oregano
1 teaspoon onion powder
1/2 teaspoon red pepper flakes
Salt and black pepper to taste
3/4 cup chicken broth
1 lemon, thinly sliced into rounds
1 cup mixed green and black olives (pitted)
3 tablespoons fresh parsley, finely chopped
4 cloves garlic, minced
1 small shallot, finely diced
Directions
- Preheat your oven to 400°F (200°C).
- Pat the chicken thighs extremely dry with paper towels. This is the most important step for crispy skin. In a small bowl, mix the salt, pepper, paprika, oregano, onion powder, and red pepper flakes. Season the chicken generously on both sides, focusing heavily on the skin.
- Heat the olive oil in a large oven-safe cast-iron skillet over medium-high heat. Once the oil is shimmering, place the chicken skin-side down.
- Do not move the chicken for 8 to 10 minutes. This allows the fat to render and the skin to develop a hard, dark golden-brown crust. If you move it too early, the skin will tear.
- Flip the chicken. Scatter the minced garlic, diced shallot, and half of the olives into the spaces between the chicken pieces. Sauté for 2 minutes until fragrant.
- Carefully pour the chicken broth into the skillet around the chicken. Crucial: Do not pour liquid over the skin. The liquid should only reach about 1/3 of the way up the sides of the chicken, leaving the crispy tops exposed.
- Arrange the lemon slices and the remaining olives on top of and around the chicken pieces.
- Transfer the skillet to the preheated oven. Bake uncovered for 15-20 minutes. The dry heat of the oven finishes cooking the meat through while further dehydrating and crisping the skin, preventing the “soggy” effect of stovetop simmering.
- Remove from the oven once the internal temperature reaches 165°F. Let rest for 5 minutes. Garnish heavily with fresh parsley and serve directly from the skillet.
Notes
- Patting the chicken extremely dry is the most important step for crispy skin. Ensure the liquid does not cover the skin during the braising process to maintain the texture.