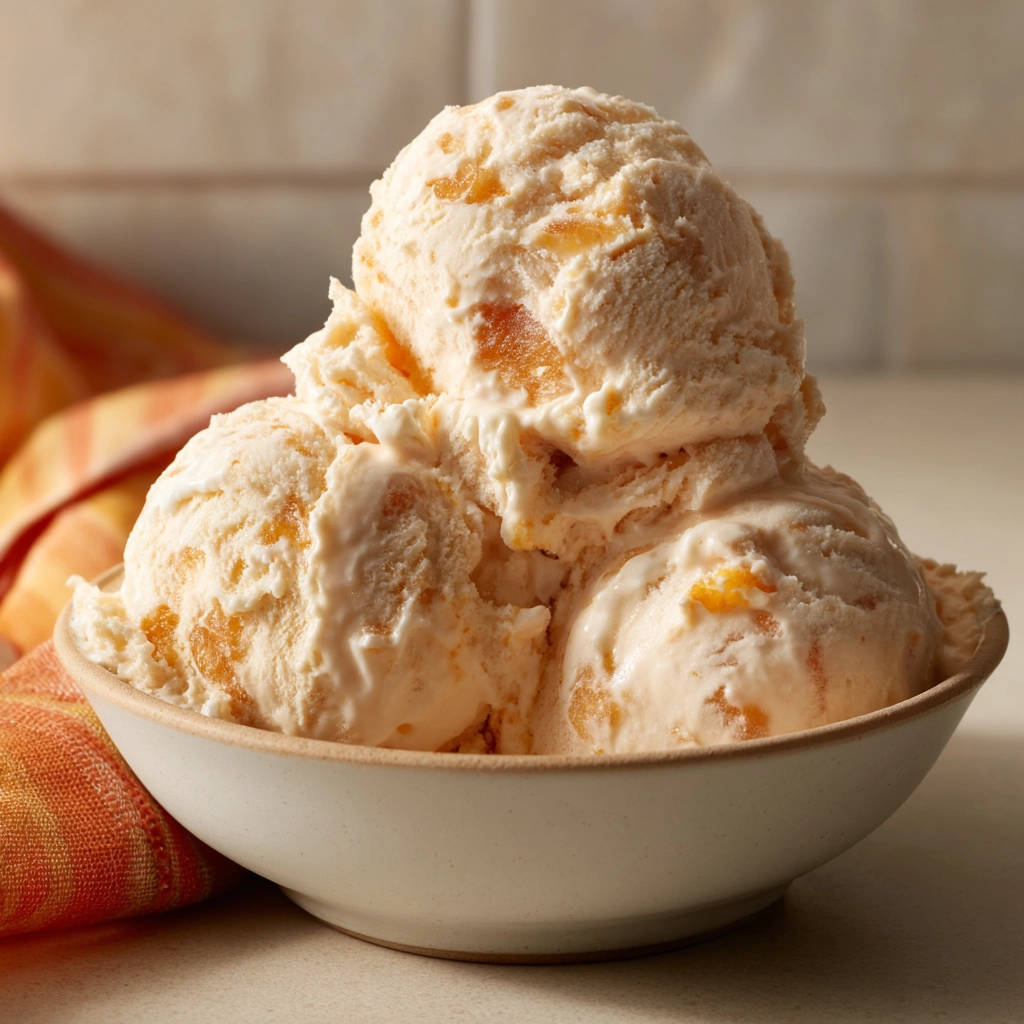
Let’s be honest, homemade ice cream sounds amazing in theory, doesn’t it? You picture that perfect scoop, bursting with fresh flavor. But sometimes, the reality hits hard – an icy, rock-solid block that requires an ice pick and superhero strength just to get a tiny, frosty chip. If you’ve ever been there, I feel you! For years, I struggled to find that magical balance between homemade goodness and store-bought scoopability. But guess what? I finally stumbled upon a technique that makes perfect Creamy No-Churn Peach Ice Cream every single time, and it’s so incredibly simple, you won’t even need an ice cream machine. Get ready for the smoothest, most luxurious peach ice cream experience of your life!
Why You’ll Absolutely Love This No-Churn Peach Ice Cream
Beyond the sheer deliciousness of peachy goodness, this recipe stands out for a few key reasons:
- Effortless Simplicity: Seriously, if you can use an electric mixer and fold, you can make this. No fancy equipment, no constant churning.
- Guaranteed Scoopability: This is the game-changer! Thanks to a simple trick, this ice cream stays wonderfully creamy and easy to scoop straight from the freezer. No more waiting impatiently for it to soften on the counter.
- Fresh, Vibrant Flavor: Using real peaches brings a bright, summery taste that artificial flavors just can’t replicate.
- Completely Customizable: While peaches are the star here, the base is versatile enough to adapt to countless other flavors once you’ve mastered the technique.
- Quick Prep: The hands-on time is minimal, leaving you free to do other things while it freezes.
Gathering Your Ingredients for Creamy Peach Ice Cream
One of the most beautiful things about this no-churn method is how few ingredients you actually need. Each component plays a vital role in creating that dreamy, scoopable texture and irresistible flavor. You likely have most of these staples in your pantry and fridge already!
For our creamy base and vibrant peach infusion, here’s what you’ll need:
- 2 cups Heavy Cream: This is the foundation of our ice cream’s lightness and volume. When whipped, heavy cream traps air, which is absolutely essential for a smooth texture and prevents the ice cream from becoming a solid block of ice. Make sure it’s cold for the best whipping results!
- 1 can (14 ounces) Sweetened Condensed Milk: Ah, the magic ingredient! Sweetened condensed milk serves multiple purposes. It provides sweetness without the need for granulated sugar (which can create an icy texture in no-churn recipes), contributes to the rich, creamy mouthfeel, and perhaps most importantly, its high sugar content helps lower the freezing point of the mixture. This is the “trick” that keeps your ice cream perfectly scoopable right out of the freezer!
- 1 teaspoon Vanilla Extract: A splash of vanilla enhances the natural sweetness and rounds out the flavors beautifully. Use a good quality pure vanilla extract for the best results.
- 1.5 cups Chopped Fresh or Thawed Frozen Peaches: The star flavor! Fresh peaches are wonderful in season, offering unparalleled sweetness and aroma. If using fresh, make sure they are ripe and juicy. If using frozen, they are picked at peak ripeness and available year-round. Just remember to thaw and drain them well to avoid adding excess water to your ice cream base, which could encourage ice crystal formation. Chopping them into small, manageable pieces ensures you get delightful bursts of peach flavor in every bite. Love peaches? You might also enjoy our Classic Peach Crumble Tart!
Crafting Your Creamy No-Churn Peach Ice Cream: Step-by-Step
Ready to make some magic? The process is straightforward and relies on just a couple of key techniques. Follow these steps carefully, and you’ll be well on your way to frozen dessert perfection.
- Prepare Your Peaches with Care: The first step is getting your peaches ready. If you’re using lovely fresh peaches, you’ll want to peel them first. A simple way to do this is to blanch them quickly in boiling water for about 30 seconds, then transfer them to an ice bath. The skins should slip right off! Once peeled, finely chop them. If you’ve opted for the convenience of frozen peaches (a great choice!), make sure they are fully thawed. It’s crucial to drain off any excess liquid that accumulates during thawing. Pat them dry with a paper towel if needed before chopping them into small pieces. This minimizes the amount of water going into your mixture, which is key for that smooth, scoopable texture.
- Whip the Heavy Cream to Stiff Peaks: Grab a large mixing bowl and your electric mixer. Pour in the cold heavy cream. Turn the mixer on high speed and beat until stiff peaks form. What does “stiff peaks” mean exactly? It means that when you lift the beaters out of the cream, the peaks that form stand up straight and hold their shape without drooping at all. This step is incorporating a significant amount of air into the cream, which is vital for a light, airy ice cream texture that doesn’t freeze solid. Don’t overmix, or you could end up with butter!
- Combine Sweetened Condensed Milk and Vanilla: In a separate, smaller bowl, stir together the entire can of sweetened condensed milk and the vanilla extract. Just a quick stir to combine them is all that’s needed here. This mixture provides the sweetness and the component that keeps our ice cream soft and scoopable.
- Begin the Folding Process (Part 1): Now comes the important technique of folding. Take about one-third of the whipped heavy cream from the large bowl and add it to the bowl with the sweetened condensed milk mixture. Using a rubber spatula, gently fold the whipped cream into the condensed milk. The key here is to be gentle! You want to lighten the condensed milk mixture without deflating the precious air you just whipped into the cream. Cut down through the center of the mixture, then scoop from the bottom and bring it up and over. Rotate the bowl and repeat until just combined.
- Continue Folding (Part 2) for Ultimate Creaminess: Pour the slightly lightened condensed milk mixture back into the large bowl with the remaining whipped cream. Again, using your spatula, gently fold the two together. Continue the cut-and-scoop motion, rotating the bowl, until the mixture is just combined and you no longer see distinct streaks of the condensed milk. The goal is to thoroughly mix everything without losing the airy volume of the whipped cream. This careful folding technique ensures that air is evenly distributed, contributing significantly to the scoopable texture. Avoid the temptation to stir or beat vigorously, as this will knock out the air and result in a denser, potentially icier ice cream.
- Introduce the Peach Flavor: Gently fold the chopped peaches into the ice cream base. Distribute them evenly throughout the mixture. Be gentle to keep the peaches intact and the base airy. You want those lovely pops of fresh fruit in every bite!
- Prepare for Freezing: Pour the finished ice cream mixture into a loaf pan (a standard 9×5 inch loaf pan works perfectly) or any other suitable freezer-safe container. Smooth the top if desired. Cover the container tightly with plastic wrap, pressing it directly onto the surface of the ice cream to help prevent ice crystals from forming on top. If your container has a lid, use that as well for an extra layer of protection against freezer burn.
- Freeze Until Firm: Place the covered container in the freezer. Freeze for at least 6 hours, or until the ice cream is firm enough to scoop. The combination of the whipped cream’s airiness and the sweetened condensed milk’s lower freezing point is what performs the magic here, preventing large ice crystals from forming and ensuring that wonderfully smooth, scoopable consistency you’ve been dreaming of.
Tips for Perfect Scoopable Ice Cream Every Time
While this recipe is wonderfully forgiving, a few extra tips can help ensure your Creamy No-Churn Peach Ice Cream turns out absolutely perfect:
- Use Cold Heavy Cream: Chilled cream whips up much better and holds its shape longer. Pop it in the fridge (or even the freezer for 10-15 minutes) before you start whipping.
- Don’t Overmix: This applies both to whipping the cream (stop when stiff peaks form, don’t go to butter!) and to folding the mixtures together (mix just until no streaks remain). Overmixing will lead to a denser, less scoopable ice cream.
- Properly Prepare Fruit: Whether fresh or frozen, make sure your peaches are well-drained and chopped finely. Too much liquid or large chunks can interfere with the texture. This is true for any fruit additions!
- Cover Tightly: Preventing air contact during freezing is key to avoiding ice crystals on the surface. Plastic wrap pressed directly onto the ice cream surface is your friend.
- Give it Enough Time: While 6 hours is a good minimum, larger containers or less powerful freezers might take longer to reach that perfect scoopable consistency. Patience is a virtue!
- Flavor Variations: Once you’ve mastered the peach version, feel free to experiment! You could try adding other fruits (like berries, mango, or cherries), swirling in some caramel or chocolate sauce, or mixing in cookie pieces or nuts after step 6. For another creamy dessert idea, check out our Creamy Chocolate Chip Ice Cream or even a chilled treat like the Easy No-Bake Chocolate Cream Loaf.
What to Serve With Your Homemade Peach Ice Cream
This delicious no-churn ice cream is fantastic all on its own, but it also plays well with others! Here are a few ideas:
- A sprinkle of granola or toasted nuts for added crunch.
- A drizzle of honey or a simple berry sauce.
- Alongside a slice of cake or pie.
- Topped with a dollop of extra whipped cream (if you haven’t used it all!).
- As a refreshing treat on a hot day after a meal of something lighter, like a Grilled Lemon Herb Chicken or Quick Summer Penne.
Your Creamy No-Churn Peach Ice Cream Questions Answered (FAQ)
Got questions? I’ve got answers! Here are some common things people ask about making no-churn ice cream:
Can I use milk instead of heavy cream?
No, heavy cream is essential for this recipe’s texture. The high-fat content and ability to whip to stiff peaks is what creates the airy, creamy base without an ice cream maker. Milk does not contain enough fat or whip up properly.
Why is my no-churn ice cream icy?
Iciness usually happens if too much water is present (ensure fruit is drained!), if the cream wasn’t whipped to stiff peaks (not enough air), or if the mixture was overmixed after folding (air was knocked out). Make sure to follow the steps carefully, especially the whipping and gentle folding!
How long does no-churn ice cream last in the freezer?
Stored properly in a tightly sealed container, it should last for about 1-2 months. After that, the quality might start to decline, and it could become more icy or pick up freezer odors. Ensure it’s covered well!
Can I add other mix-ins besides peaches?
Absolutely! Once you’ve folded in the condensed milk mixture, you can gently fold in other additions like chopped chocolate, cookie crumbs, nuts, or swirls of sauce. Just be mindful of adding too much liquid.
Do I need to churn this ice cream?
Nope, that’s the beauty of “no-churn”! The technique relies on whipping the cream for air and using sweetened condensed milk to keep it soft. No ice cream machine required.
What kind of container should I freeze it in?
A standard loaf pan (9×5 inch) is common because it helps the ice cream freeze relatively evenly and makes scooping easy. Any freezer-safe container with a tight-fitting lid will work, but the freezing time might vary depending on the container’s size and shape.
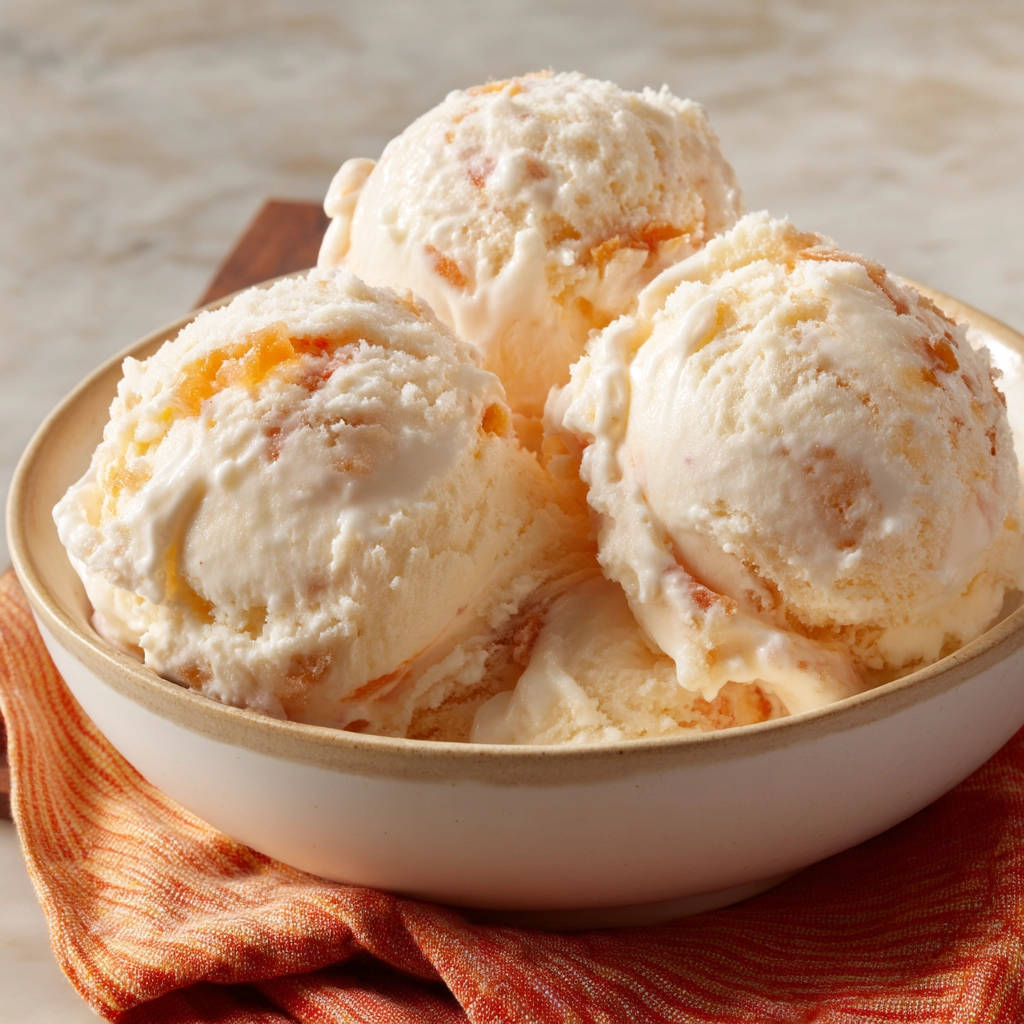
Enjoy Your Homemade Creamy Peach Ice Cream!
There you have it! A simple, foolproof way to create luscious, perfectly scoopable Creamy No-Churn Peach Ice Cream right in your own kitchen. Say goodbye to icy disappointments and hello to sweet, peachy bliss. This recipe is perfect for summer gatherings, a simple weeknight treat, or whenever that ice cream craving hits. Give it a try, and let me know what you think in the comments below! Happy scooping!
Creamy No-Churn Peach Ice Cream

Ingredients
- 2 cups heavy cream
- 1 can (14 ounces) sweetened condensed milk
- 1 teaspoon vanilla extract
- 1.5 cups chopped fresh or thawed frozen peaches
Directions
- If using fresh peaches, peel and finely chop them. If using frozen, thaw and drain any excess liquid, then chop.
- In a large bowl, beat the heavy cream with an electric mixer on high speed until stiff peaks form. This means the cream will hold its shape when you lift the beaters.
- In a separate bowl, stir together the sweetened condensed milk and vanilla extract.
- Gently fold about a third of the whipped cream into the condensed milk mixture using a spatula. Be careful not to deflate the cream.
- Pour the condensed milk mixture back into the remaining whipped cream. Gently fold until just combined and no streaks of condensed milk remain. This folding technique helps keep the air in the whipped cream, which is key to the scoopable texture. Do not overmix.
- Gently fold in the chopped peaches.
- Pour the mixture into a loaf pan or other freezer-safe container. Cover tightly with plastic wrap or a lid.
- Freeze for at least 6 hours, or until firm. The sweetened condensed milk combined with the whipped cream helps prevent large ice crystals from forming, resulting in that wonderful, scoopable consistency.