
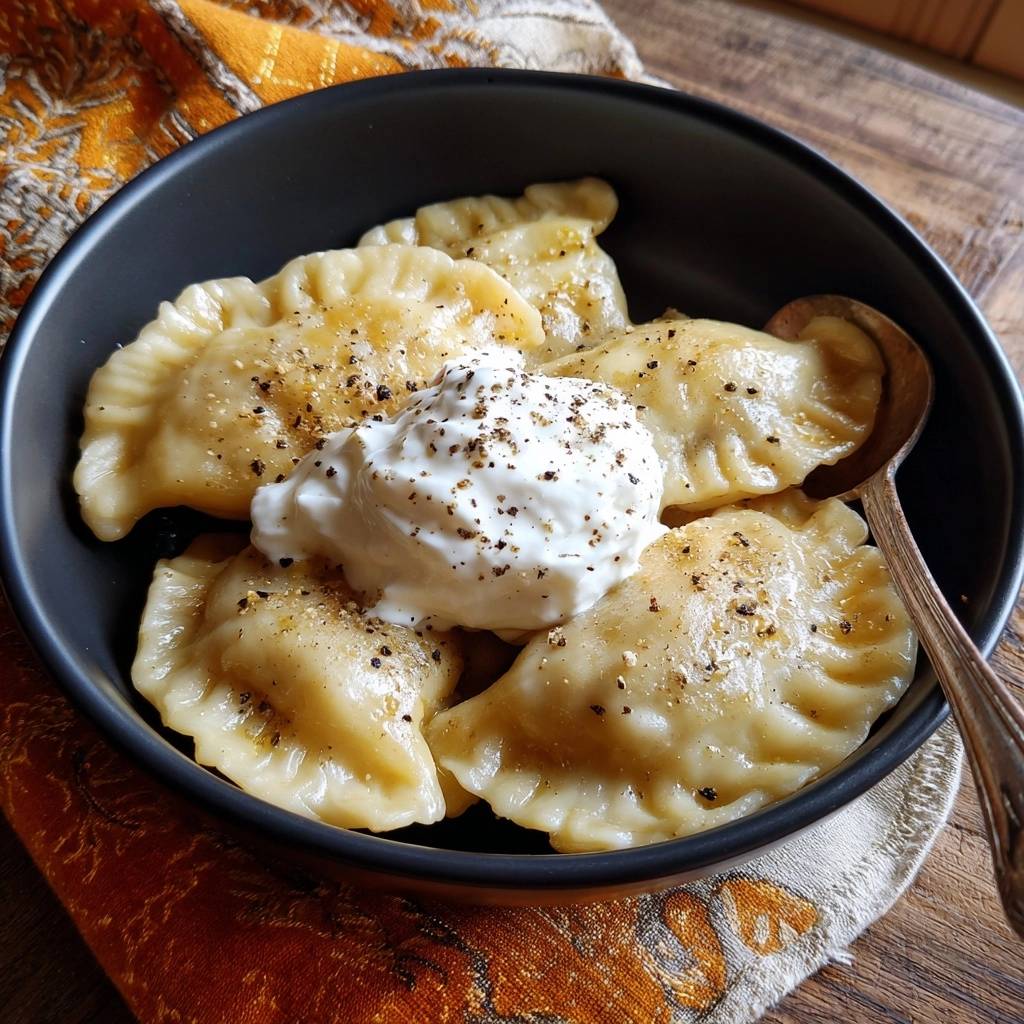
Picture this: steaming classic boiled pierogi bobbing to the top of a pot, their tender skins plump and golden, releasing that cozy potato scent straight from Polish family kitchens. You don’t need hours or fancy skills. This boiled pierogi recipe delivers perfect tenderness in under 10 minutes, skipping the greasy fry-up that so many chase.
Why boil? Frying crisps the outside but often leaves fillings dry or soggy inside. Boiling locks in moisture through starch gelatinization, creating that irresistible soft chew. In addition, it honors the authentic way these dumplings shine at home.
Here’s the pro tip that nails classic boiled pierogi every time: use a rolling boil with plenty of salted water. It keeps the dough intact while the pierogi float as your done signal. No guesswork, just foolproof results.
For more comforting ground beef ideas, check out this savory ground beef shepherd’s pie.
Why Boiling Defines Classic Boiled Pierogi
Boiling vs Frying: Texture Differences
Boiled pierogi boast a chewy, tender exterior that yields to creamy potato filling. Frying adds crunch but traps grease, making them heavy. Therefore, boiling gelatinizes the starch for plumpness without oil.
Polish tradition favors this method for its purity. You get lightness that frying can’t match. Plus, it highlights the dough’s subtle wheat flavor.
Historical Roots of Boiled Pierogi
Classic boiled pierogi origins trace to 13th-century Poland, born from peasant kitchens with simple fillings. Potatoes arrived later from the Americas, transforming them into the stuffed wonders we love. Festivals still celebrate this boiled style for its humility.
Over centuries, boiling stayed central. It preserved tenderness during long winters. Today, it evokes that same warmth.
Essential Components for Classic Boiled Pierogi
Selecting Quality Potato Pierogi
Choose fresh or frozen potato pierogi with thin, even dough and generous filling. Fresh ones feel pliable; frozen hold shape if brands avoid thick wrappers. This ensures classic boiled pierogi ingredients deliver authentic bite.
Avoid overly stuffed ones. They burst easily. Quality shows in the smooth seal.
Sour Cream’s Role in Balance
Full-fat sour cream cuts the potato starch’s richness with its tang. Dollop it fresh for creaminess that cools the hot pierogi. Greek yogurt works as a sub for similar acidity.
Store it chilled to keep it thick. In addition, it prevents blandness.
Black Pepper’s Fresh Grind Impact
Freshly ground black pepper releases volatile oils that boost the earthiness of potatoes. Aim for 1/4 tsp per serving. It pairs via piperine, enhancing flavors without overpowering.
Pre-ground fades fast. Grind coarse for texture pops.
Equipment Choices for Flawless Boiled Pierogi
Pot Size and Material Matters
Grab a 4-6 quart stainless steel pot for even boiling without sticking. Nonstick warps heat. A slotted spoon lifts pierogi gently.
This setup prevents breakage. Stainless retains boil vigor.
Colander and Bowl Setup
Use a wide colander to avoid tearing delicate skins. Preheat your serving bowl to hold heat. Budget stainless works fine.
These keep pierogi steaming hot. No cold shocks here.
Mastering the Boiled Pierogi Process
Prepping Salted Water Base
Start with 4 quarts water and 2 tbsp salt. This salinity seasons the dough and maintains structure. Bring to a rolling boil first.
Too little salt leaves them bland. Taste the water like pasta pros do.
Precise Cooking and Floating Test
Add 12 pierogi; cook 3-4 minutes until they float. Stir gently the first minute. For frozen, add 1 minute extra.
Watch for plump swelling. That’s your cue they’re done inside.
Draining, Saucing, and Plating
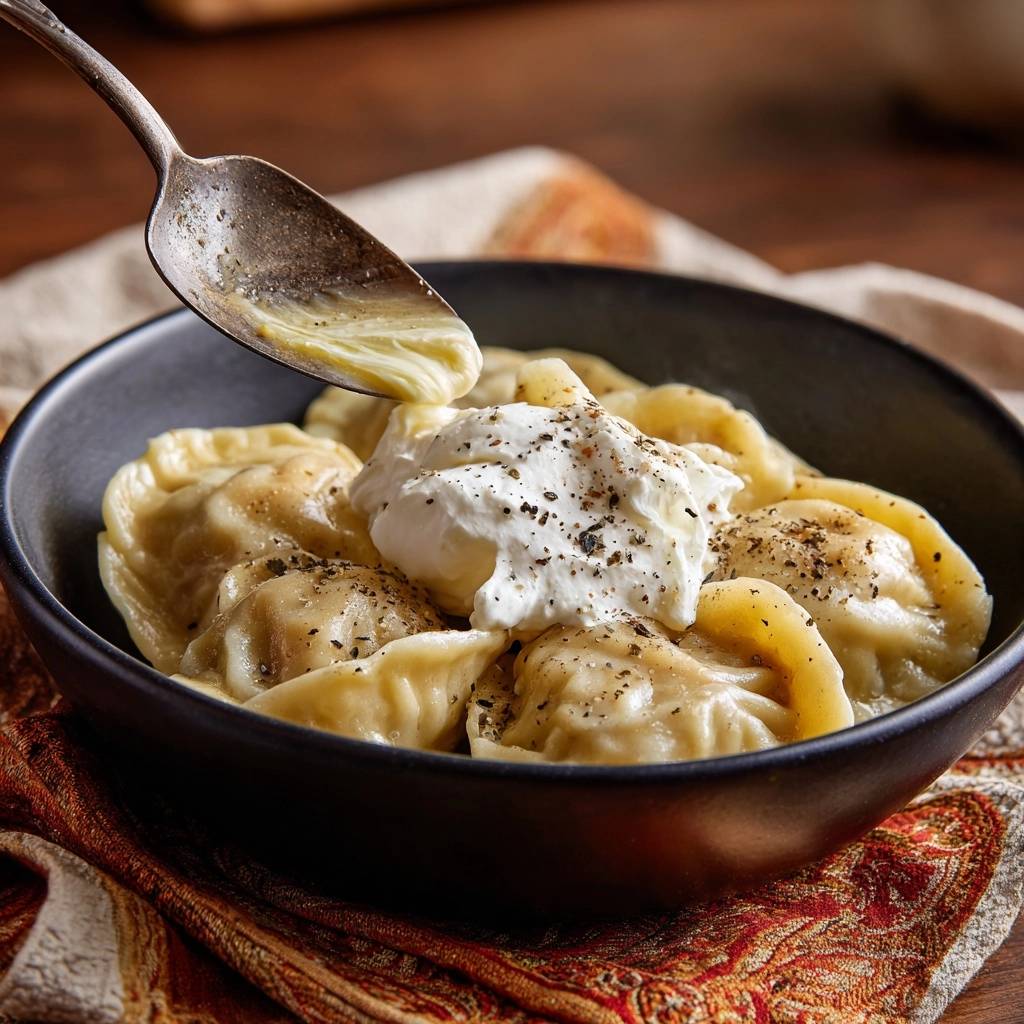
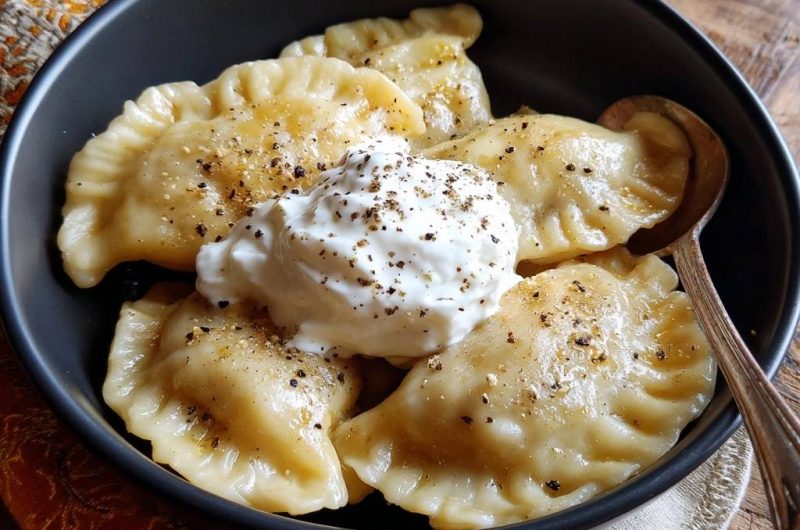
Drain well, shaking off excess. Dollop 1/2 cup sour cream total in the bowl’s center, then grind pepper over top. Serve hot for steam to mingle flavors.
Central dollop lets everyone scoop. Perfect boiled pierogi magic happens here.
Avoiding Pitfalls in Classic Boiled Pierogi
Overcooking and Dough Bursting
Overcooking turns filling mushy; test one first. At altitude, add 30 seconds. Pull at float plus 1 minute max.
Bursts mean low quality. Opt better pierogi next time.
Soggy Results from Poor Draining
Don’t rinse; starch on surface adds silkiness. Pat dry if needed. Add sour cream post-drain to avoid dilution.
Quick shake fixes most water. Keeps them plump.
Pepper and Cream Imbalance Fixes
Taste a test pierogi; adjust grind fineness. Warm cold cream slightly. Balance wakes up the dish.
Too much pepper bitters. Start light.
Flavor Twists on Classic Boiled Pierogi
Herb-Infused Sour Cream Upgrades
Mix 1 tbsp chopped dill or chives into sour cream. Keeps subtlety. Garlic powder pinch adds depth without raw bite.
Stir well for even spread. Elevates simply.
Cheese or Onion Filling Swaps
For scratch versions, try farmer’s cheese or caramelized onions. Both boil beautifully, staying firm. Stick to thin dough.
Cheese melts inside. Onions sweeten naturally.
Pairing Sides with Boiled Pierogi
Crisp Vegetable Companions
Sauerkraut or braised cabbage cuts richness with crunch. Beets add sweet earthiness. Quick sauté cabbage in butter, salt to taste.
These contrast the softness perfectly.
For a different savory bite with beef, consider this savory beef and cream cheese puff pastry pie.
Simple Salads and Breads
Cucumber salad with vinegar brings acidity to balance starch. Rye bread soaks up sauces. Slice cucumbers thin, toss with dill.
Acidity refreshes every bite.
More Comforting Dishes to Try
Round out your meal with these satisfying dishes that share a similar hearty spirit.
- For a creamy, baked vegetable option, consider this Cheesy Broccoli Cauliflower Bake, a great addition for a richer meal.
- If you enjoy baked potato dishes, this Crispy Topped Funeral Potatoes recipe offers a delightful texture contrast.
Storage Strategies for Boiled Pierogi
Make-Ahead and Reheating
Boil partially, cool, fridge up to 2 days. Reheat by quick boil 2 minutes. Keeps tenderness.
Don’t microwave; it toughens dough.
Freezer Longevity Tips
Freeze cooked pierogi single-layer on a sheet, then bag. Vacuum seal for 3 months. Thaw in fridge, re-boil gently.
Avoid clumping for easy portions.
Troubleshooting Classic Boiled Pierogi Issues
Sticking or Uneven Cooking
Increase water volume; stir more first minute. Use bigger pot. Even heat fixes it.
Filling Leaks and Texture Loss
Select sealed pierogi; control boil vigor. Low simmer after float prevents pops.
Sauce Separation Prevention
Bring cream to room temp; stir into hot pierogi. Emulsifies smoothly.
Common Queries on Classic Boiled Pierogi
Can You Boil Frozen Pierogi Directly?
Yes, drop straight in. Add 1 extra minute post-float. No thawing needed; they cook evenly.
How Much Salt in Boiling Water?
1 tbsp per quart tastes like seasoned pasta water. It infuses dough without oversalting.
Vegetarian or Dairy-Free Options?
Potato pierogi are vegetarian. Swap coconut or cashew cream for sour; check labels for dairy-free.
Scaling for Larger Batches?
Double pot size, cook in batches. Maintain water ratio; stagger adds to avoid cooling.
Reheating Without Frying?
Steam 3 minutes or quick boil. Retains soft texture minus grease.
Boiled Pierogi
Course: Main CourseCuisine: PolishDifficulty: easy4
2-45
minutes4
minutes240
kcal10
MinutesSimple comfort food done right! Boiled potato pierogi served with sour cream and black pepper.
Ingredients
12 fresh or frozen potato pierogi
1/2 cup sour cream
Freshly ground black pepper, to taste
Directions
- Bring a large pot of salted water to a boil. Add pierogi and cook for 3 to 4 minutes until they float to the surface. Drain well.
- Transfer the pierogi to a bowl. Dollop with sour cream in the center and sprinkle generously with black pepper over the top and pierogi.
- Serve hot with a spoon. Enjoy authentic tenderness!
Notes
- Use fresh or frozen potato pierogi. Serve hot for authentic tenderness.


