
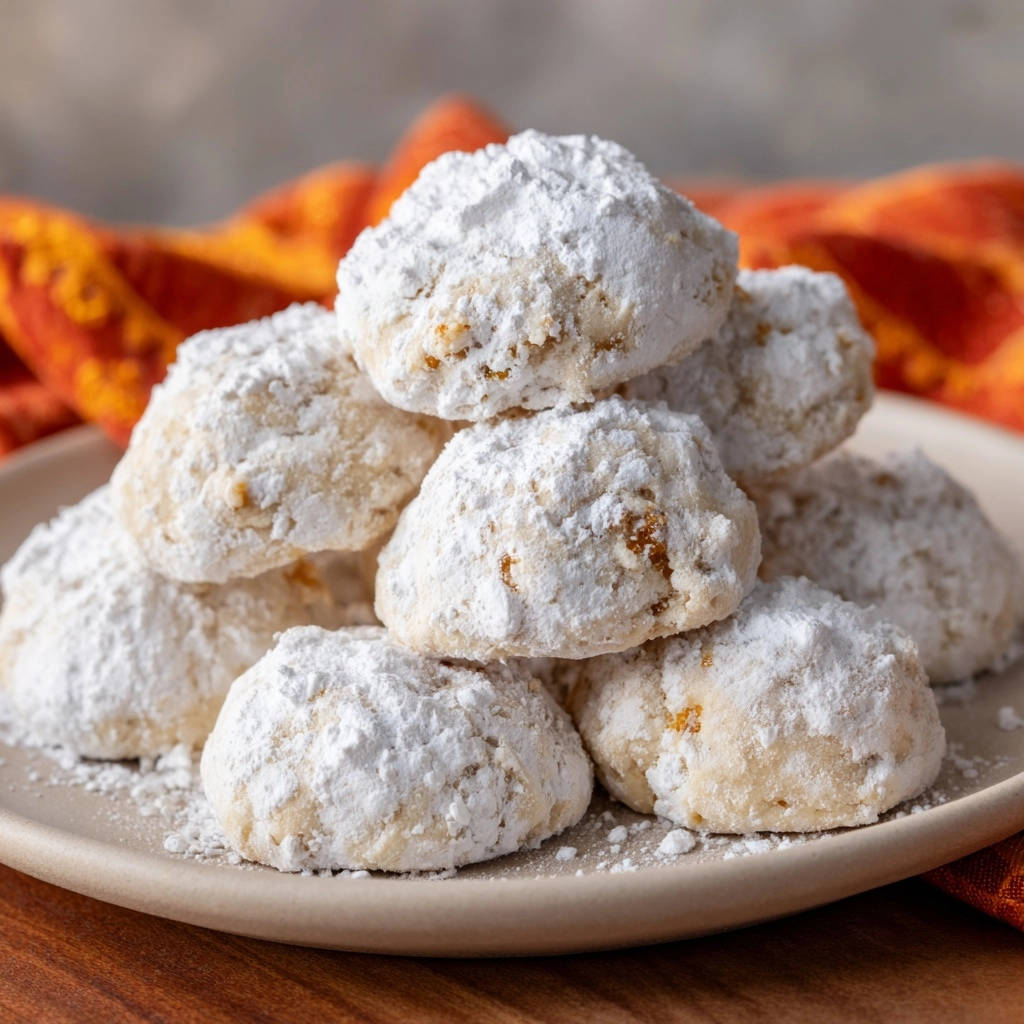
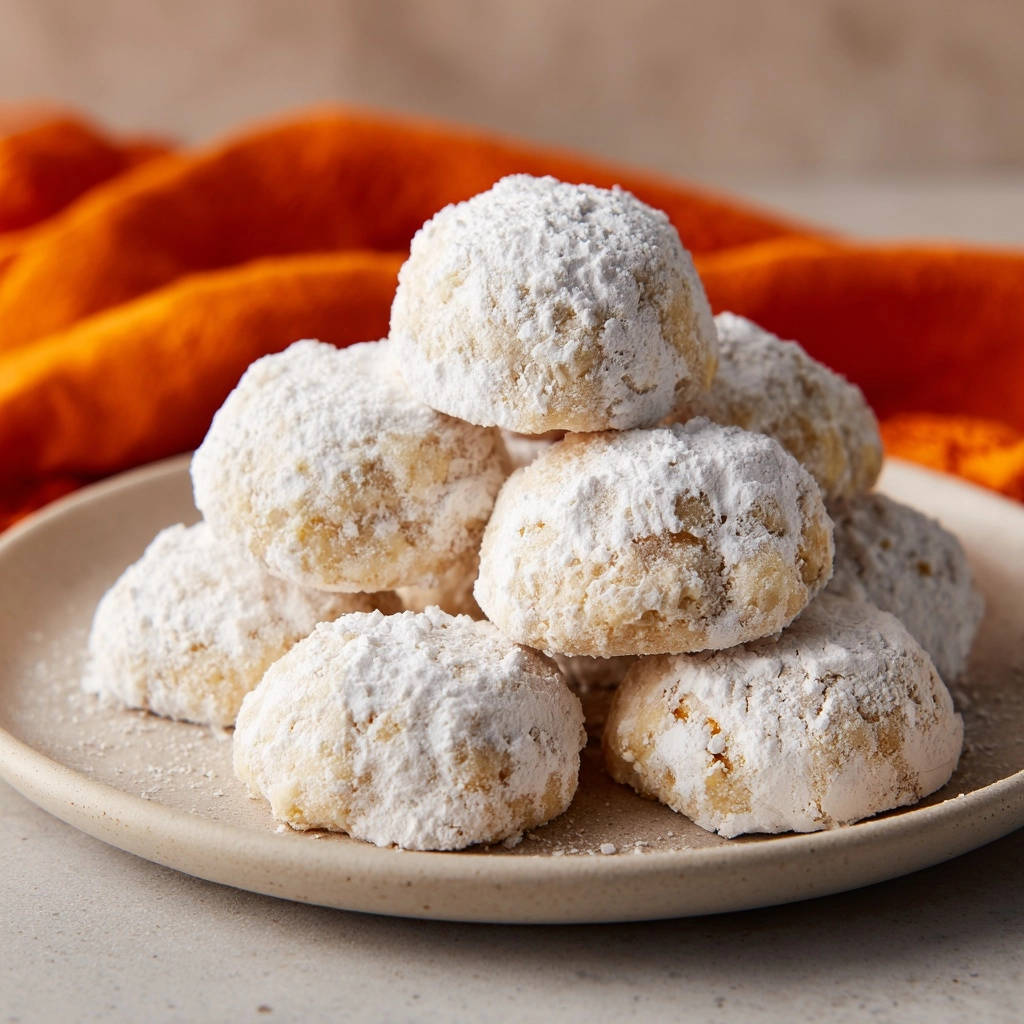
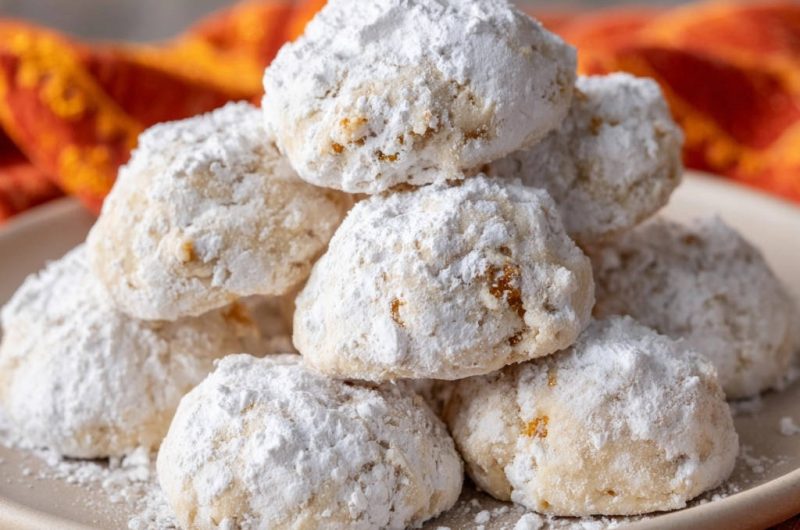
There’s nothing quite like the delicate, melt-in-your-mouth texture of perfectly made Classic Snowball Cookies, yet many bakers struggle with dry or crumbly results. I’ve spent years perfecting this recipe, finally cracking the code to a buttery treat that’s always tender, never tough. This method ensures your homemade powdered sugar cookies are consistently spectacular, becoming a cherished part of your holiday baking tradition.
Why This Classic Snowball Cookies Recipe Wins Every Time
This recipe stands out because it tackles common baking frustrations head-on. We focus on techniques and ingredient nuances that guarantee success.
The Secret to a Truly Melt-in-Your-Mouth Texture
The magic lies in the precise baking time and the generous amount of softened butter. Baking just until the edges are set, with pale tops, prevents over-baking which is the primary cause of dryness.
This careful approach preserves the tender, buttery crumb that makes these snowball cookies so irresistible.
Say Goodbye to Dry, Crumbly Cookies
Our method minimizes gluten development by calling for gentle mixing, ensuring a delicate texture. The high butter content also contributes significantly to their rich, tender quality, preventing that dreaded crumbly fate.
You’ll find these festive bites hold together beautifully while still dissolving delightfully on the tongue.
Simple Steps, Spectacular Results
Despite their elegant appearance, these buttery treats are incredibly straightforward to make. Each step is designed for ease and efficiency, ensuring a rewarding baking experience even for beginners.
You’ll achieve bakery-quality powdered sugar cookies with minimal fuss, perfect for any occasion.
Gather Your Gear: Essential Baking Tools
Having the right tools makes the baking process smoother and more enjoyable. These are the essentials for our Classic Snowball Cookies.
Mixer Magic for Effortless Dough
An electric mixer (stand or hand-held) is invaluable for creaming the butter and sugar. It effortlessly creates a light, fluffy base, which is crucial for the cookie’s tender texture.
Parchment Power: No-Stick Baking
Lining your baking sheets with parchment paper prevents sticking and ensures easy removal of your delicate cookies. It also makes cleanup a breeze, allowing you to focus on the joy of baking.
Measuring Cups & Spoons for Precision
Accurate measurements are the foundation of consistent baking results. Using proper measuring cups and spoons guarantees the correct ingredient ratios for these delicate shortbread cookies.
Building Blocks of Bliss: Your Snowball Cookie Ingredients
The quality and state of your ingredients directly impact the final taste and texture of your Classic Snowball Cookies. Choose wisely!
Creamy Base: Butter, Sugar, & Vanilla
Unsalted butter, softened to room temperature, is paramount for a creamy, tender dough. It creams beautifully with the initial powdered sugar, creating that light, airy base.
Pure vanilla extract adds a warm, classic flavor that complements the richness of the butter and nuts.
Flour & Salt: The Structure Essentials
All-purpose flour provides the necessary structure without making the cookies tough, especially when mixed gently. A touch of salt is vital; it balances the sweetness and enhances all the other flavors.
Nuts for Crunch: Pecans or Walnuts
Finely chopped pecans or walnuts are traditional and add a delightful texture and nutty depth. Ensure they are finely chopped to integrate smoothly into the delicate dough.
Powdered Sugar: The Signature Finish
Powdered sugar is used both in the dough for a fine crumb and, most importantly, for the iconic snowy coating. Its fine texture creates that beautiful, melt-away finish that defines snowball cookies.
If you’re enjoying these tender snowball cookies, you’ll also appreciate the delightful texture of chewy snickerdoodles.
Mastering the Method: Step-by-Step Baking Guide
Follow these detailed steps to create your own batch of perfectly tender Classic Snowball Cookies.
- Prepping for Success: Oven & Sheets
Preheat your oven to 350°F (175°C) to ensure it’s at the correct temperature for even baking. Line two baking sheets with parchment paper; this prevents sticking and makes transfer easy.
- Creaming: The Foundation of Fluffiness
In a large bowl, use an electric mixer to cream together the softened butter and 1/2 cup powdered sugar until the mixture is light, fluffy, and pale. Beat in the vanilla extract until just combined, ensuring a fragrant and uniform base.
- Gentle Mix: Combining Dry & Wet (Avoid Overmixing!)
In a separate bowl, whisk together the all-purpose flour and salt. Gradually add these dry ingredients to the wet mixture, mixing on low speed only until just combined. This step is crucial: overmixing develops too much gluten, which will result in tough, rather than tender, cookies.
- Folding in the Flavor: Nuts Incorporated
Gently stir in the finely chopped pecans or walnuts by hand. Ensure they are evenly distributed throughout the dough, providing texture and nutty flavor in every bite.
- Shaping Uniform Bites
Roll the dough into small, uniform 1-inch balls. Consistency in size helps ensure even baking. Place them about an inch apart on the prepared baking sheets, allowing for slight expansion.
- The Perfect Bake: Golden Edges, Pale Tops
Bake for 10 to 12 minutes, or until the edges are just set and barely golden on the bottom. The tops of the cookies will still look pale; this is perfectly normal and desired. Resisting the urge to overbake is paramount for achieving that signature melt-in-your-mouth texture and preventing dry cookies.
- Warm Roll: First Powdered Sugar Coat
While the cookies are still warm from the oven, but cool enough to handle comfortably, roll them generously in 1 1/2 cups of powdered sugar. The warmth helps the sugar adhere beautifully, forming the first layer of their snowy coating.
- Double Dusting for Dazzling Finish
Let the cookies cool completely on a wire rack. Once fully cooled, roll them in powdered sugar a second time. This double dusting creates that extra thick, beautiful, and truly iconic snowball coating that simply melts away.
For a different texture with a similar dusting, try pistachio shortbread cookies for their crisp bases.
Beyond the Recipe: Expert Tips for Perfect Snowball Cookies
Elevate your baking with these insights and creative ideas.
The Chill Factor: Why it Matters
While not strictly required by this recipe, chilling your dough for 30 minutes can prevent spreading, especially in warmer kitchens. It helps the butter solidify, leading to perfectly round, uniform snowball cookies.
Temperature Tricks for Tender Bites
Always trust your oven thermometer over the dial. An accurately calibrated oven ensures consistent baking. Furthermore, watch for the visual cues: pale tops and barely golden bottoms are your signal to pull them out, preserving their delicate texture.
Flavor Variations: Get Creative!
For an aromatic twist, add 1/4 teaspoon of almond extract along with the vanilla. You can also experiment with different finely chopped nuts like pistachios or even a hint of lemon zest for brightness. If you enjoy nutty, crumbly treats, you might also love making delightful pecan crumble cookies.
Gifting & Presentation Ideas
Classic Snowball Cookies make a stunning edible gift. Arrange them in decorative tins, small boxes lined with parchment paper, or clear cellophane bags tied with festive ribbon. For a varied platter, consider pairing them with perfect sugar cookies.
Troubleshooting Common Snowball Cookie Issues
Even expert bakers encounter challenges. Here’s how to fix common snowball cookie problems.
Why Are My Cookies Spreading Too Much?
This often happens if your butter was too soft, almost melted, or if your oven wasn’t fully preheated. Chilling the dough before baking can significantly help prevent excessive spreading.
My Snowball Cookies Are Dry/Crumbly!
The most common culprit here is overbaking. Keep a close eye on them and pull them out when the edges are just set. Overmixing the dough can also develop too much gluten, leading to a tougher, drier cookie.
Powdered Sugar Not Sticking?
The key to the iconic coating is timing. Ensure the first roll is done while the cookies are still warm. The second roll, once cooled, locks in that generous, thick layer. If they’re too cool for the first roll, the sugar won’t adhere as well.
Storing & Savoring: Enjoying Your Classic Snowball Cookies
Proper storage ensures your delicious Classic Snowball Cookies remain fresh and enjoyable for longer.
Optimal Storage for Freshness
Store baked snowball cookies in an airtight container at room temperature. Layer them between sheets of parchment paper to prevent the powdered sugar from sticking to other cookies. They will stay fresh for up to one week.
Freezing for Future Feasts
You can freeze baked cookies in an airtight container for up to 3 months. For best results, freeze them without the final powdered sugar coating, then dust them just before serving. Raw dough balls can also be frozen for later use; simply thaw slightly and bake as directed.
Serving Suggestions & Pairings
These festive bites are perfect alongside a warm cup of coffee, a comforting tea, or a rich hot cocoa. Their delicate sweetness and tender texture make them a delightful treat for any occasion, from casual gatherings to elegant holiday spreads.
FAQs: Quick Answers to Your Snowball Cookie Questions
Can I make these cookies gluten-free?
Yes, you can often substitute a good quality 1:1 gluten-free baking flour blend for the all-purpose flour. Be mindful that GF doughs can sometimes be more delicate, so handle with care.
What if I don’t like nuts?
Absolutely! You can easily omit the nuts entirely for a plain, buttery shortbread-style snowball cookie. Alternatively, consider adding mini chocolate chips or finely chopped dried cranberries for a different flavor profile.
Can I use brown sugar instead of powdered sugar in the dough?
Substituting brown sugar for powdered sugar in the dough would significantly change the texture and flavor. Powdered sugar contributes to the delicate, melt-in-your-mouth crumb, while brown sugar would add moisture and a chewier texture. It’s not recommended for this classic recipe.
How long do these cookies last?
When stored properly in an airtight container at room temperature, your Classic Snowball Cookies will stay fresh and delicious for about 5-7 days.
Your Turn to Bake: Share the Classic Snowball Cookie Love!
Now that you have all the insider tips and a foolproof recipe, it’s your turn to create these enchanting Classic Snowball Cookies. Enjoy the process, savor the aroma, and delight in the perfectly tender results.
Bake a batch, share them with loved ones, and spread a little bit of buttery, powdered sugar joy. Don’t forget to tell us how your festive bites turned out!
More Sweet Ideas
If you enjoyed these melt-in-your-mouth snowball cookies, you might like these other sweet treats.
- For a delightful breakfast or tea time addition, consider making assorted fruit & chocolate scones, offering a different kind of tender crumb.
- If you’re in the mood for something fluffy and satisfying, try these diner-style fluffy pancakes for a comforting option.
Snowball Cookies
Course: DessertCuisine: AmericanDifficulty: easy4
dozen cookies20
minutes12
minutes240
kcal35
minutesMaster the art of perfect snowball cookies with this foolproof recipe. Say goodbye to dry, crumbly treats and hello to melt-in-your-mouth buttery goodness. This simple trick ensures tender, delicious cookies every time.
Ingredients
1 cup unsalted butter, softened
1/2 cup powdered sugar, plus 1 1/2 cups for rolling
1 teaspoon vanilla extract
2 cups all-purpose flour
1/4 teaspoon salt
1 cup finely chopped pecans or walnuts
Directions
- Preheat your oven to 350 degrees F (175 degrees C). Line two baking sheets with parchment paper.
- In a large bowl, using an electric mixer, cream together the softened butter and 1/2 cup powdered sugar until light and fluffy. Beat in the vanilla extract.
- In a separate bowl, whisk together the all-purpose flour and salt. Gradually add the dry ingredients to the wet ingredients, mixing on low speed just until combined. Be careful not to overmix; overmixing can develop too much gluten and lead to tough cookies. Stir in the finely chopped nuts.
- Roll the dough into small 1-inch balls and place them about 1 inch apart on the prepared baking sheets.
- Bake for 10 to 12 minutes, or until the edges are just set and barely golden on the bottom. The tops will still look pale. This is crucial for their melt-in-your-mouth texture, so resist the urge to overbake. Overbaking is the main cause of dry, hard cookies.
- While the cookies are still warm from the oven (but cool enough to handle), roll them generously in the remaining 1 1/2 cups of powdered sugar.
- Let the cookies cool completely on a wire rack. Once fully cooled, roll them in powdered sugar again for an extra thick, beautiful coating.
Notes
- Do not overbake; it’s crucial for a melt-in-your-mouth texture. For an extra thick coating, roll cookies in powdered sugar twice.


