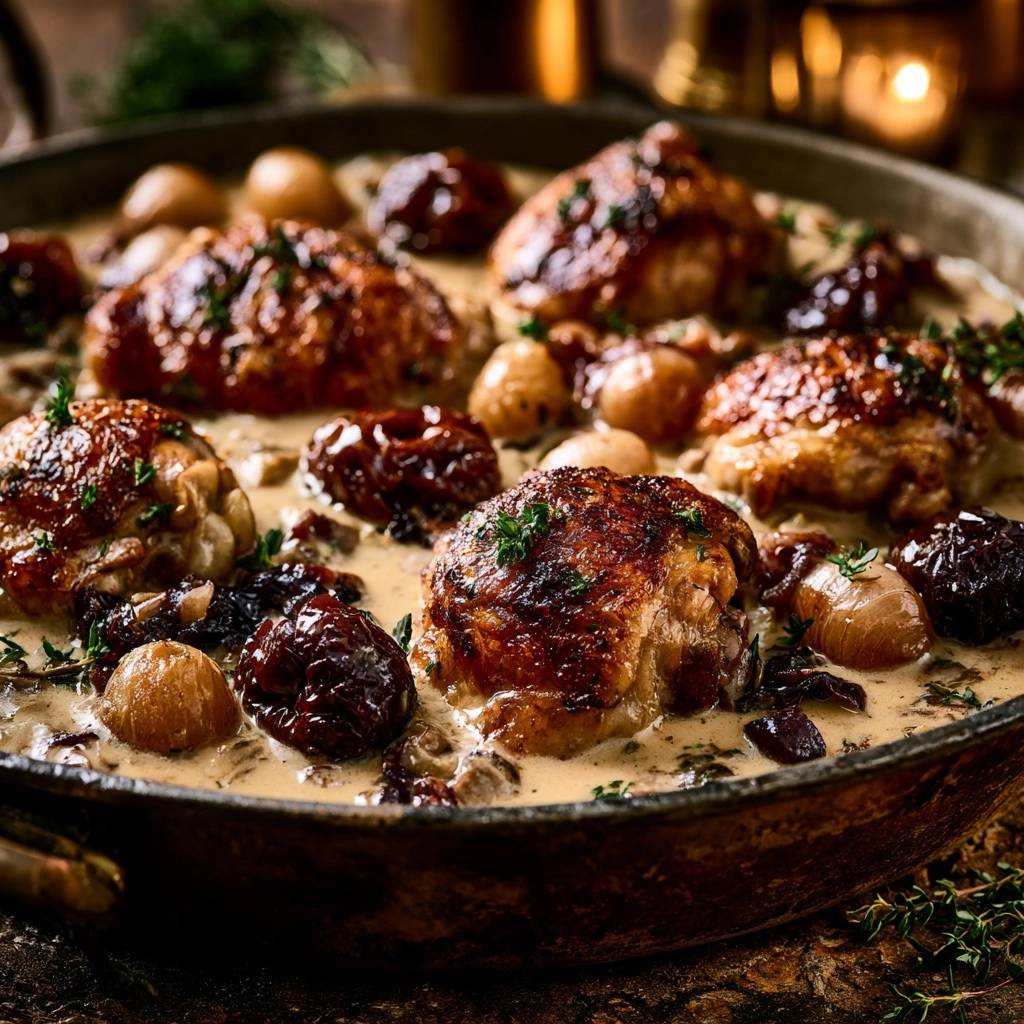
Imagine biting into a chicken thigh where the skin crackles like parchment paper, immediately followed by meat so tender it practically dissolves. Most skillet recipes promise this contrast but deliver a disappointing reality: a rubbery, pale mess where the skin loses its fight against the sauce. This recipe changes that narrative by focusing on a specific high-heat sear and a strategic braising method.
The secret lies in the “partial-submerge” technique. By keeping the liquid level low, we allow the bottom of the chicken to bathe in a velvety, shallot-infused cream while the top stays exposed to the dry heat of the kitchen air. It is the ultimate solution for anyone who loves the richness of a braise but refuses to sacrifice that golden, shatteringly crisp exterior.
To master this dish, you must respect the moisture. I always tell home cooks that a paper towel is their most important tool here. If the skin is even slightly damp when it hits the oil, it will steam rather than fry. Achieving that deep mahogany crust requires patience and a very dry starting surface.
The Mechanics of Shatteringly Crispy Chicken Skin
The Maillard reaction is the scientific process responsible for that savory, browned crust we all crave. When the proteins and sugars in the chicken skin hit high heat, they transform into hundreds of different flavor compounds. However, moisture is the absolute enemy of this reaction. If there is water on the surface, the energy of the pan goes into evaporating that water instead of browning the skin.
This is why patting the meat dry is a non-negotiable step. You want the skin to be as bone-dry as possible before it touches the olive oil. Once the chicken is in the pan, the rendered fat from the thighs acts as a natural frying medium. This fat circulates around the skin, essentially deep-frying it in its own juices while the meat stays protected underneath.
Resist the urge to move the chicken once you place it in the skillet. That “no-touch” rule for the first eight minutes allows the skin to develop a continuous, rigid crust. This crust acts as a moisture barrier later in the process, helping the skin stay crisp even as the meat simmers in the cream sauce below.
Why Bone-In Thighs Outperform Chicken Breasts
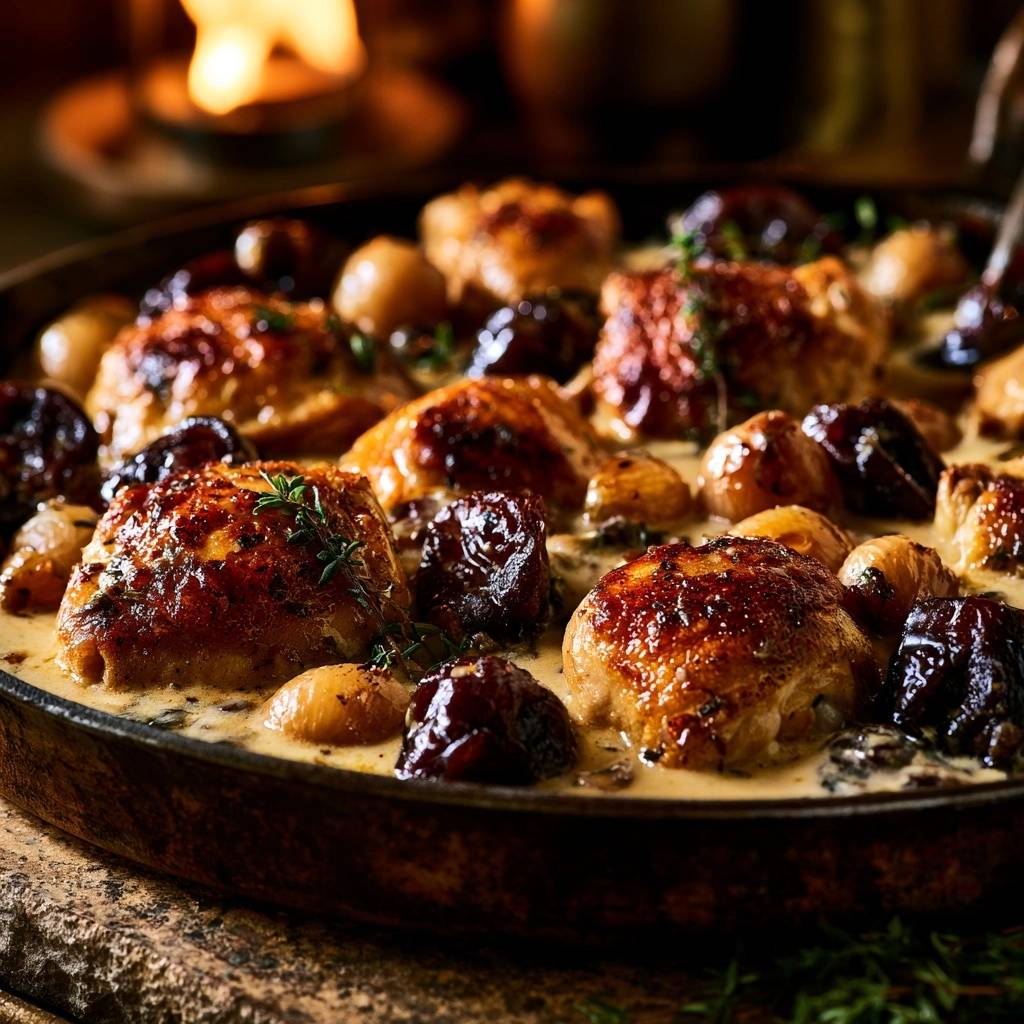
Chicken thighs are the undisputed champions of the braising world because of their high fat content and connective tissue. As the thighs simmer, the collagen within the meat breaks down into gelatin. This process keeps the meat incredibly moist and gives the final sauce a luxurious, lip-smacking body that you simply cannot get with leaner cuts.
The bone also plays a vital role as a natural insulator. It slows down the cooking process just enough to prevent the meat from drying out during the 20-minute reduction phase. While a chicken breast would turn stringy and tough in this environment, the bone-in thigh remains succulent and yields easily to a fork.
Essential Components for the Braising Liquid
The braising liquid is more than just a sauce; it is the flavor foundation of the entire dish. Using heavy cream is essential here because of its high fat content. Lower-fat options like milk or half-and-half are prone to curdling when they meet the acidity of the lemon juice and sun-dried tomatoes. Heavy cream stays stable and creates a glossy, emulsified glaze.
A high-quality chicken broth forms the base, and the lemon juice adds a necessary brightness that cuts through the richness of the cream. The goal is a balanced profile where the savory chicken, sweet shallots, and acidic tomatoes all have a voice without one overpowering the others.
Always use freshly minced garlic rather than the jarred variety. The oils in fresh garlic are more potent and provide a cleaner flavor. When you add the garlic to the pan, watch it closely. It only needs about a minute to become fragrant; any longer and it may burn, which would introduce a bitter note to your beautiful cream sauce.
Selecting and Preparing Whole Shallots
Whole shallots are the secret weapon of this recipe. Unlike diced onions, which melt away into the background, whole shallots maintain their integrity. As they sauté in the chicken fat, the outer layers caramelize into a deep brown while the insides become soft and jam-like. They offer a concentrated, sophisticated sweetness that balances the saltiness of the chicken.
When preparing them, try to find shallots that are roughly the same size so they cook evenly. If you have particularly large ones, you can halve them lengthwise, but keeping them whole provides the best textural experience. They become little flavor bombs that burst when you press them with your fork.
The Role of Sun-Dried Tomatoes and Aromatics
Sun-dried tomatoes provide a massive umami punch that rounds out the sauce. Since they are concentrated, a little goes a long way in adding depth and a hint of chewiness. I prefer the ones packed in oil because they tend to be more tender than the completely dry-packed versions. Just be sure to drain them well so they don’t make the sauce overly greasy.
Fresh thyme is another key player. The earthy, slightly minty notes of fresh thyme leaves are far superior to the dusty flavor of dried herbs. If you must use dried, use only a third of the amount, but fresh thyme really brings a garden-fresh aroma that lifts the entire skillet.
Step-by-Step: Mastering the High-Heat Sear
Start with a hot pan, but not a smoking one. Medium-high heat is the sweet spot. If the pan is too cold, the chicken will stick and the fat won’t render properly. If it is too hot, the skin will burn before the fat has a chance to melt away. You want to hear a loud, consistent sizzle the moment the skin hits the oil.
Once the chicken is in, leave it alone. It might be tempting to peek, but moving the meat breaks the contact with the pan and interrupts the browning. After about eight minutes, the chicken should release easily from the skillet. If it sticks, it usually means the crust hasn’t fully formed yet. Give it another minute, then flip to seal the bottom.
Deglazing and Building the Creamy Base
After removing the chicken, you will see dark brown bits stuck to the bottom of the pan. This is called “fond,” and it is pure flavor gold. When you pour in the broth, use a wooden spoon to scrape these bits up. This process, known as deglazing, incorporates all that roasted chicken essence directly into your sauce.
Let the liquid bubble and reduce by half before you even think about adding the cream. This concentrates the flavors and ensures the sauce won’t be watery. Once the cream and broth go in, stir gently to create a uniform, pale-gold liquid. Bring it to a simmer, but do not let it reach a rolling boil, which can sometimes cause the fats to separate.
The Partial-Submerge Braising Technique
This is the most critical part of the process. When you return the chicken to the pan, do not just drop it in. Carefully nestle each thigh into the sauce so the liquid reaches only halfway up the sides. The “equator” of the chicken should be the waterline. This keeps the meat submerged in the flavorful liquid while the skin stays high and dry.
Never cover the skillet with a lid. A lid traps steam, and steam is the enemy of crispiness. By simmering uncovered, the moisture from the sauce evaporates into the room rather than condensing on the chicken skin. This also allows the sauce to naturally reduce into a thick, “nappe” consistency that beautifully coats the back of a spoon.
Troubleshooting Common Braising Obstacles
If you notice your sauce looks “broken” or oily, it usually means the heat was too high. You can often fix this by whisking in a tablespoon of warm broth or a splash of extra cream to help the emulsion come back together. Always keep the heat at a gentle simmer once the dairy is involved.
Sometimes shallots can be stubborn and stay firm in the center. If they aren’t softening as quickly as you’d like, you can gently press down on them with your spoon during the simmering phase. This helps the hot liquid penetrate the layers. If the sauce is thickening too fast before the chicken is done, simply add a splash more broth to loosen it up.
Managing Sauce Consistency
The perfect sauce should be thick enough to coat the chicken but thin enough to pour. If it feels too thin after the cooking time is up, remove the chicken to a plate and turn the heat up for two minutes to flash-reduce the liquid. Conversely, if it looks like a thick paste, whisk in a little broth until it reaches a velvety, pourable state.
Optimal Side Dishes for Creamy Sauces
You want a side dish that acts as a sponge for that incredible cream sauce. Garlic mashed potatoes are a classic choice, providing a neutral, creamy base that lets the shallots shine. Buttered orzo or a wide egg noodle also works beautifully to catch every drop of the glaze.
To balance the richness of the heavy cream and chicken fat, I highly recommend a side with some acidity or bitterness. A simple arugula salad with a lemon vinaigrette or some roasted broccolini with a squeeze of lime can cut through the decadence and refresh your palate between bites.
Storage and Reheating Without Losing Texture
Store any leftovers in an airtight container in the fridge for up to three days. The sauce will thicken significantly as it cools, almost becoming a jelly. This is normal and is just the natural gelatin from the chicken bones doing its job. It will turn back into a silky sauce once heated.
Avoid the microwave for reheating if you want to keep the skin crisp. Instead, place the chicken and sauce in a small oven-safe dish. Heat in a 350°F oven until the meat is warmed through. For the final touch, turn on the broiler for 60 seconds to re-crisp the skin, but watch it closely so the cream sauce doesn’t burn.
Expert Tips for Professional Results
Can I use frozen chicken thighs if they are thawed?
Yes, but you must be extra diligent about drying them. Frozen chicken often releases more moisture as it thaws. I recommend letting them sit uncovered in the fridge for an hour after thawing to air-dry the skin before you begin the searing process.
How do I keep the sauce bright and acidic?
Add a teaspoon of lemon juice or a splash of white wine vinegar to the chicken broth. You need that hit of acid to balance the heavy cream and the sweetness of the caramelized shallots.
How do I know the chicken is done without a thermometer?
The meat should feel very tender when pierced with a knife, and the juices should run clear. If you press on the thickest part of the thigh, there should be very little resistance, and the meat should start to pull away from the bone slightly.
Can I use half-and-half instead of heavy cream?
I don’t recommend it for this specific recipe. Half-and-half has a much higher water content and lower fat content, making it very likely to split or curdle when simmered with the acidic ingredients. Stick to heavy cream for that restaurant-quality finish.
Why did my garlic turn bitter?
Garlic turns bitter if it browns too quickly or burns. This usually happens if the pan is too hot when the garlic is added. If your pan is scorching after searing the chicken, take it off the heat for a minute to cool down before adding the aromatics.
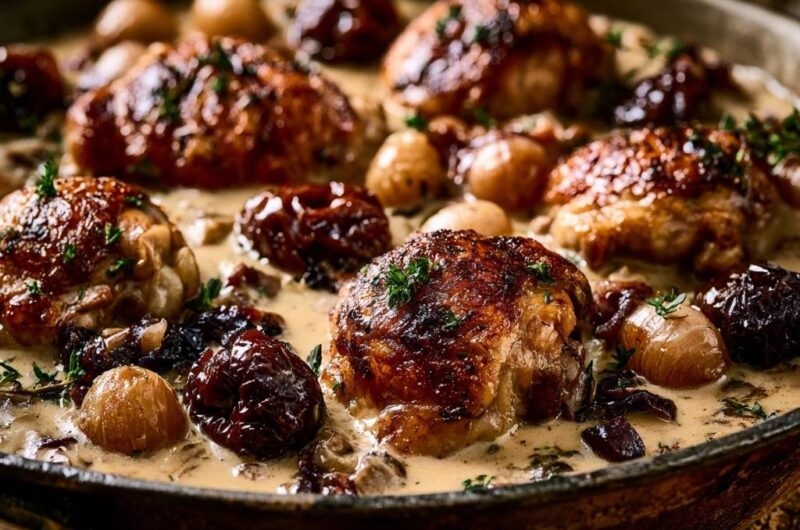
Creamy Braised Chicken Thighs with Shallots
Course: Main CourseCuisine: AmericanDifficulty: easy4
servings15
minutes35
minutes50
Minutes485
kcalAmerican
Ingredients
4 large bone-in, skin-on chicken thighs
12 whole shallots, peeled
1 cup sun-dried tomatoes in oil, drained
3 cloves garlic, minced
1 cup heavy cream
1/2 cup chicken broth plus 1 teaspoon lemon juice
1/2 cup chicken broth
1 tablespoon fresh thyme leaves
2 tablespoons olive oil
Salt and black pepper to taste
Directions
- Pat the chicken thighs extremely dry with paper towels. This is the first step to avoiding soggy skin. Season both sides generously with salt and pepper.
- Heat olive oil in a large, heavy cast-iron skillet over medium-high heat. Place chicken skin-side down. Do not move them for 8 to 10 minutes. This creates a deep, dark golden-brown crust that acts as a moisture barrier. Flip and sear for 2 minutes to seal the bottom, then remove chicken to a plate.
- In the same skillet, add the whole shallots. Sauté for 5-7 minutes, rolling them occasionally until they are deeply caramelized and tender. Add the garlic and sun-dried tomatoes, cooking for 1 minute until fragrant.
- Pour in the chicken broth and lemon juice to deglaze, scraping up all the brown bits (fond) from the bottom of the pan. Let the liquid reduce by half.
- Stir in the chicken broth and heavy cream. Bring to a gentle simmer.
- Here is the secret: Nestled the chicken thighs back into the skillet, but ensure the liquid only reaches halfway up the sides of the chicken. The skin must remain completely above the liquid line to stay crispy.
- Simmer uncovered over medium-low heat for 15 to 20 minutes. Do not cover the pan, as steam will soften the skin. The sauce will reduce and thicken into a velvety glaze while the chicken finishes cooking. The chicken is done when it reaches 165°F (74°C) in the thickest part.
- Garnish with fresh thyme and serve immediately, spooning the sauce and shallots around the chicken rather than over the top.
Notes
- To ensure the skin stays crispy, never cover the pan during the simmering process and keep the liquid level below the skin line.