
The biggest frustration when making homemade spring rolls is the dreaded soggy bottom or an oily, inconsistent crunch. After years of perfecting this technique, I’ve unlocked the secret to guaranteed, all-over golden results for these phenomenal Crispy Shredded Beef Spring Rolls.
This recipe focuses less on complicated filling and more on the precise wrapping and frying methods that ensure a shatteringly crisp exterior, every single time.
Why This Recipe Solves the Soggy Spring Roll Dilemma
Traditional methods often instruct placing freshly fried rolls on paper towels, which seems intuitive but is actually the enemy of crispness.
For a similarly delightful bite, check out these sweet and spicy chicken wonton bites.
The hot oil immediately starts to steam when it hits the paper, trapping moisture against the delicate wrapper and guaranteeing a soggy result as the rolls cool.
Our unique solution bypasses this failure point by utilizing a sturdy cooling rack elevated over a sheet pan. This essential setup allows continuous, 360-degree air circulation to immediately cool and drain the rolls.
The result is a light, golden exterior that is perfectly non-greasy, proving that achieving the perfect crunch relies entirely on the post-fry setup.
The Building Blocks of Flavor: Essential Ingredients
The Shredded Beef Foundation
Shredded beef shoulder is ideal because its long, slow-cooked fibers hold seasoning and moisture exceptionally well without becoming mushy.
Using pre-shredded cooked beef (like leftover pot roast) saves significant prep time and ensures the necessary tender texture for the filling.
It is vital that the beef is shredded finely enough so the filling packs tightly and evenly within the wrapper, avoiding chunky air pockets that can lead to uneven cooking.
Sweet and Savory Sauce Dynamics
We divide the Hoisin or Asian BBQ sauce into two parts: one for the filling and one for serving.
Using 1/4 cup internally infuses deep savory flavor and provides essential moisture, which prevents the beef from drying out during the frying process.
Fresh grated ginger and soy sauce are critical for balancing the sweet richness of the Hoisin/BBQ sauce, adding necessary sharpness and umami depth.
Wrapper Selection and Sealing Agents
For deep frying, always select true spring roll wrappers, which are thicker and made from wheat flour, designed to achieve a durable golden-brown crust.
Never confuse these with delicate rice paper wrappers, which are used for fresh, non-fried Vietnamese-style rolls and will dissolve in hot oil.
The simple beaten egg wash is the strongest adhesive; it acts as a foolproof glue, guaranteeing a strong, leak-proof seal under high heat.
Essential Equipment for a Flawless Fry
Deep Pot or Wok
This is needed to ensure the rolls are fully submerged during frying, which promotes even cooking and consistent coloring across the whole surface.
Reliable Thermometer
Precision is paramount for successful non-greasy frying. The oil temperature must be maintained exactly at 350°F (175°C); fluctuations cause either greasiness or immediate burning.
The Non-Greasy Setup (Cooling Rack and Sheet Pan)
Place a large metal cooling rack directly over a standard rimmed sheet pan.
The rack allows essential airflow underneath and around the spring rolls, draining oil instantly and locking in the crunch without trapping steam.
Tongs and Skimmer
Long-handled metal tongs are necessary for safely submerging and turning the rolls in the hot oil.
A wire skimmer or spider is excellent for quick removal and clearing out any stray pieces of seasoning that fall off during cooking.
Mastering the Process: Step-by-Step Spring Roll Assembly
Preparing and Seasoning the Beef Filling
In a large bowl, combine the finely shredded beef, 1/4 cup of the Hoisin or BBQ sauce, soy sauce, and grated ginger.
The consistency should be moist but not wet; excess liquid will soak the wrapper and weaken the seal.
Tip: Let the filling rest for 5-10 minutes after mixing to allow the beef fibers to fully absorb the flavors before wrapping.
The Art of the Spring Roll Diamond
Lay the wrapper flat on a clean, dry surface with one corner pointing directly toward you, like a diamond.
Place approximately three tablespoons of filling slightly below the vertical center, forming a compact, horizontal line.
Do not overfill the wrapper, as this is a primary cause of tears and unraveling during frying.
Folding Technique for Taut, Leak-Proof Rolls
Bring the bottom corner up and tightly over the filling, tucking the point underneath the filling mass to create tension.
Fold the left and right corners inward toward the center, ensuring the sides meet snugly in the middle.
Brush the remaining top diamond point generously with the beaten egg wash, then roll the cylinder tightly away from you until the seal is made.
Tightly rolling the homemade spring rolls is critical; any trapped air will expand during frying, potentially tearing the wrapper or leading to oil absorption.
Setting Up for the Frying Phase
Heat your oil gradually in the deep pot until the thermometer registers a steady 350°F (175°C).
Ensure your draining setup (the cooling rack over the sheet pan) is ready and right next to the stove for immediate transfer.
Never start frying until the oil has stabilized at the correct temperature, otherwise your wrappers will absorb grease.
Immediate Crisp Lock-In: The Non-Greasy Fry Setup Explained
Why Paper Towels Create Soggy Spring Rolls
When a hot, fried object hits room temperature paper, the temperature differential forces steam to escape from the wrapper.
Since the paper towel sits flat on the surface, it traps that steam and condensation directly beneath the roll.
The wrapper effectively steams itself from the bottom up during the cooling process, instantly destroying the desirable crust.
The Physics of the Cooling Rack Solution
Placing the hot rolls on the elevated rack immediately allows that hot air and steam to dissipate freely in all directions.
The gravitational pull ensures excess oil drips straight down onto the sheet pan below.
This continuous air circulation rapidly drops the temperature of the wrapper surface, locking in the perfect golden crunch and guaranteeing a truly non-greasy result.
Troubleshooting and Chef’s Secrets for Perfect Results
Solving Common Frying and Wrapping Problems
Why Are My Spring Rolls Oily? (Too Cold Oil)
Oil below 340°F results in the wrapper absorbing grease rather than creating a crispy seal.
Fry in small batches of 3-4 rolls only, waiting for the oil to reheat back to 350°F between additions if the temperature drops sharply.
Why Did My Rolls Leak or Unravel? (Bad Sealing)
Ensure a liberal, clean application of egg wash and a very tight roll when sealing.
If your filling is overly moist, it can also weaken the structural integrity of the wrapper; drain excess liquid before filling if necessary.
Why Did the Wrappers Burn Quickly? (Too Hot Oil)
If the oil exceeds 375°F, the exterior will crisp faster than the filling can heat through.
If the oil gets too hot, pull the pot off the heat momentarily to allow the temperature to stabilize before continuing.
Pro Tips for Maximum Efficiency and Flavor
Make-Ahead Magic: Prepping Rolls for Later
Assemble the rolls completely, then arrange them on a sheet pan lined with parchment paper, ensuring they do not touch.
Cover them loosely and refrigerate for up to 24 hours before frying.
Freezing for Future Cravings
To freeze, flash freeze the assembled, uncooked rolls on a tray until rock solid, then transfer them to an airtight container.
Cook them straight from frozen at 350°F, increasing the frying time by 1-2 minutes to allow the interior to warm fully.
Reusing Frying Oil Safely
Allow the oil to cool completely after frying, then strain it through a fine-mesh sieve lined with cheesecloth to remove food particles.
Store the clean oil in an airtight container in a cool, dark place for up to 2-3 uses for future beef appetizers.
Testing the Oil Temperature Without a Thermometer
Dip the tip of a wooden spoon or chopstick into the hot oil.
If the oil immediately forms a steady stream of medium-sized bubbles around the wood, it is ready (350°F).
For a similar savory sensation, explore these sticky glazed meatballs for your next meal.
Presentation and Pairings: Elevating the Final Bite
The Perfect Dipping Sauce Companion
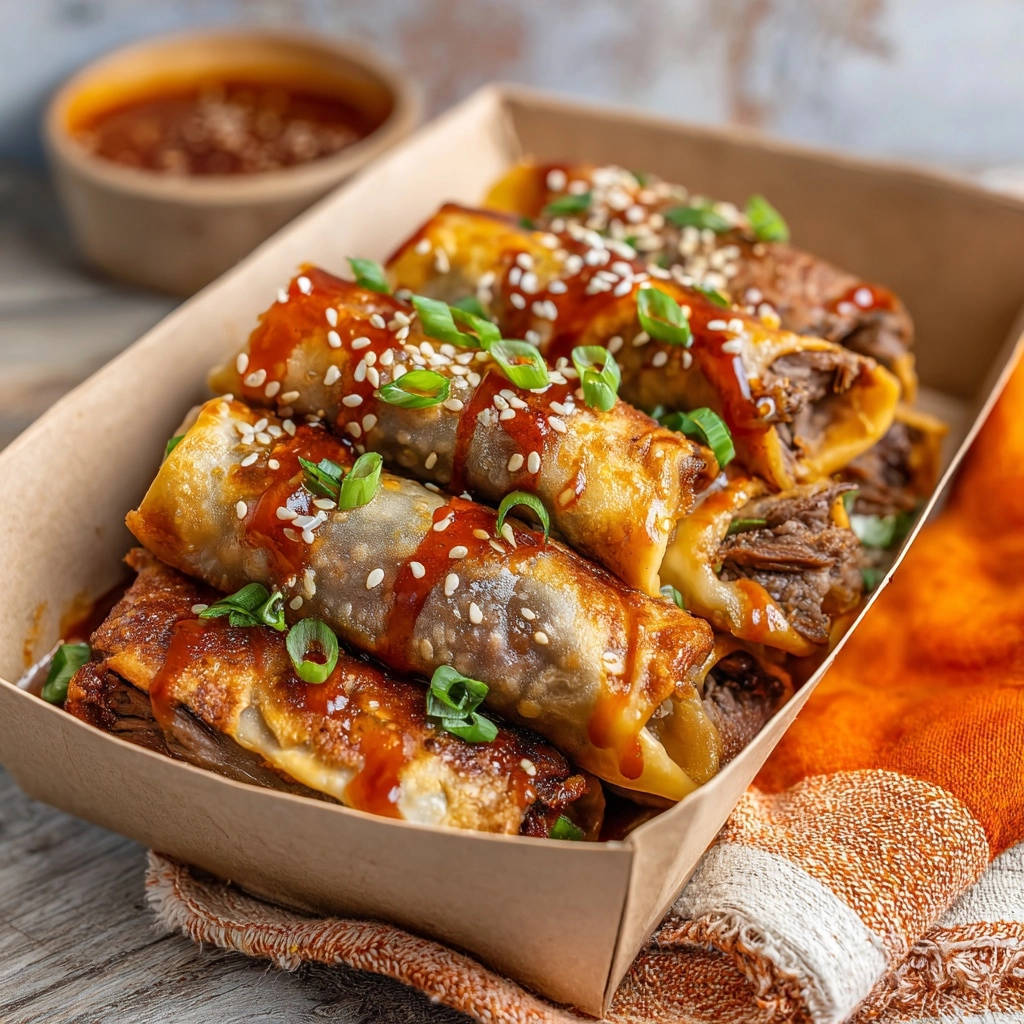
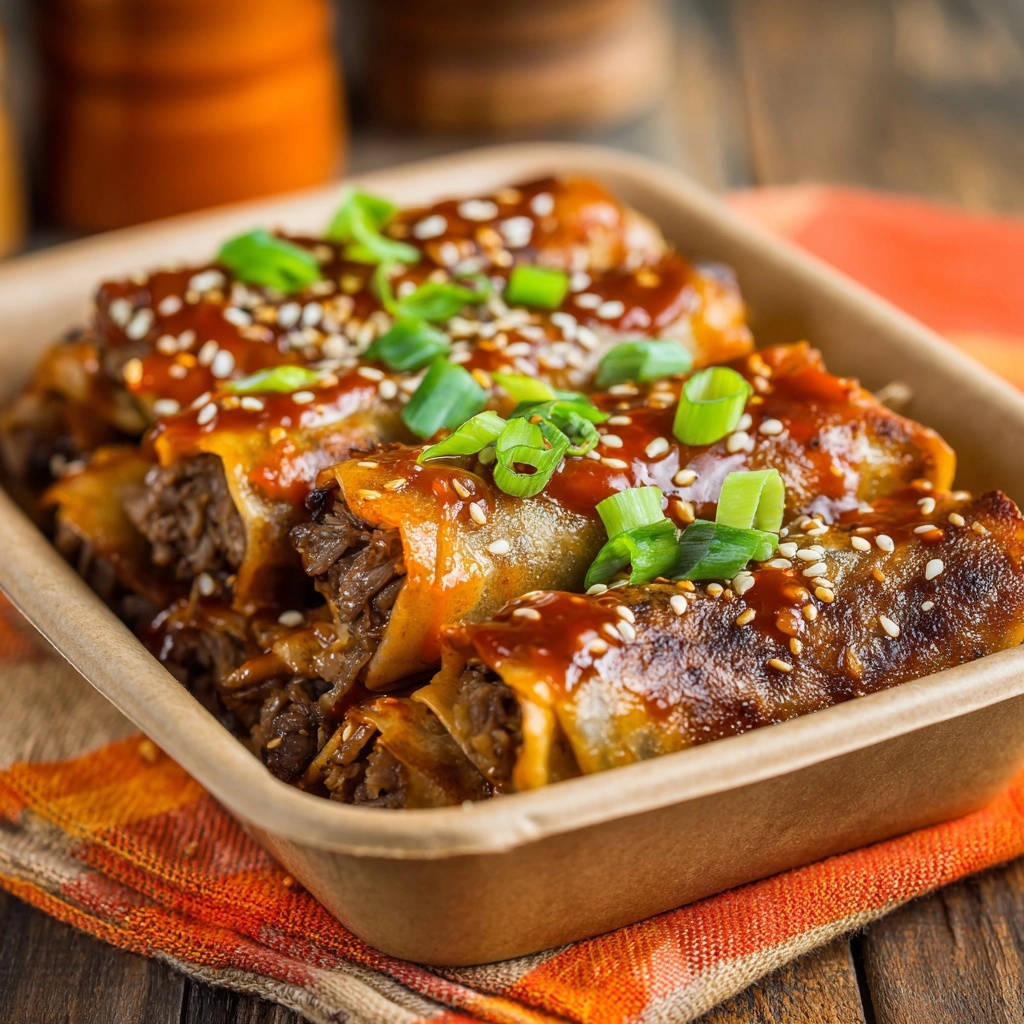
The remaining Hoisin or Asian BBQ sauce is essential for drizzling over the hot rolls and serving as a dipping companion.
For an elevated experience, consider adding a small bowl of sweet chili sauce or a creamy peanut dipping sauce to the table for variety.
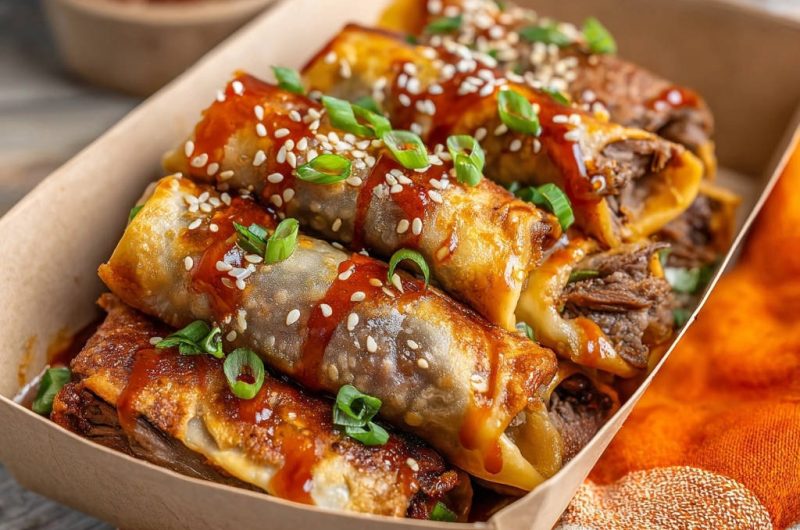
Garnishing for Impact: Scallions and Sesame Seeds
Liberal application of thinly sliced scallions adds a crucial pop of fresh, sharp onion flavor and vibrant color.
Toasted sesame seeds provide a subtle nutty layer and appealing textural contrast against the crisp wrapper.
Suggested Side Dishes for a Complete Meal
Complement the richness of the spring rolls with refreshing, light sides.
Consider serving a crisp, light Asian slaw dressed in rice wine vinegar or a cooling cucumber salad alongside your main dish.
Steamed sticky rice is also an excellent pairing for a hearty and satisfying full dinner experience.
What Else to Try
If you enjoyed these crispy spring rolls, you might like these beef-centric recipes.
- For a similar savory beef experience, consider this Sticky Korean Beef Rice Bowl, offering a different take on beef flavor.
- If you appreciate well-cooked chicken with a flavorful glaze, give these Sticky Sesame Glazed Chicken Thighs a look.
Frequently Asked Questions About Crispy Shredded Beef Spring Rolls
Can I make these in an air fryer or oven instead of deep frying?
Air frying provides a decent alternative, yielding a good crunch, though it won’t be as shatteringly delicate as deep-fried.
Brush the rolls lightly with oil and cook in the air fryer at 380°F (195°C) for 10-12 minutes, flipping halfway through.
Baking is not recommended for achieving true crispness; the wrapper tends to harden rather than bubble and crisp properly.
What is the best type of oil for frying spring rolls?
Always use oils with a high smoke point and neutral flavor, such as canola, vegetable, or peanut oil.
These oils can withstand the high heat necessary (350°F) without breaking down or imparting undesirable flavors to the food.
Do not use low smoke point oils like olive oil or butter for deep frying.
What if I don’t have cooked shredded beef?
If starting from scratch, season a beef shoulder cut and cook it low and slow in a slow cooker, pressure cooker, or oven until it is tender enough to shred effortlessly.
Ensure all residual cooking liquid is strained or drained from the meat before mixing the shredded beef with the sauces.
Ready to Roll? Share Your Golden Spring Roll Masterpiece!
Now that you know the critical secret to the non-greasy cooling rack, you can achieve restaurant-quality results in your own kitchen.
These Crispy Shredded Beef Spring Rolls are a guaranteed crowd-pleaser, perfect for appetizers or a hearty dinner.
Give this proven frying technique a try and leave the soggy spring rolls in the past! Share your success and your favorite dipping sauce pairings.
Shredded Beef Spring Rolls
Course: AppetizerCuisine: AsianDifficulty: medium6
servings25
minutes15
minutes450
kcal40
minutesThis recipe guarantees shatteringly crisp spring rolls by employing a critical cooling rack technique that prevents the oil from soaking back into the wrapper. Filled with savory shredded beef shoulder seasoned with hoisin, soy, and ginger, these rolls are perfect for entertaining or a satisfying snack.
Ingredients
1 pound cooked, shredded beef shoulder
1 cup prepared Asian-style BBQ or Hoisin sauce (divided)
1 tablespoon soy sauce
1 teaspoon fresh grated ginger
12 spring roll wrappers (standard size)
1 egg, beaten (for sealing)
4 cups vegetable oil or canola oil (for frying)
2 scallions, thinly sliced (for garnish)
1 tablespoon sesame seeds (for garnish)
Directions
- Prepare the Filling: If you do not have pre-shredded beef, shred the cooked beef shoulder by hand. In a large bowl, combine the shredded beef, 1/4 cup of the prepared BBQ or Hoisin sauce, soy sauce, and grated ginger. Mix well until the beef is evenly coated and seasoned.
- Assemble the Rolls: Lay one spring roll wrapper on a clean surface, positioned like a diamond (corner pointing toward you). Place about 3 tablespoons of the seasoned beef filling just below the center.
- Wrap and Seal: Fold the bottom corner up and over the filling. Fold the left and right corners in toward the center. Brush the top edge of the remaining diamond with the beaten egg wash. Roll the wrapper tightly away from you until you reach the top point, creating a compact cylinder. Ensure the seams are completely sealed to prevent leakage during frying. Repeat with the remaining rolls.
- The Non-Greasy Fry Setup (The Hook Fix): Place a large, sturdy cooling rack (like a baking rack) over a sheet pan. This setup is crucial: frying paper towels allows the oil to steam back into the wrapper, making it soggy. The rack allows air circulation for maximum crispness.
- Frying Technique: Heat the vegetable oil in a deep pot or wok until it reaches 350 degrees F (175 degrees C). Use a thermometer, as precise temperature control is key. If the oil is too cold, the wrappers will absorb grease; if it is too hot, they will burn before the filling is heated through.
- Cook to Golden: Carefully add 3 to 4 spring rolls to the hot oil, ensuring you do not crowd the pan. Fry for 3 to 4 minutes, turning occasionally, until they are evenly golden brown and crisp on all sides.
- Immediate Crisp Lock-In: Immediately remove the spring rolls from the oil using tongs and place them directly onto the prepared cooling rack over the sheet pan. Do not place them on paper towels. Let the rolls drain and cool for 5 minutes on the rack. The air flow underneath is what guarantees the golden, non-greasy exterior.
- Serve: Drizzle the remaining prepared BBQ or Hoisin sauce over the crispy spring rolls. Garnish liberally with sliced scallions and sesame seeds. Serve immediately alongside the extra dipping sauce bowl.
Notes
- The use of a cooling rack over a sheet pan for draining is essential for maximum crispness and preventing grease absorption.


