
Who else has grappled with homemade caramel popcorn that turns out stubbornly sticky or disappointingly soft? I’ve been there, but I’ve perfected a game-changing method for truly irresistible, perfectly crisp Homemade Caramel Popcorn. This recipe delivers that coveted crunch every single time, making store-bought versions a distant memory.
Beyond Sticky: Why Our Homemade Caramel Popcorn is a Game-Changer
The Crispness You Crave, Every Time
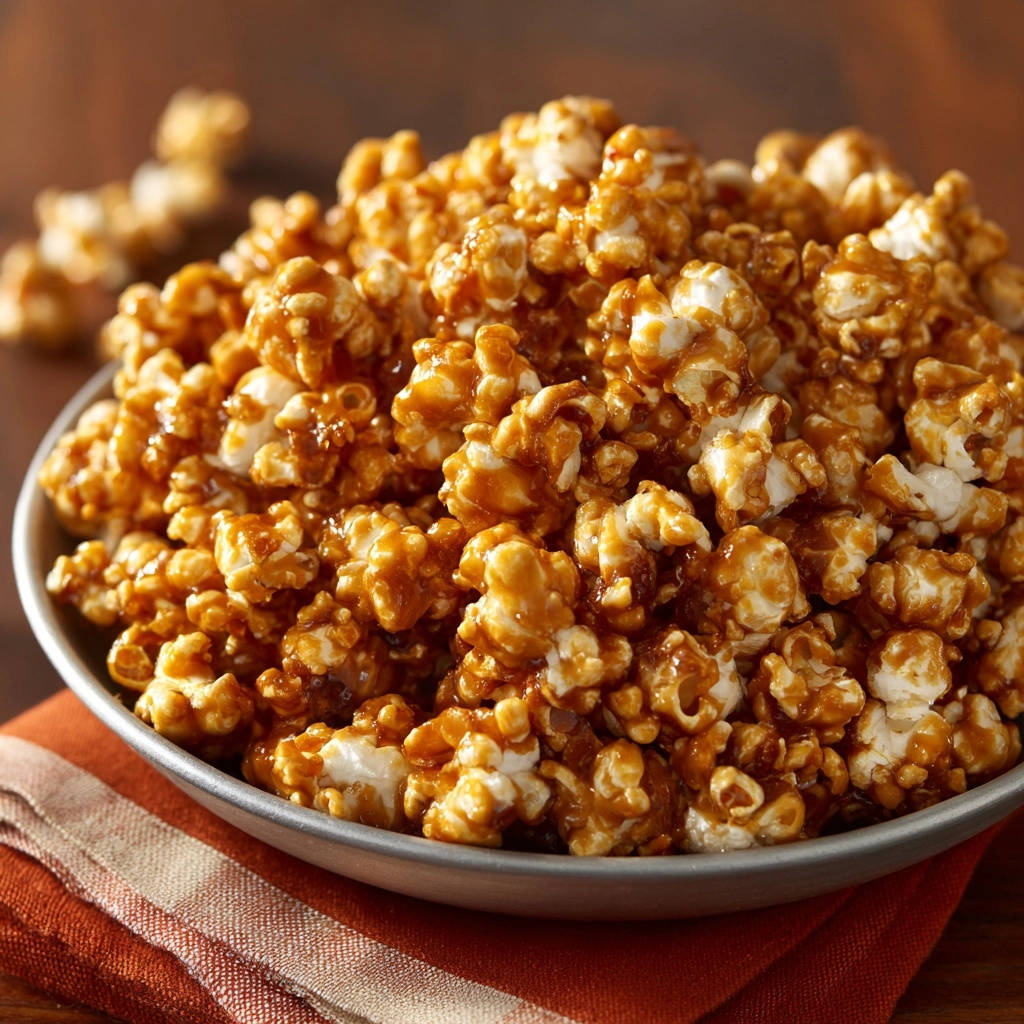
Forget the frustrations of gooey, teeth-sticking caramel. Our unique baking method guarantees a consistently crunchy texture, transforming your popcorn into delightfully crisp, non-sticky bites.
This recipe ensures each kernel is perfectly coated and dried, preventing the common pitfalls of a soft or chewy result. You’ll achieve that ideal snap with every sweet mouthful.
Ditch the Store-Bought: Unmatched Flavor & Texture
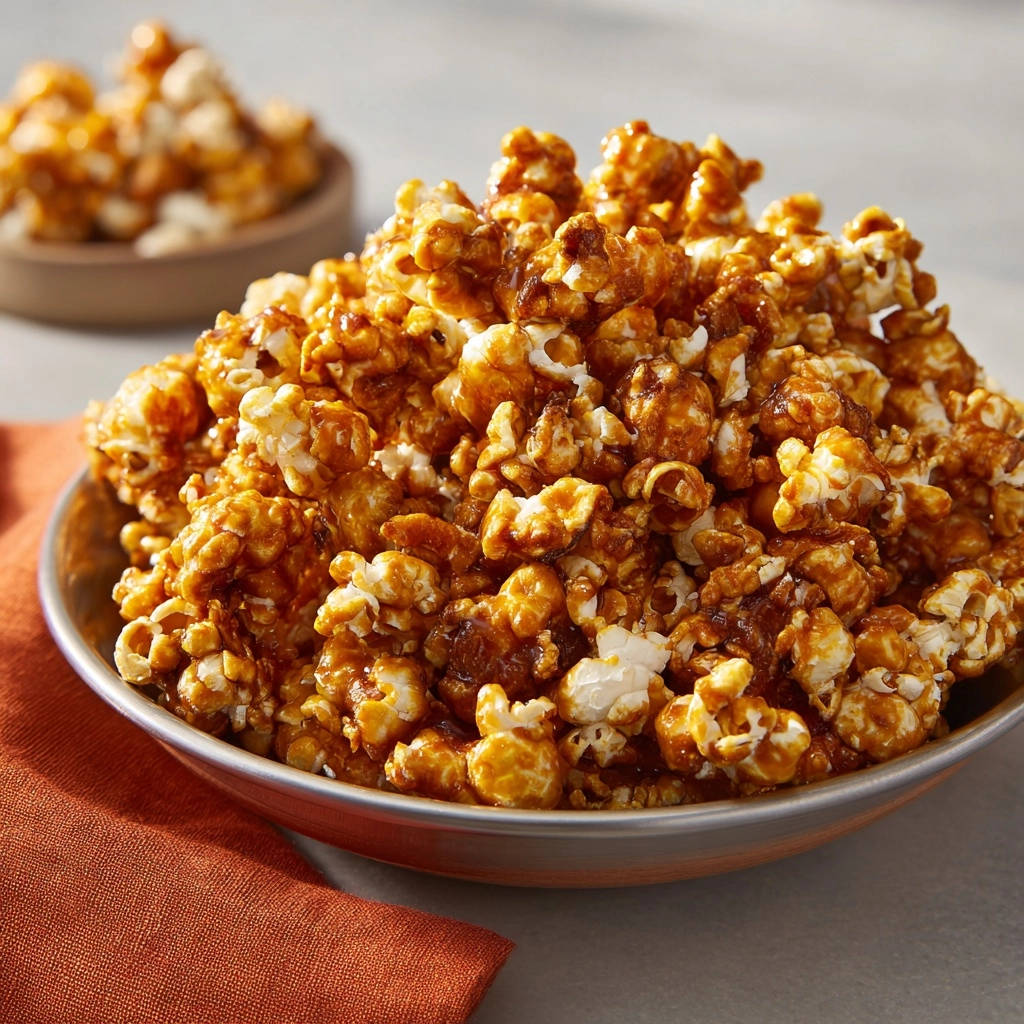
Experience the superior taste and artisanal quality of truly homemade caramel popcorn. The fresh ingredients and meticulous process yield a depth of flavor and satisfying texture that commercial versions simply cannot replicate.
Every batch offers a rich, buttery caramel essence that highlights the pure joy of a classic sweet treat. It’s a genuine taste of homemade goodness.
Simple Steps, Impressive Results: Accessible for All Bakers
Despite delivering professional-level crispness, this recipe is surprisingly manageable for home cooks. Our clear, detailed steps guide you to impressive results without unnecessary complexity.
Whether you’re a novice or an experienced baker, you can confidently create a batch of delightful caramel popcorn that will earn rave reviews.
Building Blocks for Sweet Success: Your Ingredient Checklist
The Popcorn Base: Fluffy Foundations
For the best foundation, use fresh kernels. While butterfly kernels are common and create light, irregular shapes perfect for clinging caramel, mushroom kernels offer a rounder, denser puff if you prefer.
You’ll need approximately 1/2 cup of unpopped kernels to yield 12 cups of fluffy popped popcorn. Crucially, meticulously remove any unpopped kernels to avoid an unwelcome hard surprise in your finished treat.
Crafting the Caramel: Essential Sweeteners & Fats
Unsalted butter provides richness and a delicious, pure buttery flavor to the caramel. Its fat content also contributes to a smooth, luxurious texture.
Packed light brown sugar adds depth with its molasses notes, contributing to the caramel’s chewiness and complex flavor profile.
Light corn syrup is a vital ingredient, acting as an invert sugar that prevents the brown sugar from crystallizing. This ensures a beautifully smooth, glossy caramel that won’t turn grainy.
A touch of salt is essential to balance the sweetness of the caramel. It enhances all the flavors, preventing the popcorn from being overly cloying.
The Magic Touch: Baking Soda & Vanilla Explained
Baking soda is a secret weapon in caramel making. When stirred into the hot caramel, it reacts with the acidic brown sugar and corn syrup, creating tiny carbon dioxide bubbles.
This reaction results in a lighter, less dense, and more tender caramel coating that is easier to chew. It also helps the caramel foam up, making it easier to coat the popcorn.
Vanilla extract adds a warm, aromatic depth to the caramel. It enhances the overall flavor profile, complementing the butter and brown sugar beautifully.
Essential Gear for Perfect Caramel Popcorn at Home
Very Large Heatproof Bowl: This oversized bowl is crucial for effectively tossing and coating your popped popcorn with hot caramel without spillage, ensuring even distribution.
Large, Heavy-Bottomed Saucepan: Essential for making the caramel sauce, a heavy bottom provides even heat distribution. This prevents the sugar from scorching in spots and ensures a consistent boil.
Parchment Paper or Silicone Baking Mats: These are non-negotiable for lining your baking sheets. They prevent the sticky caramel popcorn from adhering to the pan during both baking and cooling.
Two Large Baking Sheets: Using two sheets allows you to spread the caramel popcorn into a thin, single layer. This maximum surface area is key for the even baking and drying process that leads to ultimate crispness.
Large Spoon or Spatula: A sturdy, heatproof utensil is needed for gently folding and stirring the hot caramel into the popcorn, ensuring every kernel is evenly coated as quickly as possible.
Your Step-by-Step Journey to Homemade Caramel Popcorn Perfection
Prepping Your Popcorn & Oven
Pop the popcorn using your preferred method, aiming for 12 cups of fluffy kernels. Take great care to remove every unpopped kernel from the bowl; this ensures a perfectly enjoyable and safe snacking experience.
Preheat your oven to 250°F (120°C) and line two large baking sheets with parchment paper or silicone mats. This low and consistent oven temperature is absolutely key to the crucial drying process of the caramel.
Mastering the Caramel Sauce: The Unstirred Boil
In a large, heavy-bottomed saucepan, combine the unsalted butter, packed light brown sugar, light corn syrup, and salt. Cook this mixture over medium heat, stirring constantly, until the butter is fully melted and the sugar has completely dissolved.
Once dissolved, bring the mixture to a full, rolling boil without any further stirring. Continue to boil for precisely 5 minutes. This specific boiling time is critical for the caramel to reach the correct consistency and helps prevent crystallization.
The Crucial Coating Phase
Remove the saucepan from the heat immediately. Carefully stir in the baking soda and vanilla extract; the mixture will visibly foam up and lighten in color, which is the desired chemical reaction creating a lighter caramel coating.
Without delay, pour the hot, foaming caramel evenly over the popped popcorn in your very large bowl. Using a large spoon or spatula, gently fold and stir the popcorn until it is as evenly coated as possible. Work quickly as the caramel will begin to thicken rapidly.
For more delicious caramel goodness, try these sea salt caramel cookies.
The Secret Bake: Achieving Unbeatable Crispness
Divide the coated popcorn evenly between the two prepared baking sheets. Spread it out into a single layer as much as possible, ensuring no large clumps. This maximizes the surface area exposed to heat, promoting even drying.
Place the baking sheets in the preheated oven and bake for 45 to 60 minutes, stirring the popcorn gently every 15 minutes. This low and slow baking process is the secret to drying out the caramel, preventing stickiness, and achieving that perfectly crisp texture. The popcorn will deepen in color and feel less sticky over time.
Cooling & Storing Your Crunchy Treat
Once baked to your desired crispness, which should be evident by a deeper golden color and a less sticky feel, remove the popcorn from the oven. Allow it to cool completely and undisturbed on the baking sheets. As it cools, the caramel will firm up and become wonderfully crunchy.
Once fully cooled, gently break the Homemade Caramel Popcorn apart into individual, serving-sized pieces. Store your delicious, crunchy treat in an airtight container at room temperature for up to one week to maintain its freshness and delightful crispness.
Chef’s Secrets: Elevating Your Homemade Caramel Popcorn Experience
Popcorn Prowess: Always use fresh popcorn kernels for optimal popping and the best texture. If you’re air-popping, ensure your machine is meticulously clean to avoid any lingering off-flavors.
Caramel Control: After the caramel mixture reaches a boil, resist the urge to stir it. Stirring at this stage can introduce sugar crystals back into the solution, leading to a grainy or crystallized caramel texture.
Coating Catastrophe Averted: Speed is your ally when coating the popcorn. Have your large bowl and spoon ready, as the caramel thickens quickly, making even distribution more challenging if you hesitate.
Baking Brilliance: The Low-and-Slow Advantage: The extended, low-temperature baking step is paramount. Do not skip or rush this process, as it is the ultimate secret to non-sticky, perfectly crisp Homemade Caramel Popcorn.
Salt Satisfaction: For an extra layer of flavor and to beautifully balance the sweetness, consider adding a tiny pinch more salt to your caramel. A light sprinkle of flaky sea salt after baking also provides a delightful contrast.
Tackling Sticky Situations: Common Caramel Popcorn Problems Solved
Why is My Caramel Popcorn Sticky?
Stickiness most often signals that the caramel has not been adequately dried out. The crucial low and slow oven baking step is designed to evaporate moisture from the caramel, making it crisp.
Ensure you bake the popcorn for the full recommended time, or even a bit longer, and always spread it into a very thin, single layer on the baking sheets for maximum air exposure.
Caramel Won’t Harden?
If your caramel remains soft or gooey even after cooling, it likely did not reach a high enough temperature during the initial boiling phase. The sugar needs to cook sufficiently to achieve the correct consistency.
Confirm your caramel boils vigorously for a full 5 minutes without interruption. For consistent results, consider using a candy thermometer next time, aiming for a temperature between 240-250°F (115-121°C).
Unevenly Coated Popcorn
Uneven coating usually occurs if the hot caramel cools too rapidly before it’s thoroughly distributed, or if you don’t work quickly enough. The caramel thickens fast, making it harder to spread.
To ensure uniform coverage, work swiftly when pouring and folding the caramel into the popcorn. Use a large utensil to gently but quickly incorporate all the caramel, scraping the bottom of the bowl for every delicious drop.
Beyond the Bake: Serving, Storing, and Sharing Your Creation
Perfect Pairings & Serving Suggestions
Homemade Caramel Popcorn is a star on its own, but its versatility makes it an excellent addition to other treats. Crumble it over scoops of vanilla ice cream for a delightful crunch, or mix it into a gourmet snack mix.
It also makes a charming and much-appreciated homemade gift. Simply package your cooled, broken-apart caramel popcorn in decorative bags or jars for holidays, birthdays, or just a thoughtful gesture.
Keeping It Fresh: Optimal Storage Tips
To preserve the irresistible crunch and flavor of your caramel popcorn, proper storage is key. Always ensure it has cooled completely before transferring it to an airtight container.
Store the container at room temperature, as exposure to air is the primary enemy of crispness. Avoid refrigeration, as the moisture and cold can cause the caramel to become sticky and lose its texture.
Can You Make It Ahead?
Absolutely! This Homemade Caramel Popcorn recipe is ideal for making in advance, perfect for parties, gifts, or simply having a delicious snack on hand. When stored correctly in an airtight container, it maintains its superior quality and crunch for up to one week.
Your Homemade Caramel Popcorn Questions Answered
What kind of popcorn kernels are best?
While most good quality popping corn will yield excellent results, butterfly-shaped kernels are generally preferred. Their irregular shape provides more nooks and crannies for the sweet caramel to cling to beautifully, resulting in a satisfyingly coated bite.
Can I use microwave popcorn?
It’s generally not recommended to use microwave popcorn for this recipe. Microwave popcorn often contains added buttering agents, salt, and other flavorings that can interfere with the caramel’s adhesion, alter the intended flavor, and make it difficult to achieve the desired crispness.
How do I clean the sticky saucepan?
Cleaning a caramel-coated saucepan is surprisingly easy! Simply fill the saucepan with water, bring it to a boil on the stovetop, and simmer for a few minutes. The hardened caramel will dissolve and melt away into the hot water, making the pan simple to wash afterwards.
Can I add nuts or other mix-ins?
Yes, absolutely! For delicious variations, you can gently fold in roasted nuts such as pecans, cashews, or peanuts with the coated popcorn before baking. If you desire chocolate, add chocolate chips or drizzles after the caramel popcorn has completely cooled, to prevent them from melting.
Ready to Create Your Own Homemade Caramel Popcorn Legend?
You now hold the definitive guide to crafting Homemade Caramel Popcorn that will earn you rave reviews. Say goodbye to soft, sticky disappointments and hello to perfectly crisp, wonderfully sweet, and utterly addictive batches every single time.
Don’t hesitate-gather your ingredients and embark on your caramel popcorn adventure today! We’d love to see your creations and hear about your success stories. Share your Homemade Caramel Popcorn photos and triumphs in the comments below!
Caramel Popcorn
Course: SnacksCuisine: AmericanDifficulty: medium8
servings15
minutes10
minutes350
kcal60
minutesStruggled with soft, sticky caramel popcorn? Discover the game-changing secret to wonderfully crisp and utterly addictive homemade caramel popcorn. Ditch store-bought for good with this easy recipe.
Ingredients
12 cups popped popcorn (about 1/2 cup unpopped kernels)
1 cup unsalted butter
2 cups packed light brown sugar
1/2 cup light corn syrup
1 teaspoon salt
1/2 teaspoon baking soda
1 teaspoon vanilla extract
Directions
- Pop the popcorn according to your preferred method. Be sure to remove any unpopped kernels to prevent a crunchy surprise later. Set the popped popcorn aside in a very large heatproof bowl.
- Preheat your oven to 250°F. Prepare two large baking sheets by lining them with parchment paper or silicone baking mats.
- In a large, heavy-bottomed saucepan, combine the butter, brown sugar, corn syrup, and salt. Cook over medium heat, stirring constantly, until the butter is melted and the sugar is dissolved.
- Bring the mixture to a rolling boil without stirring. Continue to boil for 5 minutes.
- Remove the saucepan from the heat. Carefully stir in the baking soda and vanilla extract. The mixture will foam up a bit, which is normal.
- Immediately pour the hot caramel evenly over the popped popcorn in the large bowl. Using a large spoon or spatula, gently fold and stir the popcorn until it is as evenly coated as possible. Work quickly as the caramel will begin to thicken.
- Divide the coated popcorn between the two prepared baking sheets, spreading it out into a single layer as much as possible.
- Place the baking sheets in the preheated oven. Bake for 45 to 60 minutes, stirring the popcorn every 15 minutes. This low and slow baking process is the secret to achieving that perfect crisp, non-sticky caramel. It dries out the caramel and ensures a delightful crunch. The popcorn will turn a deeper golden color and become less sticky as it bakes.
- Once baked to your desired crispness, remove the popcorn from the oven. Allow it to cool completely on the baking sheets. As it cools, the caramel will firm up and become wonderfully crunchy.
- Once fully cooled, break the caramel popcorn apart into serving-sized pieces. Store in an airtight container at room temperature for up to one week.
Notes
- Baking low and slow is key for crisp, non-sticky caramel popcorn.


