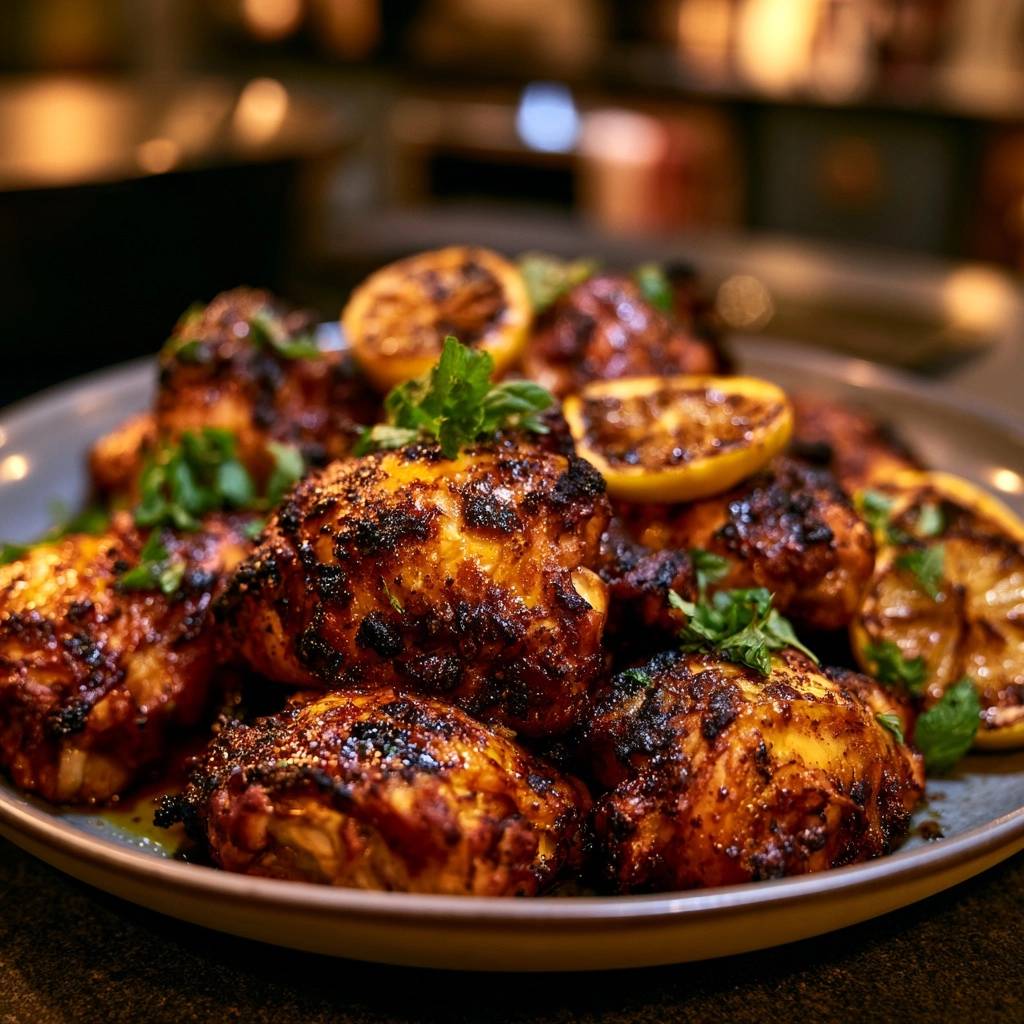
We have all been there. You crave that beautiful, dark restaurant-style char, but you end up with rubbery, pale skin or burnt meat that stays raw in the middle. It is incredibly frustrating to put in the effort only to serve a soggy dinner.
The secret to achieving that perfect, crackling exterior without drying out the chicken is all about moisture management and the cold-pan start. By removing surface moisture and rendering the fat slowly, you get a deep, golden crunch and a heavy, flavorful char every single time. You don’t need a professional grill to get these results; you just need to understand how heat interacts with poultry skin.
I’ve found that the biggest mistake home cooks make is dropping cold meat into a screaming hot pan. This shocks the proteins and traps a layer of unrendered fat underneath the skin. Instead, we are going to use a technique that allows the fat to melt away gradually, leaving behind nothing but a thin, glass-like crust. The secret is starting with a cold cast-iron skillet, which ensures the skin transforms before the meat overcooks.
The Science of Rendering Fat for Maximum Crunch
To understand why this recipe works, you have to look at the physics of chicken skin. Chicken skin is loaded with subcutaneous fat. If you hit that fat with high heat immediately, the surface proteins seize up and create a barrier. This traps the flabby fat underneath, resulting in that chewy, rubbery texture we all want to avoid.
The cold-pan start changes the game entirely. As the skillet gradually heats up, the fat begins to liquefy and “render” out of the skin. This liquid fat then acts as a shallow frying medium, essentially cooking the skin in its own juices. Because the temperature rises slowly, the skin has time to thin out and become incredibly brittle and crisp.
This process also facilitates a superior Maillard reaction. This isn’t just simple burning; it is a chemical reaction between amino acids and reducing sugars that creates hundreds of different flavor compounds. By the time the pan reaches a high temperature, the skin is already partially dehydrated and ready to take on that deep mahogany color without the meat becoming tough or dry.
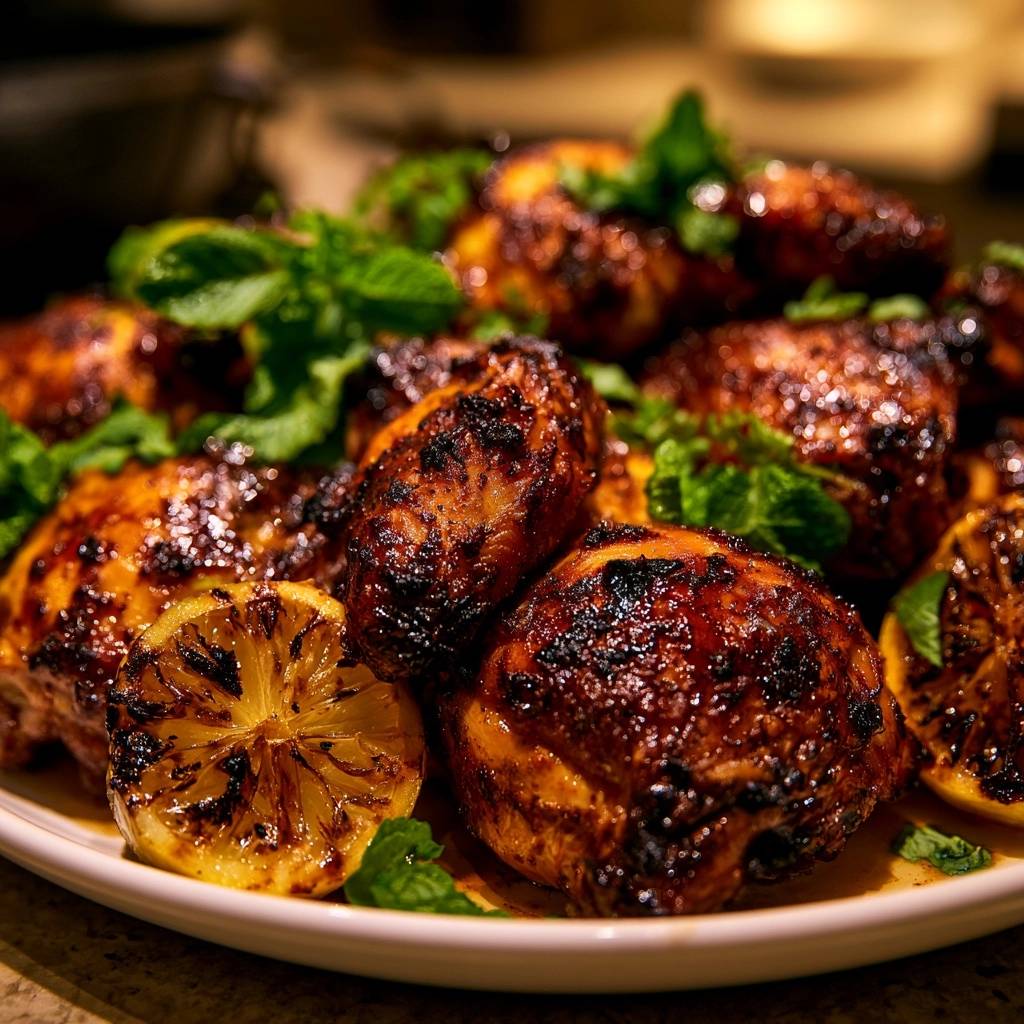
Essential Components for Charred Lemon Herb Chicken Thighs
Quality ingredients are the foundation of this dish. You must use bone-in, skin-on chicken thighs. The bone acts as an insulator, keeping the meat juicy while the exterior chars, and the skin provides the necessary fat for the rendering process. Boneless cuts simply won’t stand up to the long sear required for this level of crunch.
Kosher salt is another non-negotiable. Its large grains are perfect for drawing moisture out of the skin, which is essential for crisping. I also recommend using cracked black pepper rather than finely ground powder. The larger bits of pepper toast in the chicken fat, creating a textured crust that adds a sophisticated bite to every mouthful.
The Role of Honey in Achieving Deep Caramelization
Honey is the secret weapon for that “burnt” aesthetic that isn’t actually burnt. The natural sugars in honey have a lower caramelization point than the proteins in the meat. This means the honey accelerates the browning process, giving you those gorgeous dark edges and a rich, mahogany hue before the chicken reaches its final internal temperature.
If you don’t have honey in the pantry, don’t worry. You can substitute it with maple syrup or agave nectar. Both provide the necessary sugars to trigger that rapid caramelization. The goal isn’t to make the chicken sweet, but to use the sugar as a catalyst for a beautiful, dark crust that looks like it came off a professional wood-fired grill.
Fresh vs. Dried Herbs: Balancing Heat and Aroma
In this recipe, we use a combination of dried and fresh herbs for a specific reason. Dried oregano and onion powder are mixed into the initial rub because they can withstand the sustained heat of the skillet. Fresh herbs would simply turn bitter and black during the 20-minute sear, losing all their delicate floral notes.
We save the fresh parsley and mint for the very end. When you scatter these over the hot, resting chicken, the residual heat gently releases their volatile oils. This creates a bright, aromatic contrast to the heavy, smoky char of the skin. It is that final pop of freshness that makes the dish feel balanced and vibrant.
Step-by-Step: Achieving the Perfect Skillet Sear
Success with this recipe depends on your patience and your ability to listen to the pan. Follow these phases closely to ensure you don’t end up with a sticky mess or a dry dinner.
Phase 1: Moisture Removal and the Spice Paste
The most important step for crispy skin is to use a paper towel to pat the chicken thighs completely dry on both sides. I mean really dry. Any moisture left on the skin will turn into steam the moment it hits the heat. Steam is the enemy of crispiness; it will give you boiled, rubbery skin every time.
Once dry, whisk together your olive oil, honey, and spices to create a thick, fragrant paste. Don’t just smear it on top. You want to work that paste under the skin as well. This seasons the meat directly and ensures the flavor penetrates deep into the thigh, rather than just sitting on the surface.
Phase 2: The Cold-Pan Placement and Initial Render
Place your seasoned chicken thighs skin-side down in a large, cold cast-iron skillet. It is vital that you do not preheat the pan. Arrange them so they aren’t touching; overcrowding the pan traps steam between the thighs, which will ruin the crust. If your pan is small, work in batches.
Turn the heat to medium. You will hear a faint hiss at first, which will gradually grow into a steady, rhythmic sizzle. This is the sound of the fat rendering. If the pan starts popping violently or smoking heavily, turn the heat down just a touch. You want a controlled, consistent fry.
Phase 3: Managing the Char and Flipping
Now comes the hardest part: leave it alone. Let the chicken cook undisturbed for 15 to 18 minutes. Do not peek, do not move them, and do not flip them early. The skin will naturally “release” from the cast iron once the proteins have fully set and crisped. If you try to flip and it sticks, it isn’t ready yet.
Once the skin is dark and crispy, flip the thighs over. This is when you toss your thick lemon slices into the pan. Nestling them into the rendered chicken fat allows them to caramelize and char, creating a jammy, tart garnish that cuts through the richness of the meat. The aroma at this stage is absolutely incredible.
Troubleshooting Common Chicken Thigh Pitfalls
If you notice the skin is getting dark too quickly, don’t panic. Simply lower the heat to medium-low. The honey makes the skin brown faster than usual, so you have to balance that caramelization with the internal cook time. If the skin looks perfect but the meat near the bone is still pink, move the whole skillet into a 400°F oven for five minutes.
I always recommend using an instant-read thermometer. You are looking for an internal temperature of 165°F. Chicken thighs are very forgiving because of their fat content, so even if you hit 170°F, they will still be juicy. However, pulling them at exactly the right moment ensures the best possible texture.
Optimal Side Dishes for Citrus-Forward Poultry
To round out the meal, you want sides that can handle the bold, charred flavors. For a starchy option, try garlic-rubbed sourdough toast or roasted fingerling potatoes. These are perfect for mopping up the lemon-infused chicken fat left in the pan. It is liquid gold, so don’t let it go to waste!
If you want something lighter, a shaved fennel salad or charred broccolini works wonders. The slight bitterness of the greens cuts right through the savory richness of the chicken skin. For a more filling grain-based side, herbed couscous or quinoa provides a neutral base that soaks up the citrus juices beautifully.
Expert Tips for Flavor Variations
Once you master the cold-pan technique, you can pivot the flavors easily. For a “Spicy Mediterranean” version, swap the smoked paprika for a tablespoon of harissa paste. The heat from the chilies pairs perfectly with the charred lemon. Just keep an eye on the pan, as some chili pastes contain extra oil.
You could also try a “Smoky Orchard” version by replacing the honey with an apple cider reduction. This gives a deeper, autumnal sweetness that is fantastic in cooler months. Regardless of the spices you choose, keep your salt ratios the same to ensure the moisture is properly drawn out of the skin.
Frequently Asked Questions
Can I use chicken breasts for this recipe?
You can, but it is much harder to get right. Chicken breasts are leaner and dry out quickly. By the time the skin reaches that deep, mahogany char, the white meat will likely be overcooked. If you must use breasts, I suggest using a lower heat and checking the internal temperature frequently to avoid a dry result.
Why is my chicken skin sticking to the pan?
Sticking usually happens for two reasons: you tried to flip it too early, or your pan isn’t well-seasoned. When the skin is properly crisped and the proteins have bonded, it will naturally release from the skillet. Have patience! Give it another minute or two, and it should lift right up without tearing.
Is the honey necessary for the dark color?
The honey provides that specific, glossy mahogany aesthetic you see in professional food photography. While the chicken will still be delicious and crispy without it, it won’t have that same level of deep caramelization. If you want to avoid sugar, use a heavy dusting of smoked paprika to help achieve a darker color.
How do I store and reheat leftovers without losing the crunch?
Store leftovers in an airtight container in the fridge for up to three days. Never use a microwave to reheat them, as it will turn the skin into rubber. Instead, put the thighs in an air fryer at 375°F for 5 minutes or in a hot oven until the skin sizzles again. This brings back that signature crunch.
What is the best substitute for a cast-iron skillet?
A heavy-bottomed stainless steel pan is your next best bet. However, stainless steel is less non-stick than seasoned cast iron, so you have to be even more careful about not moving the chicken until it is fully ready to release. Avoid thin non-stick pans, as they don’t hold enough heat to create a proper char.
Resting and Serving for Maximum Juiciness
Do not skip the five-minute rest! When you take the chicken out of the pan, the muscle fibers are tight from the heat. Resting allows those fibers to relax and reabsorb the juices. If you cut into it immediately, all that moisture will run out onto the plate, leaving you with dry meat.
After the rest, plate the thighs and pour over any remaining pan juices. The final garnish of fresh mint and parsley provides a bright, cooling counterpoint to the intense, smoky char. Squeeze those caramelized lemon slices over the top for a final hit of acid, and you have a restaurant-quality meal right in your own kitchen.
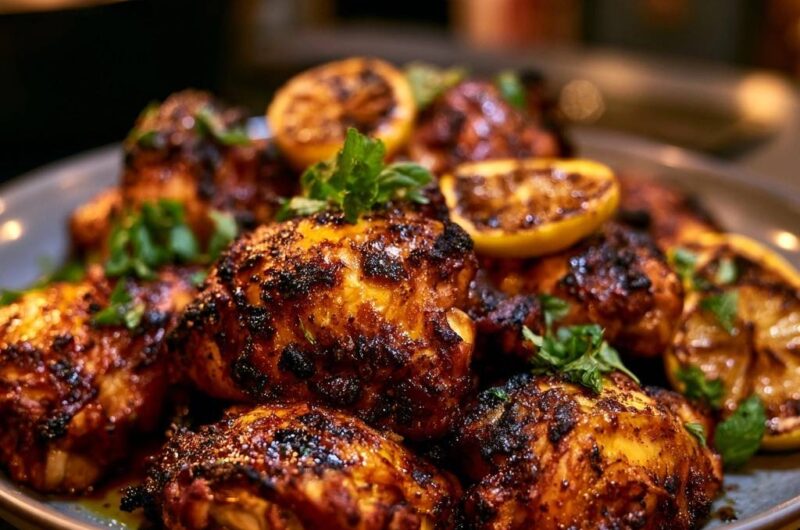
Charred Lemon Herb Chicken Thighs
Course: Main CourseCuisine: AmericanDifficulty: easy4
servings15
minutes30
minutes45
Minutes440
kcalAmerican
Ingredients
8 bone-in, skin-on chicken thighs
2 lemons, sliced into thick rounds
3 tablespoons olive oil
1 tablespoon honey (for the deep mahogany char shown)
1 tablespoon smoked paprika
1 tablespoon garlic powder
1 teaspoon dried oregano
1 teaspoon onion powder
1 teaspoon kosher salt
1/2 teaspoon cracked black pepper
Fresh parsley and mint for garnish
Directions
- The most important step for crispy skin is to use a paper towel to pat the chicken thighs completely dry on both sides. Any moisture left on the skin will cause the chicken to steam rather than sear.
- In a small bowl, whisk together the olive oil, honey, paprika, garlic powder, oregano, onion powder, salt, and pepper to create a thick paste. The honey is essential for achieving the dark, caramelized “burnt” edges seen in the image.
- Rub the spice paste thoroughly over the chicken, making sure to get plenty under the skin as well as on top.
- Place the chicken thighs skin-side down in a large, cold cast-iron skillet. Do not preheat the pan. Starting with a cold pan allows the fat to render out slowly, which is the fail-safe trick for maximum crispiness.
- Turn the heat to medium. Once the chicken begins to sizzle, let it cook undisturbed for 15 to 18 minutes. Because of the honey and spices, keep the heat at medium to ensure the skin chars deeply without burning the meat before it’s cooked through.
- Once the skin is dark, crispy, and releases naturally from the pan, flip the thighs over. Toss the lemon slices into the pan, nestling them into the rendered chicken fat.
- Continue cooking for another 10 to 12 minutes. If the chicken is very thick, you may finish it in a 400°F oven for the last 5 minutes to ensure the internal temperature reaches 165°F. The lemon slices should become heavily charred and caramelized.
- Remove from heat and let the meat rest for 5 minutes to lock in the juices. Garnish generously with fresh parsley, mint, and the charred lemon slices before serving.
Notes
- The cold-pan start is essential for rendering fat. If chicken is extra thick, finish in a 400 degree Fahrenheit oven for 5 minutes to reach an internal temperature of 165 degrees Fahrenheit.