Stop settling for rubbery, steamed chicken skin when you bake at home. Most home cooks make the mistake of tossing wings in sauce before they hit the oven, which traps moisture and results in a gummy mess. You want that satisfying crunch that usually only comes from a deep fryer, but without the vat of bubbling oil.
This recipe uses a specific dry-heat technique to render the fat first, ensuring a shatteringly crisp exterior that holds up even after being glazed in a sticky sweet chili sauce. By separating the rendering phase from the glazing phase, we achieve a texture that stays firm and crackly under a layer of caramelized sugar. It’s the ultimate bridge between deep-fried texture and oven-baked convenience.
The secret to this transformation is a simple pantry staple: baking powder. When you coat the skin in a small amount of baking powder, it chemically alters the surface to create micro-blisters. These tiny bubbles increase the surface area, allowing the heat to crisp the skin into a delicate, glass-like crust that mimics the best pub wings you’ve ever had.
The Chemistry of Crunch: Why Baking Powder Works
Baking powder is the unsung hero of the oven-baked wing world because it raises the pH level of the chicken skin. This alkaline environment breaks down the peptide bonds in the skin, allowing it to brown and crisp much faster than salt alone could ever manage. As the wings bake, the baking powder reacts with the natural juices to create tiny carbon dioxide bubbles.
It is vital to use aluminum-free baking powder to avoid any bitter or metallic aftertaste. Do not confuse this with baking soda, which has a much stronger flavor and won’t produce the same textural results. This chemical reaction encourages the Maillard reaction, which is the browning of sugars and proteins that gives roasted meat its savory, complex flavor profile.
Achieving the Perfect Surface Area for Heat
Elevation is your best friend when you’re chasing the perfect crunch. Placing the wings on a wire rack set over a foil-lined baking sheet is a non-negotiable step for success. This setup allows hot air to circulate 360 degrees around each wing, effectively turning your oven into a large-scale convection chamber.
If you place the wings directly on a flat baking sheet, they will sit in their own rendered fat. This leads to the dreaded “soggy bottom” syndrome where the underside of the wing steams rather than crisps. By lifting them up, the fat drips away, leaving the skin exposed to dry, intense heat from every single angle.
Essential Components for Charred Sweet Chili Chicken Wings
The foundation of this dish starts with bone-dry wings. Moisture is the enemy of the Maillard reaction, so you must pat the chicken with paper towels until there isn’t a drop of water left on the surface. Even a little bit of dampness will create steam, which softens the skin and prevents that golden-brown blister from forming.
Smoked paprika plays a dual role here, providing a subtle earthiness and a deep red hue that looks incredible once charred. For the sauce, look for a sweet chili glaze with a thick, syrupy viscosity. If the sauce is too watery, it will soak into the skin and ruin the hard work you put into the rendering phase.
Selecting and Prepping the Poultry
You can buy “party wings” which are already split into flats and drumettes, or you can buy whole wings and butcher them yourself. If you go the DIY route, simply cut through the two joints and discard the tips (or save them for stock). Whole wings are often cheaper and allow you to ensure the cuts are clean and even.
For the absolute best results, prep your wings a few hours early. After patting them dry and applying the baking powder mixture, let them sit uncovered in the fridge for about 4 hours. This cold air-drying further dehydrates the skin, making it even thinner and more prone to shattering once it hits the high heat of the oven.
The Glaze: Balancing Heat, Acid, and Sugar
A great sweet chili glaze needs more than just sugar to be memorable. While the base provides that classic sticky sweetness, adding fresh lime juice is essential to cut through the richness of the rendered chicken fat. The acid brightens the entire dish and keeps the sweetness from feeling cloying or one-note.
Sriracha adds a necessary layer of fermented heat and garlic depth that rounds out the flavor profile. You aren’t just looking for spice; you’re looking for a balance that makes your mouth water. Whisk these together until smooth, and always set aside a small portion for dipping so you don’t cross-contaminate the fresh sauce with raw chicken brushes.
Step-by-Step: Rendering and Crisping the Wings
Start your bake at 425°F, which is the “sweet spot” for rendering fat without burning the skin too quickly. As the wings cook for the first 35 to 40 minutes, you should hear a distinct sizzling sound. This is the sound of the fat melting away and the skin tightening up against the meat.
Halfway through the bake, use tongs to flip every single wing. You’ll notice the side touching the rack might have small indentations, but the skin should already look blistered and firm. Flipping ensures that the heat hits the thicker parts of the drumettes and the delicate skin of the flats with equal intensity.
The Toss: Coating Without Compromising Texture
Once the wings are golden and firm to the touch, remove them from the oven for the glazing phase. Work quickly here because you don’t want the internal temperature of the wings to drop too much. Dump the hot wings into a large bowl and pour the sauce over them, using a spatula to fold them gently.
The goal is a quick, aggressive toss. You want every nook and cranny of the blistered skin to be coated in a thin, even layer of sauce. Don’t let them soak in the bowl for minutes at a time, or the moisture in the sauce will begin to penetrate the crust you just spent 40 minutes building.
The Final Char: Caramelization Under High Heat
Return the coated wings to the wire rack and crank the oven up to 450°F or turn on the broiler. This final blast of heat is where the magic happens. The sugars in the sweet chili sauce will begin to bubble and darken, creating those beautiful mahogany edges and a tacky, finger-licking texture.
Watch them like a hawk during these last 5 to 8 minutes. Because the sauce has a high sugar content, it can go from perfectly charred to burnt in a matter of seconds. You’re looking for the sauce to look “set” and slightly caramelized, with just a few spots of blackened char to provide a smoky contrast to the sweet glaze.
Troubleshooting Common Wing Texture Issues
If your wings come out soft despite following the steps, check your pan spacing. Overcrowding the wire rack creates a humid environment where the wings “breathe” on each other, trapping steam. Always leave at least half an inch of space between each piece of chicken to ensure the air can flow freely.
If you find the wings are browning too fast but the fat hasn’t fully rendered, move your oven rack to a lower position. This keeps them away from the intense heat at the top of the oven while still allowing them to cook through. Remember, the rendering process takes time; you can’t rush the fat out of the skin.
Flavor Variations and Heat Adjustments
You can easily customize the heat level of these wings by playing with the glaze ratios. If you love a slow burn, double the Sriracha or add a teaspoon of red pepper flakes. For a more aromatic experience, whisk in a teaspoon of freshly grated ginger or a clove of minced garlic before the final charring phase.
While fresh dill provides a surprising and cooling herbal note, you can swap it out for traditional garnishes. Sliced scallions or fresh cilantro work beautifully with the chili profile. For an extra layer of texture, sprinkle some toasted sesame seeds over the wings immediately after they come out of the final bake.
Optimal Side Dishes for Sticky Glazed Poultry
Since these wings are rich, sweet, and savory, you want side dishes that offer a refreshing contrast. A crisp cucumber salad with a light rice vinegar dressing is the perfect palate cleanser. The cool, watery crunch of the cucumbers balances the sticky, charred intensity of the chicken.
If you want something more filling, serve the wings alongside a bowl of fluffy jasmine rice or some charred bok choy. Avoid heavy, greasy sides like fries or macaroni and cheese. You want the wings to be the star of the show, supported by clean, bright flavors that keep you coming back for another bite.
Expert Tips for Large Batch Cooking
When hosting a party, you can manage multiple batches by using two oven racks at once. Just be sure to rotate the pans from top to bottom halfway through the bake to account for uneven oven temperatures. This ensures that both batches render at the same rate and achieve the same level of crispness.
If you need to keep the first batch warm while the second batch finishes, set your oven to its lowest “warm” setting (usually around 170°F). Keep the wings on the wire rack so air continues to circulate. Never cover them with foil while they wait, as the trapped steam will turn your crispy skin soft in minutes.
Frequently Asked Questions
Can I use frozen wings for this recipe?
Yes, but you must thaw them completely in the refrigerator first. Frozen wings release a significant amount of moisture as they defrost. Once thawed, spend extra time patting them dry with paper towels. If possible, let them air-dry in the fridge for a few hours after patting them down to ensure the skin isn’t waterlogged before you apply the baking powder.
Why is my baking powder leaving a metallic taste?
This usually happens for two reasons: using baking powder that contains aluminum or using too much of it. Always check the label for “aluminum-free.” Additionally, stick to the ratio of one tablespoon per two pounds of wings. A little goes a long way, and over-coating the wings won’t make them crispier; it will just leave a powdery, unpleasant residue.
How do I store and reheat leftovers?
Store leftovers in an airtight container in the fridge for up to three days. To reheat, avoid the microwave at all costs, as it will make the skin rubbery. Instead, place the wings back on a wire rack in a 375°F oven or an air fryer for 5 to 7 minutes. This will reactivate the sugars in the glaze and crisp the skin back up to its original glory.
Is there a substitute for Sriracha in the glaze?
If you don’t have Sriracha, Sambal Oelek is a fantastic substitute that adds a nice chunky texture and a similar heat level. You could also use a pinch of cayenne pepper or a dash of your favorite hot sauce. Just keep in mind that thinner hot sauces might slightly change the viscosity of the glaze, so you may need to simmer it for a minute to thicken it back up.
Can I make these in an Air Fryer?
Absolutely! The air fryer is essentially a high-powered convection oven. Set your air fryer to 380°F and cook the wings in a single layer for about 20 to 25 minutes, shaking the basket halfway through. Once they are crispy, toss them in the sauce and return them to the air fryer at 400°F for 2 to 3 minutes to achieve that signature charred finish.
Charred Sweet Chili Chicken Wings
Course: Appetizer and Main CourseCuisine: AmericanDifficulty: easy4
servings10
minutes50
minutes60
Minutes420
kcalAmerican
Ingredients
2 pounds chicken wings, patted completely dry
1 tablespoon baking powder (aluminum-free preferred)
1 teaspoon kosher salt
1/2 teaspoon black pepper
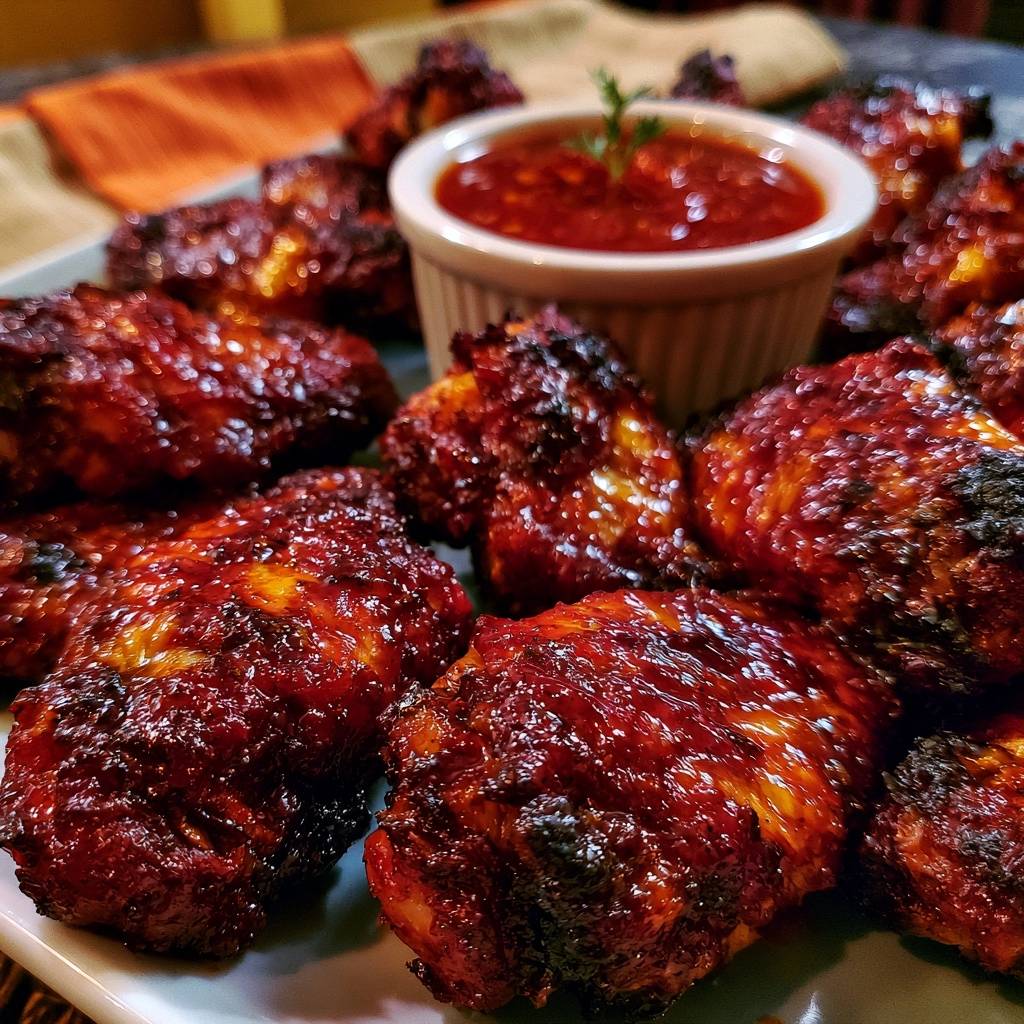
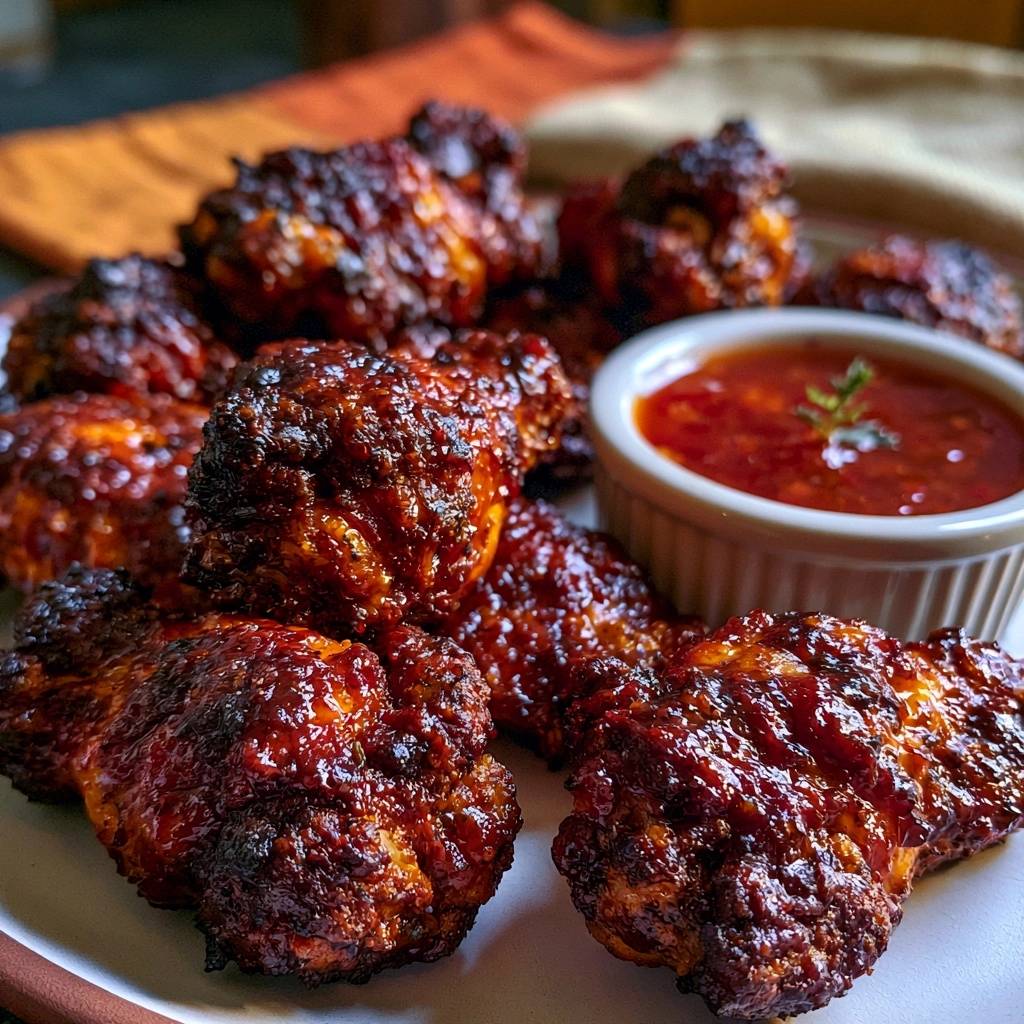
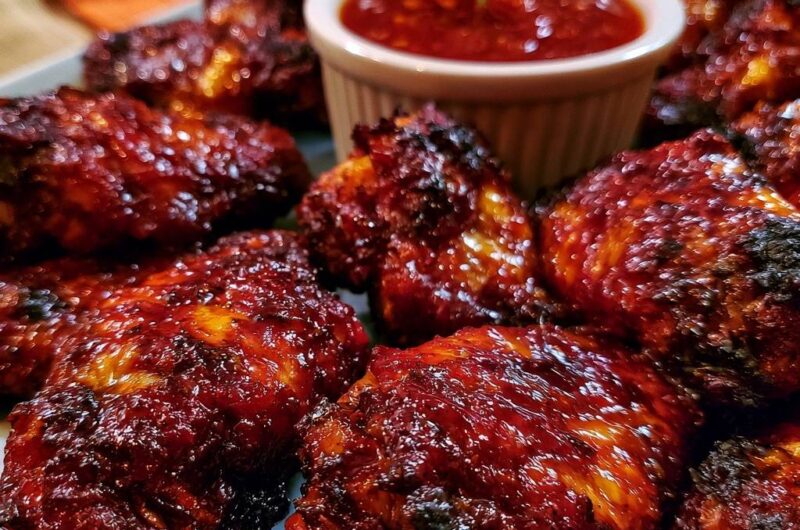
1/2 teaspoon smoked paprika (for the deep red hue shown in the image)
3/4 cup sweet chili sauce (divided)
1 tablespoon sriracha
1 teaspoon fresh lime juice
Fresh dill for garnish
Directions
- Moisture Removal: The secret to the crunch is moisture removal. Pat the wings with paper towels until they are bone dry. In a large bowl, toss the wings with the baking powder, salt, pepper, and smoked paprika. The baking powder raises the pH level of the skin, breaking down the peptide bonds to allow it to brown and crisp much faster than salt alone.
- The Setup: Arrange the wings on a wire rack set over a foil-lined baking sheet. This elevation is crucial as it allows hot air to circulate 360 degrees around the wing, preventing a soggy bottom.
- The First Bake: Place in a preheated 425°F (220°C) oven for 35 to 40 minutes. Flip the wings halfway through. You are looking for the fat to fully render and the skin to look golden, blistered, and firm to the touch.
- The Glaze: While the wings bake, whisk together the sweet chili sauce, sriracha, and lime juice in a small bowl. Set aside 1/4 cup of this mixture in a ramekin for dipping.
- The Charring Phase: Once the wings are crispy, remove them from the oven and immediately toss them in the remaining sauce until heavily coated.
- The Final Blast: Return the glazed wings to the wire rack. Increase the oven temperature to 450°F (230°C) or turn on the broiler. Bake for an additional 5 to 8 minutes. This high heat caramelizes the sugars in the sauce, creating the deep mahogany color and specific charred black edges visible in the image without losing the structural crunch of the skin. The chicken is done when it reaches 165°F (74°C) in the thickest part.
- Serve: Serve immediately while the glaze is tacky and the skin is hot. Garnish the dipping sauce and the platter with fresh dill as pictured.
Notes
- Using aluminum-free baking powder prevents a metallic aftertaste. The wire rack is essential to prevent soggy bottoms by allowing 360-degree airflow.