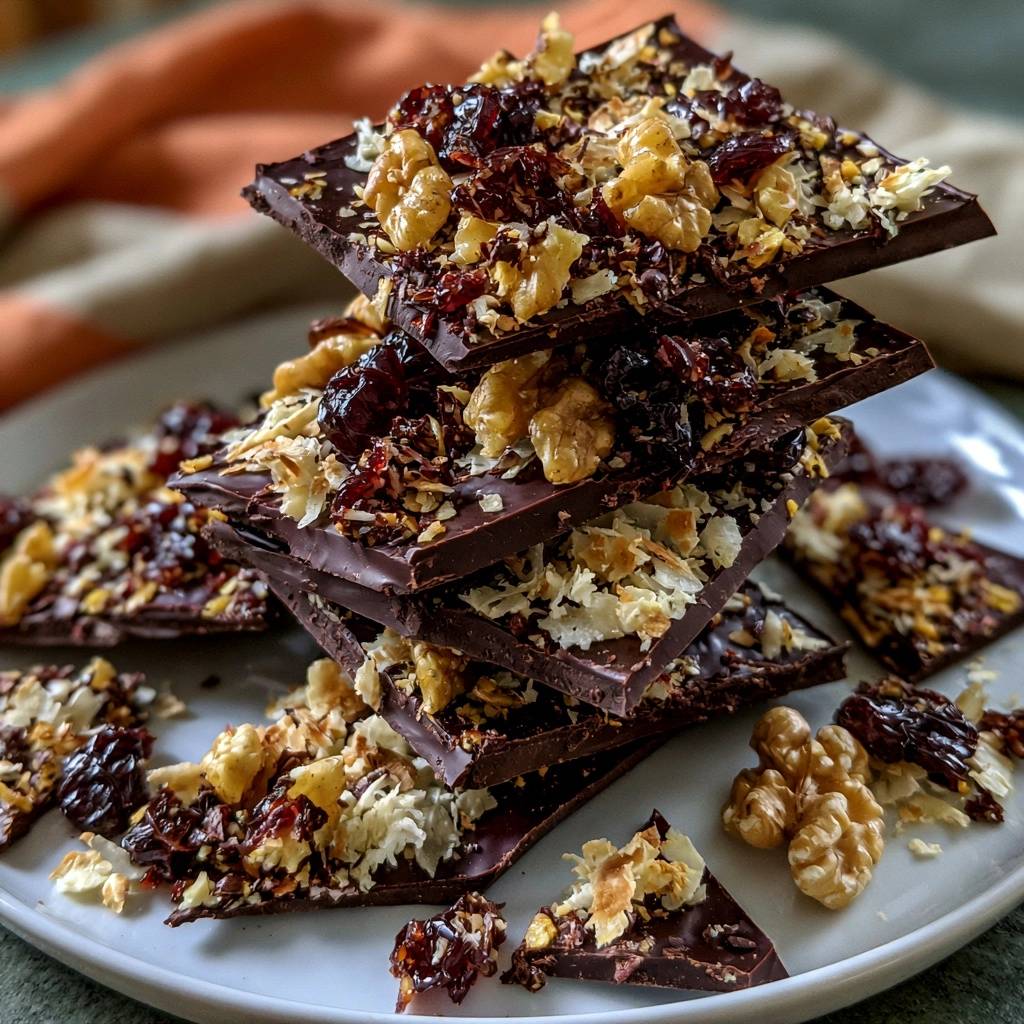
Listen for that sharp, clean “snap” when you break a piece of professional chocolate. That sound is the hallmark of a perfectly tempered bar, yet so many home cooks end up with a dull, bendy, or streaky mess. If you have ever made a batch of bark only to find it covered in weird white spots the next morning, you have experienced “bloom.”
The secret to avoiding that chalky texture isn’t a fancy machine or expensive additives. It is all about controlling the temperature to manage how the cocoa butter crystals form. This guide will walk you through the technical precision needed to create a glossy, shelf-stable Dark Chocolate Fruit and Nut Bark that looks like it came from a high-end boutique.
Expertise in chocolate making comes down to one specific habit: using a thermometer. While many recipes suggest “melting until smooth,” true success requires hitting exact degree markers. By following the seeding method, you are essentially teaching the melted chocolate how to harden into a beautiful, crisp structure that won’t melt the second your fingers touch it.
The Chemistry of Chocolate Bloom and Tempering
Chocolate is a complex fat system, and cocoa butter can crystallize in six different ways. Only one of those forms, the Beta crystal, gives you that shiny finish and firm snap. When chocolate is melted without care, the molecules settle into a disorganized state, leading to fat bloom. This is when the fat separates and rises to the surface, creating those unappetizing gray streaks.
Sugar bloom is a different beast, usually caused by moisture or humidity. If your kitchen is steamy or you put the bark in the fridge too early, water dissolves the sugar on the surface. Once the water evaporates, it leaves behind a gritty, white crust. Understanding these two enemies is the first step toward chocolate mastery.
The seeding method we use here physically realigns the molecules. By adding “seed” chocolate (solid, tempered pieces) to melted chocolate, you provide a template for the liquid to follow. It is like giving the chocolate a set of instructions on how to harden correctly, ensuring a professional result every single time.
Why Temperature Precision Dictates Texture
For dark chocolate, the magic number for melting is 115°F. If you go over 120°F, you risk burning the delicate solids and ruining the flavor. Once you reach that peak, you must bring the temperature down to a working range of 88°F to 90°F. This specific window is where the stable crystals thrive, creating the structural integrity you want in a bark.
Essential Components for Dark Chocolate Fruit and Nut Bark
Quality is everything when the ingredient list is this short. You need 12 ounces of high-quality dark chocolate, ideally between 60% and 70% cacao. Avoid standard “baking chips” found in the cookie aisle. Those chips often contain stabilizers and less cocoa butter, which makes them resistant to melting and nearly impossible to temper properly.
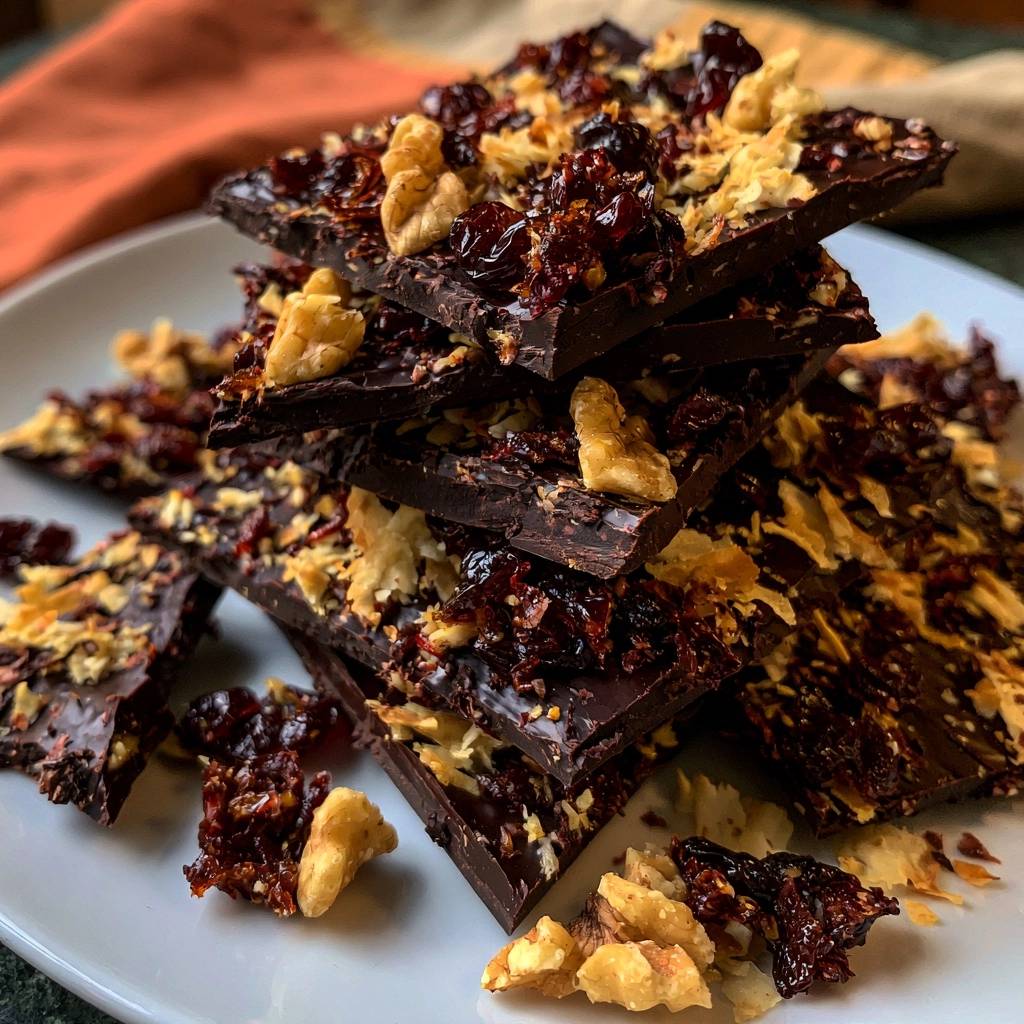
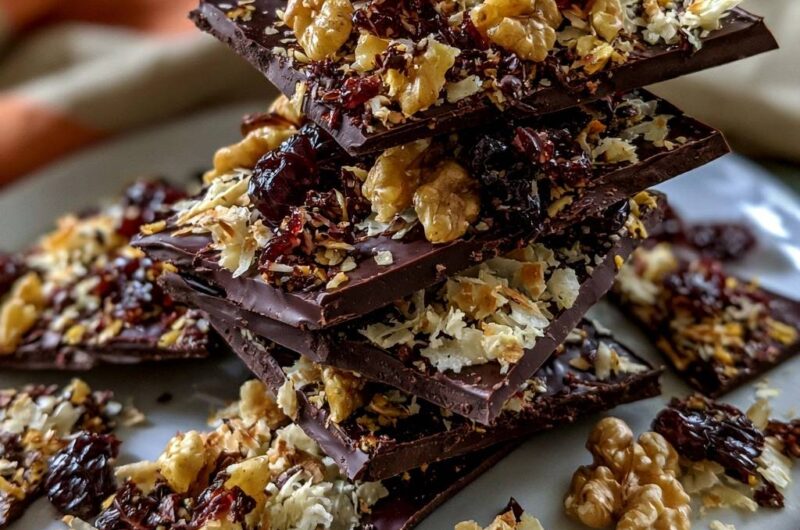
The toppings provide the necessary contrast to the rich cacao. We use 1/2 cup of walnuts for earthy fat, 1/2 cup of dried cranberries for a tart acidic pop, and 1/2 cup of toasted coconut for a sweet, tropical crunch. This trio ensures every bite has a balanced flavor profile that hits every part of your palate.
Selecting High-Quality Cacao Solids
The percentage on the label tells you the ratio of cacao solids and butter to sugar. A 70% bar will be less sweet and have a more intense “snap” because it contains more cocoa butter. Higher fat content makes the tempering process more stable, whereas cheaper chocolate with high sugar content can be finicky and prone to seizing.
The Role of Flaky Sea Salt in Flavor Balancing
Do not skip the 1/4 teaspoon of flaky sea salt. It isn’t just a pretty garnish; it is a functional flavor enhancer. Salt suppresses the natural bitterness of dark chocolate while making the sweetness of the dried cranberries stand out. It provides a sharp contrast that keeps the rich chocolate from feeling too heavy on the tongue.
The Seeding Method: A Step-by-Step Technical Guide
Start by placing 8 ounces of your chopped chocolate in a glass bowl. Microwave in 30-second bursts, stirring thoroughly after each one. Even if the pieces look solid, the residual heat often melts them during the stir. Once your thermometer reads 115°F, stop immediately. The chocolate should look like a smooth, glossy pool of liquid silk.
Now comes the “seeding” phase. Add the remaining 4 ounces of solid chocolate to the bowl. You must stir vigorously and constantly. This mechanical agitation is vital because it distributes the stable crystals from the solid pieces throughout the melted mass. Keep stirring until every single solid bit has vanished and the temperature drops to 90°F.
Achieving the Perfect Pour and Spread
Once you hit that 90°F mark, work quickly. Pour the chocolate onto a parchment-lined sheet and use an offset spatula to spread it out. Aim for a thickness between 1/8 and 1/4 inch. If it is too thin, the bark will be fragile and shatter; if it is too thick, it becomes difficult to bite through comfortably.
Timing the Topping Application
There is a specific “tackiness” window you need to hit. If you add the walnuts and cranberries while the chocolate is too hot, they will sink to the bottom. If you wait too long, the surface will set and the toppings will just roll off. Apply them immediately after spreading, then give them a very gentle press with your fingertips to lock them in.
Troubleshooting Common Chocolate Setting Issues
If your “seed” chocolate refuses to melt, your bowl might have cooled down too fast. You can give it a 5-second blast in the microwave to help it along, but be careful not to let the temperature climb back above 91°F. If you lose the temper, the chocolate will stay soft at room temperature and look dull.
Managing Ambient Humidity and Temperature
The ideal environment for setting chocolate is a cool, dry room between 65°F and 70°F. High humidity is the enemy of a good set. Avoid the temptation to put the bark in the fridge. The cold air causes condensation to form on the surface, which leads to that gritty, sugar-bloomed texture that ruins the mouthfeel.
Customizing Your Fruit and Nut Profiles
Once you master the base technique, you can swap the inclusions. Try a Mediterranean version with pistachios and dried apricots for a vibrant green and orange look. A tropical blend of macadamia nuts and dried mango is also fantastic. Just keep the total volume of toppings to about 1.5 cups so the bark stays structurally sound.
Toasting Nuts for Maximum Aroma
Toasting your walnuts and coconut flakes is a non-negotiable step for the best flavor. Use a dry pan over medium heat until they smell fragrant and look golden. This triggers the Maillard reaction, adding a savory depth that raw nuts lack. Ensure they are completely cool before adding them to the chocolate so they don’t introduce unwanted heat.
Storage Logistics and Shelf Life
Store your finished bark in an airtight container in a cool, dark pantry. Properly tempered chocolate can last for weeks, but the nuts will eventually oxidize and lose their crunch. For the best experience, eat the bark within two weeks. Keep it away from the stove or any sunlight to prevent it from softening.
Packaging Bark for Gifting Without Melting
If you are giving this as a gift, layer the shards between sheets of parchment paper. This prevents the pieces from scratching each other and losing their shine. Avoid metal tins if you are transporting them in a warm car, as metal conducts heat quickly. A sturdy cardboard box is usually the safest bet for maintaining that tempered finish.
Expert Troubleshooting
Why is my chocolate soft at room temperature?
If the bark stays tacky or bends instead of snapping, the tempering process failed. This usually happens if the chocolate didn’t reach 115°F or didn’t cool down to 90°F with enough stirring. You can actually scrape off the toppings, melt the chocolate down, and start the seeding process over again to fix it.
Can I use frozen fruit instead of dried?
No, you must use dried fruit. Frozen fruit contains far too much moisture. Even a tiny amount of water will cause the chocolate to “seize,” turning it into a clumpy, grainy mess. Dried cranberries or cherries provide the flavor without the risk of ruining the chocolate’s texture or causing mold growth.
How do I fix chocolate that has “seized”?
Seizing happens when a drop of water hits the melted chocolate, causing the sugar and cacao to clump together. Unfortunately, you cannot use seized chocolate for bark. However, you don’t have to throw it away! Add some warm cream to it and turn it into a chocolate ganache or a sauce for ice cream.
What is the best way to clean tempered chocolate tools?
Don’t put chocolate-covered tools directly into the sink, as the fat can clog your drains. Let the chocolate harden on the bowl and spatula, then scrape off the excess into the trash. Once the bulk of it is gone, use very hot, soapy water to dissolve the remaining cocoa butter from your equipment.
Does the type of bowl (glass vs. plastic) matter?
Glass or ceramic bowls are best because they retain heat well, which helps melt the “seed” chocolate. Plastic bowls act as insulators and might cool the chocolate too quickly, making it hard to get a smooth melt. Just be careful, as glass stays hot longer, so you must monitor the temperature closely to avoid overshooting your target.
Dark Chocolate Fruit and Nut Bark
Course: DessertCuisine: AmericanDifficulty: easy8
servings10
minutes5
minutes15
Minutes195
kcalAmerican
Ingredients
12 ounces high-quality dark chocolate (60-70% cacao), finely chopped
1/2 cup walnut halves, roughly chopped
1/2 cup dried cranberries, roughly chopped
1/2 cup toasted sweetened coconut flakes
1/4 teaspoon flaky sea salt
Directions
- Prepare a baking sheet by lining it with parchment paper or a silicone mat. Set aside.
- To solve the chalky bloom issue, you must use the seeding method. Place two-thirds (8 oz) of your chopped chocolate in a microwave-safe glass bowl. Microwave in 30-second intervals, stirring thoroughly between each, until the chocolate is smooth and reaches 115°F (46°C) on an instant-read thermometer. Do not exceed 120°F.
- Immediately remove from heat and add the remaining one-third (4 oz) of “seed” chocolate. Stir constantly and vigorously until all the solid pieces have melted. This cools the chocolate rapidly and aligns the fat crystals, which is the only way to guarantee a glossy finish and a firm snap.
- Once the chocolate is smooth and has cooled to its working temperature of 88°F-90°F (31°C-32°C), pour it onto your prepared baking sheet. Use an offset spatula to spread it into an even layer about 1/8 to 1/4 inch thick.
- While the chocolate is still wet, immediately and generously cover the entire surface with the chopped walnuts, dried cranberries, and toasted coconut flakes. Press the toppings very lightly with your fingertips to ensure they adhere. Sprinkle lightly with flaky sea salt.
- Let the bark sit at room temperature (ideally 65°F-70°F) in a cool, dry place for at least 2 hours until fully hardened. Avoid the refrigerator if possible, as moisture can cause sugar bloom and ruin the shine. Once set, use a sharp knife to cut into clean squares or break into large shards.
Notes
- To prevent sugar bloom and maintain the glossy finish, allow the bark to set at room temperature in a cool, dry place rather than using the refrigerator.