Stop settling for rubbery, dense meatballs that feel like hockey pucks. We’ve all been there, biting into a meatball that looks beautiful on the outside but feels like a dry sponge on the inside. The secret to a truly tender, melt-in-your-mouth texture isn’t just the quality of the meat; it’s the science of the panade.
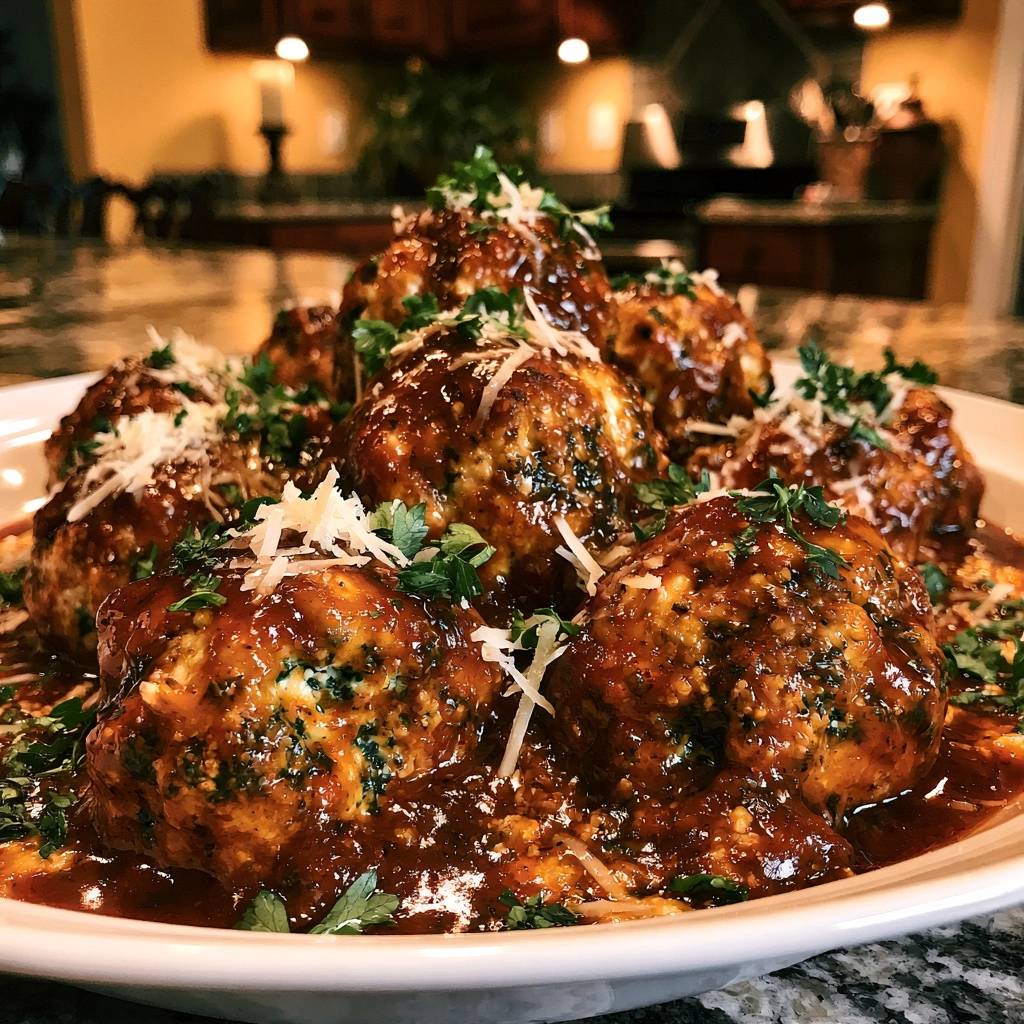
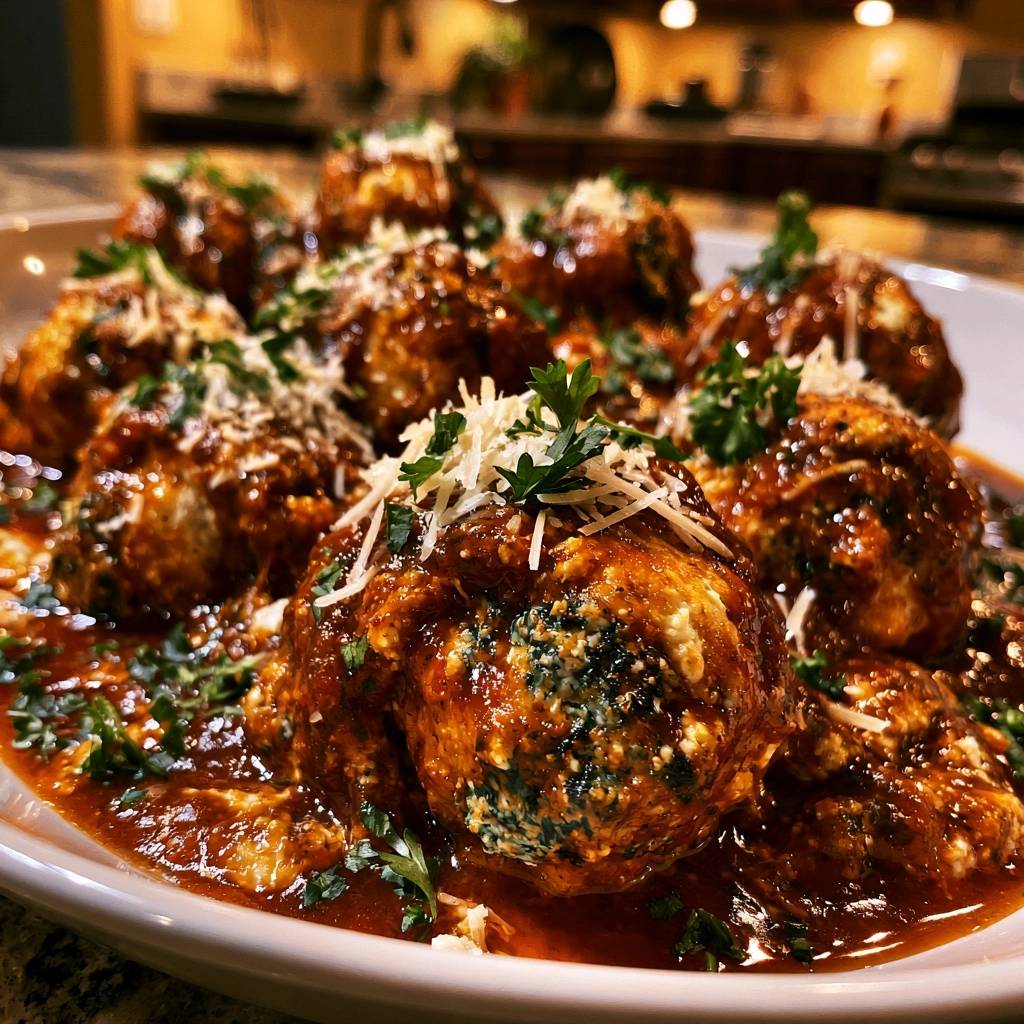
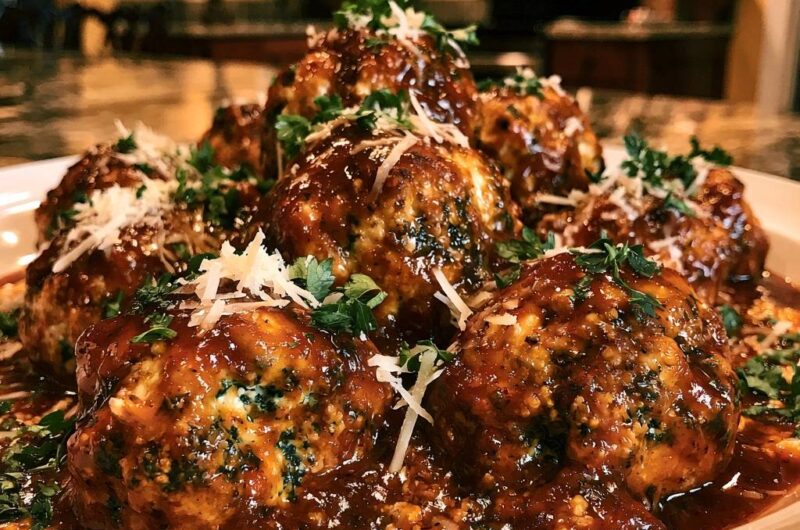
Imagine a meatball with a deeply caramelized, dark red exterior that shimmers under a glossy glaze. When you press your fork into it, the meat yields effortlessly, revealing a juicy, savory center. This recipe focuses on achieving that perfect contrast between a savory crust and a delicate interior that holds its shape without being tough.
The real trick to this success is soaking your breadcrumbs in liquid before they ever touch the beef. This creates a moisture barrier that prevents the meat proteins from tightening up into a hard ball during the cooking process. By mastering this simple technique, you’ll ensure every single bite is consistently succulent and packed with flavor.
The Science of the Panade for Tenderness
A panade is a simple mixture of a starch and a liquid, and it’s the most important tool in a cook’s arsenal for ground meat dishes. When you mix dry breadcrumbs directly into meat, they act like tiny vacuum cleaners, sucking the moisture out of the beef as it cooks. This results in the dreaded “bouncy” texture that ruins a good dinner.
However, when you soak those breadcrumbs in milk first, the starch granules swell and create a soft, gel-like paste. This paste physically coats the proteins in the ground beef. Therefore, when the heat hits the pan, the proteins can’t bond too tightly together. Instead of a solid wall of meat, you get a tender matrix that traps juices inside.
In addition to texture, the panade acts as a flavor carrier. Because the breadcrumbs are already hydrated, they don’t compete with the meat for moisture. This allows the fats and seasonings to distribute evenly throughout the meatball. You’ll notice a significant difference compared to “dry” methods where the seasonings often clump or the meat feels grainy.
Why 80/20 Ground Beef is Non-Negotiable
Fat is flavor, but in this recipe, fat is also the key to the glaze. Using 80/20 ground beef provides enough rendered fat to emulsify with the balsamic and marinara. This creates a rich, velvety sauce that clings to the meat rather than sliding off.
If you try to use 90/10 or leaner meat, the meatballs will likely turn out dry despite the panade. Leaner meat lacks the necessary lipids to create a smooth mouthfeel. Furthermore, the fat from the 80/20 blend helps the meatballs sear properly, giving you that essential golden-brown crust.
Essential Components for the Glazed Italian Meatball
Quality ingredients make a massive difference when the recipe is this simple. Freshly grated Parmesan cheese is a must because pre-shredded versions are coated in potato starch or cellulose. These anti-caking agents prevent the cheese from melting smoothly into the meat mixture, which can lead to a gritty texture.
Fresh parsley adds a bright, grassy note that cuts through the richness of the beef and cheese. While dried herbs have their place, fresh parsley provides a pop of color and a clean finish that dried versions simply can’t replicate. It transforms the dish from a heavy meal into something vibrant and balanced.
The balsamic glaze is the secret weapon for that professional, dark finish. Unlike regular balsamic vinegar, the glaze is reduced and syrupy. It adds a deep, complex sweetness and a beautiful mahogany tint to the sauce. This acidity is vital for balancing the savory notes of the garlic and Parmesan.
Choosing the Right Marinara Base
Since we are adding balsamic glaze, you want to choose a marinara sauce that isn’t overly sweet. Look for a brand that lists tomatoes and olive oil as the primary ingredients rather than sugar. A high-acidity sauce will balance the glaze perfectly, creating a sophisticated flavor profile that tastes homemade.
Phase One: Hydrating the Panade and Aromatics
Start by mixing your breadcrumbs and milk in a small bowl. You are looking for a thick, uniform paste that resembles wet sand. Let it sit for at least five to ten minutes. If you skip this waiting period, the breadcrumbs won’t be fully hydrated, defeating the purpose of the technique.
While the panade rests, whisk your egg with the garlic, parsley, and spices in a large bowl. By mixing the aromatics into the egg first, you ensure they are evenly distributed. This prevents you from having to overwork the meat later to get the salt and pepper mixed in, which is a common mistake.
Phase Two: Shaping and Searing for Maximum Flavor
When you sear the meatballs, you are looking for the Maillard reaction. This is the chemical reaction between amino acids and reducing sugars that gives browned food its distinctive flavor. Heat your olive oil until it shimmers before adding the meatballs to ensure they don’t stick.
Don’t crowd the pan! If you put too many meatballs in at once, the temperature of the oil will drop, and the meat will steam instead of sear. You want a deep, golden-brown crust on all sides. This crust provides structural integrity so the meatballs don’t fall apart when you simmer them in the sauce later.
The “Gentle Fold” Technique to Avoid Density
When it’s time to combine the meat with the panade and egg mixture, use a light touch. I like to use my hands like claws to gently toss and fold the ingredients together. Never squeeze the meat through your fingers or press it firmly into the bowl.
Keeping the mixture loose creates tiny air pockets within the meatball. These pockets hold onto the sauce and contribute to a much lighter, fluffier mouthfeel. If you pack the meat too tightly, the finished product will feel heavy and rubbery on the palate.
Phase Three: Reducing the Balsamic Marinara Glaze
Once the meatballs are seared, whisk together your marinara, beef broth, and balsamic glaze. The beef broth is essential here because it thins the sauce initially. This allows the meatballs to simmer and cook through without the sauce burning or becoming too thick too quickly.
As the mixture simmers, the water in the broth evaporates, concentrating the flavors. Use a spoon to frequently baste the meatballs with the liquid. This coating process is what builds that glossy, thick glaze. You’ll see the sauce transform from a bright red to a deep, rich crimson that looks incredible on the plate.
Troubleshooting Common Meatball Texture Issues
If your meatballs are falling apart in the pan, it usually means the sear wasn’t strong enough or the panade was too wet. Ensure your paste is thick and your oil is hot. A good sear acts like an exoskeleton, holding the tender interior together while it simmers.
If the meatballs are still tough, you likely over-mixed the meat or used meat that was too lean. Remember, once the meat is added, you should only mix until the ingredients are just barely combined. Over-mixing develops the proteins too much, leading to a “tight” and chewy texture.
If your sauce is too watery at the end, simply remove the lid and increase the heat slightly for the last two minutes. Watch it closely, as the sugars in the balsamic glaze can burn quickly. You want the sauce to be thick enough to coat the back of a spoon easily.
Optimal Pairings for Glazed Italian Meatballs
While spaghetti is the classic choice, these glazed meatballs pair beautifully with creamy polenta. The soft, buttery texture of the cornmeal is the perfect canvas for the rich balsamic sauce. It soaks up the extra glaze in a way that pasta often can’t.
For a vegetable side, try charred broccolini or roasted Brussels sprouts. The slight bitterness of charred greens provides a fantastic contrast to the sweet and savory glaze. A piece of crusty sourdough bread is also mandatory for swiping up every last drop of that glossy sauce from your plate.
Make-Ahead Strategies and Storage Logistics
You can easily make these ahead of time. If you want to freeze them, I recommend freezing them raw on a baking sheet before transferring them to a bag. This preserves the texture of the panade. When you’re ready to eat, thaw them in the fridge overnight before searing.
Leftovers store well in an airtight container in the refrigerator for up to three days. To reheat, place them in a skillet with a splash of beef broth or water. Cover the pan and heat on low. This creates steam that revives the glaze and warms the center without drying out the meat.
Expert Tips for Professional Presentation
Visual appeal is a huge part of the dining experience. To get that “restaurant look,” don’t be shy with the garnish. The contrast of bright green fresh parsley against the dark, mahogany glaze makes the dish pop. It signals to your guests that the food is fresh and vibrant.
Finish with a very generous amount of shredded Parmesan. Use a microplane or the small holes on a box grater to get long, wispy strands. These will partially melt into the warm glaze, creating a beautiful white-on-red contrast that looks as good as it tastes.
Frequently Asked Questions
Can I use ground turkey instead of beef?
Yes, you can use ground turkey, but you must be careful with the fat content. Use a blend of dark and white meat (usually labeled 93/7) rather than fat-free turkey breast. Since turkey is naturally leaner, the panade is even more critical here to prevent the meatballs from becoming dry and crumbly.
Do I have to use milk for the panade?
While whole milk provides the richest flavor and best fat content for the starch gel, you can use alternatives. Beef broth or even water will work to hydrate the breadcrumbs. The goal is the hydration of the starch, though milk adds a subtle creaminess that balances the acidity of the balsamic glaze.
Why use balsamic glaze instead of balsamic vinegar?
Balsamic glaze is already reduced, meaning it has a higher sugar content and a much thicker consistency. If you use regular balsamic vinegar, the sauce will be too thin and won’t cling to the meatballs. The glaze provides that immediate “syrupy” quality that defines this specific dish.
How do I know when the meatballs are fully cooked without a thermometer?
You can use the “bounce” test. Gently press the top of a meatball with your finger or a spoon. If it feels very soft and leaves an indentation, it’s still raw. If it springs back slightly and feels firm but not hard, it’s likely done. For beef, you are looking for an internal temperature of 160°F.
Can I bake these instead of pan-searing?
You can bake them at 400°F for about 15-20 minutes, but you will lose the specific texture of the glaze. The pan-searing method creates a crust that the sauce can “grip.” If you bake them, I recommend tossing them in the sauce in a hot skillet for a few minutes afterward to try and replicate that glossy finish.
Glazed Italian Meatballs
Course: Main CourseCuisine: Italian AmericanDifficulty: easy4
servings15
minutes25
minutes40
Minutes410
kcalItalian American
Ingredients
1 pound ground beef (80/20 blend for best texture)
1/2 cup Italian breadcrumbs
1/4 cup whole milk
1 large egg, beaten
1/2 cup grated Parmesan cheese
1/4 cup fresh parsley, finely chopped (plus extra for garnish)
3 cloves garlic, minced
1 teaspoon salt
1/2 teaspoon black pepper
1/2 teaspoon onion powder
1 cup marinara sauce
1/4 cup beef broth
1 tablespoon balsamic glaze (for the deep color shown in the image)
1 tablespoon olive oil
Shredded Parmesan cheese for garnish
Directions
- In a small bowl, combine the breadcrumbs and milk. Let this sit for 5 to 10 minutes until it forms a thick paste. This panade is the essential step to solve the problem of tough, dry meatballs.
- In a large mixing bowl, combine the beaten egg, minced garlic, chopped parsley, grated Parmesan, salt, pepper, and onion powder. Whisk lightly to incorporate.
- Add the ground beef and the soaked breadcrumb paste to the bowl. Use your hands to gently fold the ingredients together until just combined. Do not overwork or squeeze the meat, as over-mixing leads to a dense, rubbery texture.
- Shape the mixture into large, golf-ball-sized rounds (about 2 inches in diameter).
- Heat a large skillet over medium heat with the olive oil. Carefully place the meatballs in the pan and sear for 8 to 10 minutes, turning frequently to ensure a deep golden-brown crust on all sides.
- In a small jug, whisk together the marinara sauce, beef broth, and balsamic glaze. Pour the mixture into the skillet around the meatballs.
- Reduce heat to low. Cover and simmer for 10 minutes. Every few minutes, remove the lid and use a spoon to baste the meatballs with the sauce. This creates the thick, glossy, dark red glaze seen in the image.
- Once the sauce has thickened and the meatballs are cooked through, transfer to a serving platter.
- Garnish heavily with fresh chopped parsley and a generous amount of shredded Parmesan cheese to match the visual presentation. Serve immediately.
Notes
- The panade (milk and breadcrumb mixture) is the essential step to prevent tough and dry meatballs. Do not overwork the meat when mixing.