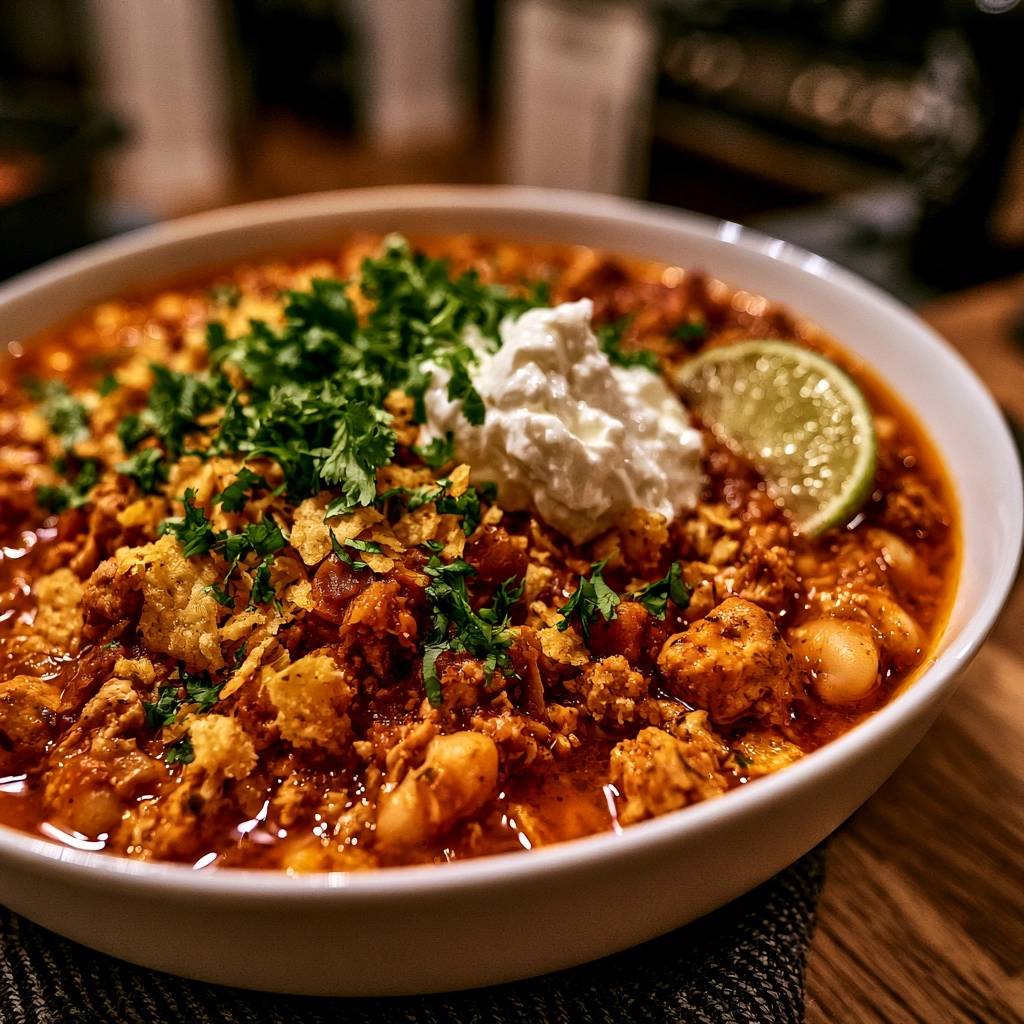
Chili has undergone a massive transformation over the last few decades. While the classic Texas-style beef chili will always have a place at the table, many of us are looking for something that feels a bit lighter without sacrificing that soul-warming satisfaction. This Hearty White Bean and Ground Turkey Chili is the answer to that craving. It swaps out the heavy, greasy profile of traditional red meat for a protein-packed alternative that lets the spices truly shine.
The beauty of using ground turkey lies in its ability to act as a blank canvas. Unlike beef, which can sometimes overwhelm the delicate notes of cumin or oregano with its own fat, turkey absorbs every ounce of seasoning you throw at it. When you pair that lean protein with the creamy, buttery texture of white beans like Cannellini or Great Northern, you create a dish that feels sophisticated yet remains deeply rooted in comfort food tradition.
The secret to making this dish stand out is all in the texture. Most home cooks struggle with turkey chili because it often turns out thin or watery. However, by focusing on a few key techniques—like browning the meat properly and using the beans themselves as a thickener—you can achieve a rich, velvety consistency that rivals any restaurant version. It is the perfect Sunday meal that tastes even better as leftovers the next day.
The Secret to Thick, Velvety Chili Texture
One of the biggest complaints about homemade chili is that it often resembles a thin soup rather than a hearty stew. Many people try to fix this by adding a slurry of flour or cornstarch at the end. While that works to thicken the liquid, it often leaves a chalky aftertaste and dulls the vibrant colors of the spices. Therefore, we use the science of natural starch release to get that perfect mouthfeel.
The “Mashing Method” is our professional secret here. By taking a portion of the white beans and crushing them into a thick paste before they hit the pot, you release their internal starches directly into the broth. This creates a natural binder that clings to the ground turkey and vegetables. It results in a rich, cohesive sauce that doesn’t separate, all without adding extra fats or processed thickeners.
Essential Components for Hearty White Bean and Ground Turkey Chili
Quality ingredients are the foundation of any great chili. For the meat, I recommend a 93/7 lean-to-fat ratio for the ground turkey. This specific blend provides enough fat to keep the meat moist during the simmering process but isn’t so greasy that it leaves a film on top of your bowls. It strikes the perfect balance for a clean, hearty finish.
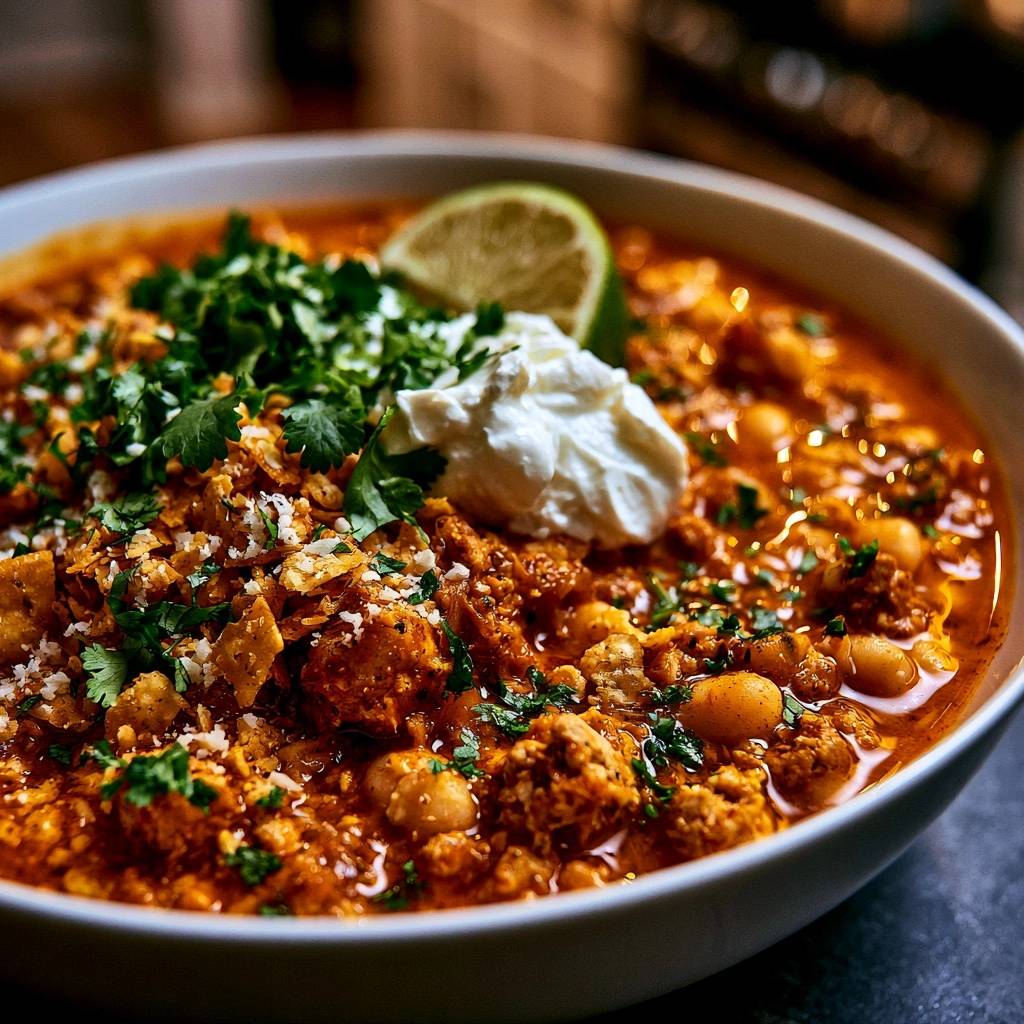
Your aromatics—the onion and garlic—are not just fillers; they are the flavor foundation. Using a large yellow onion provides a subtle sweetness that balances the acidity of the tomatoes. Additionally, always opt for a high-quality chicken stock over plain water. The stock adds layers of savory depth that water simply cannot provide, making the entire dish taste like it simmered for hours.
Selecting the Right White Bean Variety
Not all white beans are created equal. Cannellini beans are a favorite for this recipe because they have a thin skin and a very creamy interior, making them ideal for mashing. Great Northern beans are another excellent choice; they are slightly firmer and hold their shape well during a long simmer. Navy beans are smaller and softer, so they work in a pinch but might disappear into the sauce more than the larger varieties.
The Role of Concentrated Tomato Paste
Tomato paste is a powerhouse of umami. To get the most out of it, you need to practice a technique called “pincing.” Instead of just stirring the paste into the liquid, you cook it directly with the meat and aromatics for a few minutes. You are looking for the color to shift from a bright red to a deep, dark brick red. This process removes the raw, metallic acidity and creates a rich, caramelized base for your chili.
Building the Flavor Profile with Dry Spices
A great chili is defined by its spice cabinet. We use a combination of earthy cumin, robust chili powder, and woodsy smoked paprika to create a multi-dimensional flavor profile. The cumin provides that classic “taco” aroma, while the smoked paprika adds a hint of campfire depth without needing to use liquid smoke or bacon. It is a warm, inviting blend that isn’t necessarily “hot” but is definitely flavorful.
The most important step in spice management is “blooming.” Before you add your broth or tomatoes, toss the dry spices into the hot oil with the turkey and onions. Let them toast for about sixty seconds. This heat unlocks the fat-soluble aromatic oils within the spices, intensifying their flavor significantly. If you skip this and just dump spices into the liquid, your chili will taste flat and one-dimensional.
Step-by-Step: Preparing the Turkey and Aromatics
Start by heating your olive oil in a heavy-bottomed pot. When you add the turkey, don’t rush to break it down into tiny grains. Instead, let it sear for a minute or two to get some golden-brown color, then break it into “chunky crumbles.” These larger pieces provide a much more satisfying, meaty texture in the finished bowl. If the meat is too fine, the chili can feel mushy.
Once the meat is browned, add your diced onions. You want to cook them until they are translucent and soft, which usually takes about five minutes. When you add the garlic, keep it moving! Garlic burns quickly and becomes bitter, so only give it about thirty to sixty seconds of heat before you move on to the next step. The smell in your kitchen at this point should be absolutely incredible.
The Mashing Technique: Natural Binding Without Fillers
Now it is time for the magic trick. Take one full cup of your rinsed beans and put them in a small bowl. Use a fork to mash them until no whole beans remain. It will look like a thick, beige paste. When you stir this “bean slurry” into the pot along with the crushed tomatoes and chicken broth, it will immediately begin to emulsify the liquids.
This paste acts as a bridge between the watery broth and the solid ingredients. As the chili simmers, the mashed beans integrate fully, creating a velvety sauce that coats the back of a spoon. It is a foolproof way to ensure your chili has that “stuck-to-your-ribs” consistency every single time. Plus, it adds an extra boost of fiber and protein to every bite.
Simmering Strategy: Why Uncovered is Better
While it might be tempting to put a lid on the pot and walk away, simmering your chili uncovered is essential. This allows excess moisture to evaporate into the air, which naturally concentrates the flavors. As the liquid reduces, the spices become more potent and the salt levels balance out. It is the simplest way to “intensify” your cooking without adding more ingredients.
Keep the heat at a gentle simmer—just a few bubbles breaking the surface. If you boil the chili too vigorously, the turkey can become tough and rubbery. A low, slow simmer for 20 to 25 minutes is the sweet spot. This gives the whole beans enough time to soften slightly without falling apart, while the sauce thickens into a rich, glossy gravy around the meat.
Customizing Your Heat and Flavor Profile
This recipe is a fantastic base, but you can easily tweak it to suit your family’s preferences. If you love “Green Heat,” try stirring in a small can of diced green chiles or a chopped jalapeño during the aromatic step. For a “Garden Heavy” version, you can add diced bell peppers or even small cubes of zucchini along with the onions for extra crunch and nutrients.
If you want a deeper, more rustic flavor, try a “Smoky Chipotle” swap. Replace the smoked paprika with a teaspoon of adobo sauce from a can of chipotle peppers. This adds a significant kick and a lingering heat that pairs beautifully with the creamy white beans. Just remember to start small with the heat; you can always add more, but you can’t take it out!
Optimal Toppings for Visual and Textural Contrast
Toppings are not just for show; they provide necessary balance to the dish. A large dollop of full-fat sour cream or Greek yogurt adds a cool, creamy element that cuts through the warmth of the spices. The acidity from a fresh squeeze of lime juice is also vital. It “wakes up” the flavors and prevents the beans from feeling too heavy on the palate.
Don’t forget the “crunch” factor! Crushed corn tortilla chips provide a salty, crispy contrast to the soft beans and tender turkey. Finally, a generous handful of fresh cilantro adds a pop of color and a herbal brightness that ties everything together. When you assemble the bowl with all these elements, it looks as good as it tastes.
Troubleshooting Common Chili Consistency Issues
If your chili still looks a bit thin after the simmering time, don’t panic. Simply take your potato masher and give the pot two or three quick mashes directly in the liquid. This will crush a few more beans and instantly thicken the sauce. Conversely, if the chili becomes too thick (which often happens as it sits), just stir in a splash of chicken broth or water to loosen it back up.
If you accidentally over-salt the pot, try the “potato trick.” Drop a peeled, halved potato into the simmering chili for about ten minutes. The potato will absorb some of the excess salt before you fish it out. If the flavor feels a bit dull, it usually needs more acid rather than more salt. Try another squeeze of lime or a teaspoon of apple cider vinegar to brighten the entire pot.
Make-Ahead Strategy and Proper Storage Techniques
Chili is famous for being better the next day. This happens because the spices have more time to “marry” and penetrate the meat and beans. If you are meal prepping, let the chili cool completely at room temperature for about thirty minutes before transferring it to the fridge. Store it in an airtight container, and it will stay fresh and delicious for up to four days.
This recipe also freezes beautifully. I recommend using heavy-duty freezer bags and laying them flat so they take up less space. It will stay good for up to three months. When you are ready to eat, thaw it in the fridge overnight. Reheat it gently on the stove over low heat, adding a splash of water or broth if the turkey seems a bit dry. It will taste just as fresh as the day you made it.
What to Serve with White Bean Chili
To turn this into a full feast, you need the right sides. A classic honey cornbread is the ultimate partner for white bean chili. The sweetness of the bread complements the savory, smoky notes of the turkey perfectly. Since we are keeping this pork-free, a nice buttered cornbread with a drizzle of honey is a crowd-pleaser every time.
If you want something lighter, a crisp citrus slaw with cabbage and lime dressing provides a refreshing crunch. A simple avocado salad with red onions and a light vinaigrette also works wonders to balance the richness of the beans. These pairings ensure your meal has a variety of textures and flavors, making the dining experience feel complete and well-rounded.
Frequently Asked Questions
Can I use dried beans instead of canned?
Yes, you certainly can! You will need about 1.5 cups of dried beans to equal two 15-ounce cans. However, you must soak them overnight and simmer them in water until tender before adding them to the chili recipe. Using dried beans often results in an even better texture, but it does require more planning and prep time.
Is ground chicken a viable substitute for turkey?
Ground chicken works perfectly as a substitute. It has a very similar fat content and mild flavor profile. Just ensure you are using a mix of white and dark meat if possible, as 100% ground chicken breast can become quite dry during the 25-minute simmer. The cooking steps remain exactly the same.
How do I make this in a slow cooker while maintaining the thickness?
To use a slow cooker, brown the turkey and aromatics in a pan first, then transfer everything to the crockpot. Use only 1 cup of broth instead of 1.5, as slow cookers prevent evaporation. Add the mashed bean paste at the very beginning. Cook on low for 4-6 hours. This ensures the chili stays thick and hearty rather than turning into soup.
Can I omit the tomato paste for a “True White” chili?
You can omit the tomato paste and crushed tomatoes if you prefer a “White Chili” look. In that case, I recommend adding a small can of chopped green chiles and perhaps a splash of heavy cream or half-and-half at the very end to maintain that rich, velvety mouthfeel. The flavor will be less umami-forward and more bright and tangy.
How long does this stay fresh in the freezer?
This chili stays fresh in the freezer for up to three months when stored in an airtight container or freezer-safe bag. To prevent freezer burn, make sure to squeeze out as much air as possible before sealing. When you’re ready to eat, defrost it in the refrigerator for 24 hours before reheating on the stovetop.
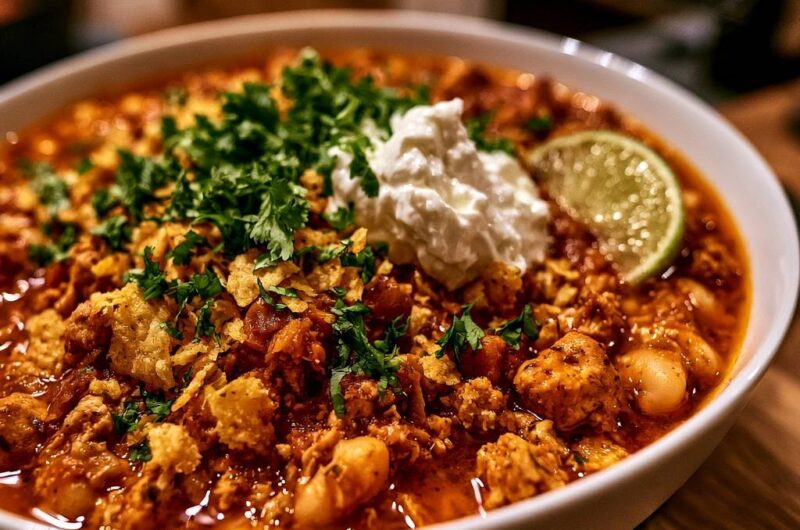
Hearty White Bean and Ground Turkey Chili
Course: Main CourseCuisine: AmericanDifficulty: easy6
servings15
minutes35
minutes50
Minutes360
kcalAmerican
Ingredients
1.5 lbs ground turkey
2 cans (15 oz each) cannellini or Great Northern beans, rinsed and drained
1 large yellow onion, finely diced
3 cloves garlic, minced
2 tablespoons tomato paste
1 can (14.5 oz) crushed tomatoes
1.5 cups chicken broth (reduced from 2 cups for a thicker consistency)
2 tablespoons chili powder
1 tablespoon ground cumin
1 teaspoon smoked paprika
1/2 teaspoon dried oregano
Salt and black pepper to taste
2 tablespoons olive oil
Toppings:
Full-fat sour cream or Greek yogurt
Crushed corn tortilla chips
Fresh cilantro, finely chopped
Lime wedges
Directions
- Heat olive oil in a large heavy-bottomed pot or Dutch oven over medium-high heat. Add the ground turkey and cook until browned, breaking it up into small, chunky crumbles.
- Add the diced onion and cook for 5 minutes until translucent. Stir in the minced garlic and tomato paste. Cook for 2 minutes, stirring constantly, until the tomato paste turns a deep brick red.
- Stir in the chili powder, cumin, smoked paprika, and oregano. Toast the spices with the meat for 1 minute to unlock the aromatic oils.
- To solve the watery chili problem: Take 1 full cup of the drained white beans and place them in a small bowl. Mash them thoroughly with a fork or potato masher until they form a thick, smooth paste.
- Pour the crushed tomatoes and chicken broth into the pot. Stir in the mashed bean paste until fully incorporated. This acts as the primary natural binder for a thick, hearty texture.
- Add the remaining whole beans to the pot. Bring the mixture to a gentle boil, then reduce heat to low.
- Simmer uncovered for 20 to 25 minutes. Simmering uncovered is essential as it allows excess moisture to evaporate, concentrating the flavors and thickening the sauce around the turkey. The turkey is done when it reaches 165°F (74°C) in the thickest part.
- Season generously with salt and pepper to taste. Serve in deep bowls. To match the visual presentation: add a large dollop of sour cream in the center, a heavy sprinkle of crushed tortilla chips on one side, a generous amount of chopped cilantro, and a fresh lime wedge tucked into the side.
Notes
- Simmering uncovered is the key to achieving a thick consistency. Mashing a portion of the beans provides a natural binder that avoids the chalky taste of flour or cornstarch.