
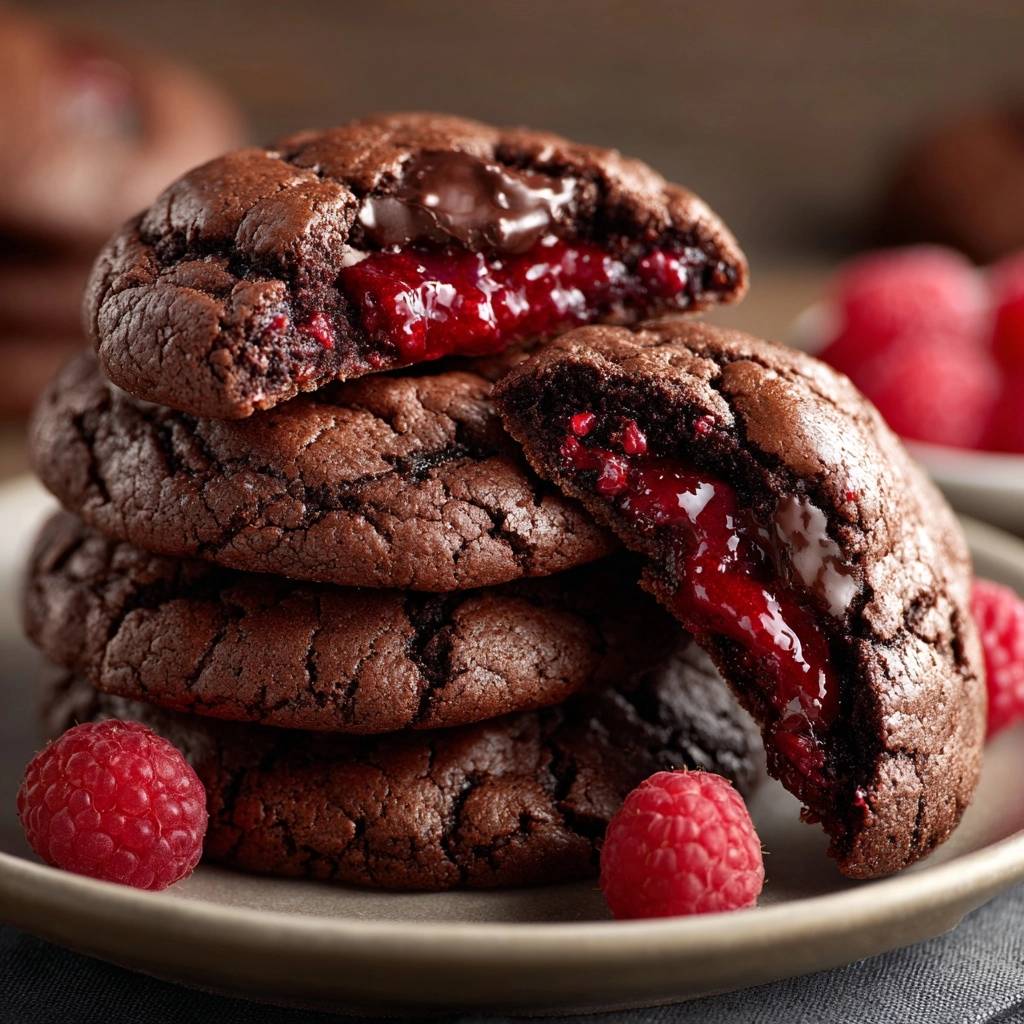
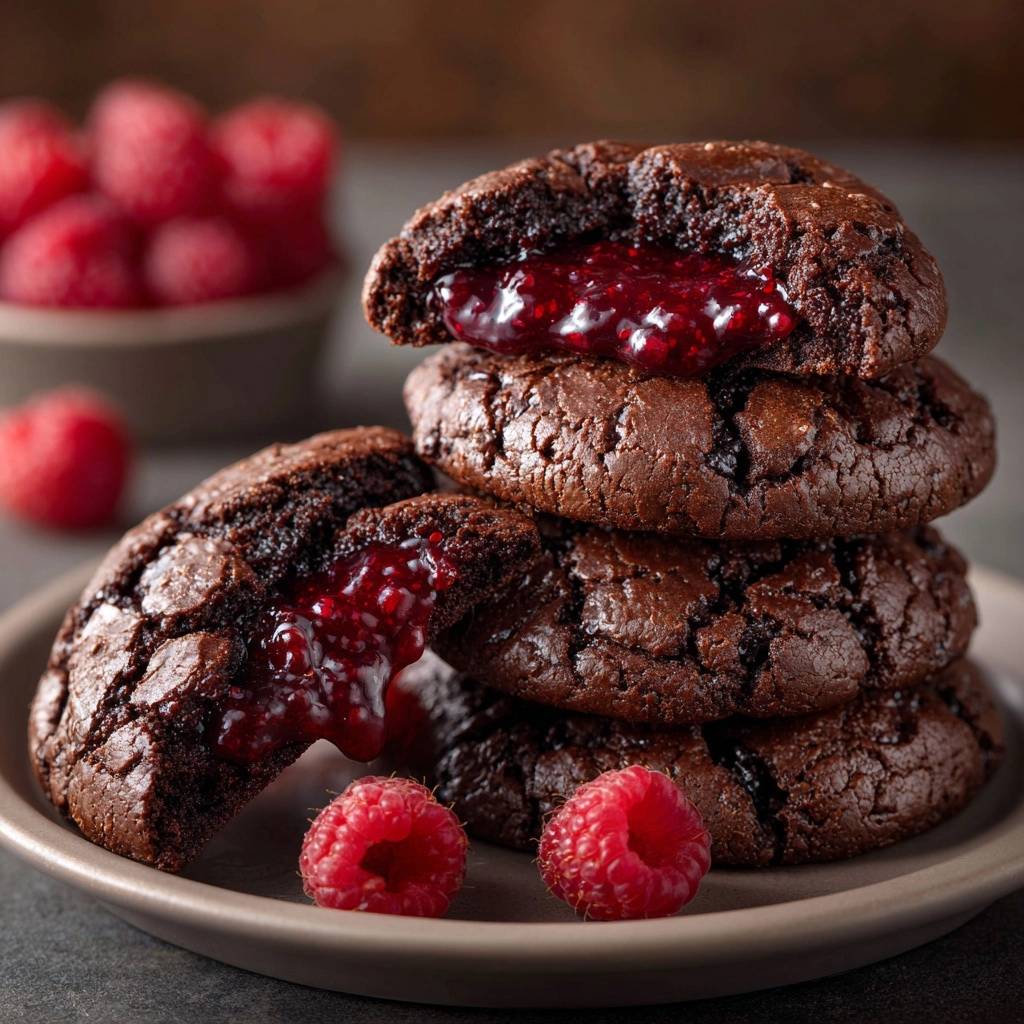
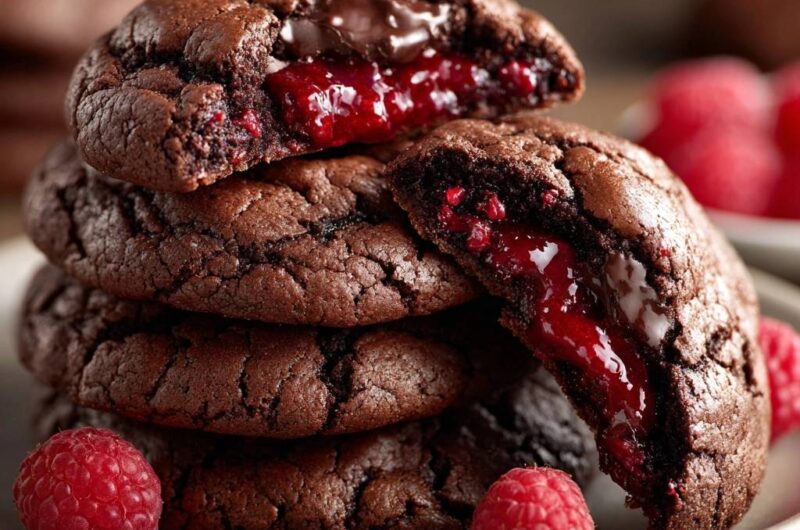
Imagine breaking into a warm, midnight-dark chocolate cookie and watching a vibrant, ruby-red stream of raspberry nectar slowly spill across your plate. The contrast between the bitter depth of Dutch-processed cocoa and the bright, tangy punch of fruit creates a sophisticated profile that far outshines your standard bakery fare. It is a sensory experience defined by textures: the slight crunch of a crackled exterior, the fudgy chew of the dough, and the silky flow of the molten core.
However, most home bakers struggle with the “blowout” factor, where the filling boils over and leaves behind a hollow, charred shell. This recipe solves that mechanical failure by treating the cookie like a piece of culinary engineering. We aren’t just stuffing dough; we are creating a thermal barrier that protects the liquid center while the exterior sets into a perfect crumb.
The secret to this success lies in the stabilization of the fruit. By whisking a tiny amount of cornstarch into the preserves and freezing them into solid discs, you control the rate of melting. This ensures the dough has enough time to structure itself around the filling before the raspberry reaches its boiling point, resulting in a flawless, contained lava effect every single time.
The Physics of the Molten Raspberry Center
Creating a liquid center inside a baked good is a race against thermodynamics. As the oven heat penetrates the dough, the sugar in the raspberry preserves begins to vibrate and liquefy. Without intervention, the preserves would reach a boiling point of roughly 220°F long before the cookie dough reaches its set point of 160°F. This pressure causes the steam to blast through the weakest part of the dough, leading to the dreaded leak.
We use cornstarch as a molecular stabilizer to prevent this. Cornstarch acts as a thickening agent that increases the viscosity of the preserves as they heat up. Instead of turning into a thin, watery juice that can easily seep through flour pores, the filling becomes a luscious, heavy syrup. This higher viscosity keeps the “lava” in place while the starch granules swell and hold onto the moisture.
Furthermore, freezing the preserves into solid discs is a non-negotiable step for structural integrity. When you place a frozen core into room-temperature dough, you create a temperature gradient. The dough begins to bake and firm up immediately, while the frozen raspberry center must first thaw before it can even begin to heat up. This head start allows the cookie walls to become strong enough to withstand the internal pressure of the bubbling fruit once it finally reaches its molten state.
Essential Components for Dark Chocolate Lava Cookies
The foundation of this cookie is a high-pigment, high-fat dough that can support a heavy filling. I recommend using Dutch-processed cocoa powder rather than natural cocoa. Dutch-processed cocoa has been treated with an alkalizing agent to neutralize its acidity, resulting in a darker color and a smoother, more mellow chocolate flavor. Because it is neutral, it relies entirely on the baking soda for lift, creating a dense, fudgy texture that mimics a brownie rather than a cake.
Seedless preserves are the superior choice for the filling because they provide a consistent, glass-like “lava” aesthetic. Seeds can introduce unwanted bitterness and disrupt the smooth flow of the center. When selecting your preserves, look for a brand where fruit is the first ingredient, as high-fructose corn syrup versions tend to be too thin and sugary, which can break down the dough’s structure from the inside out.
Temperature management extends to your eggs as well. Always use a room-temperature egg to ensure a proper emulsion with the creamed butter and sugar. A cold egg will cause the saturated fats in the butter to seize, resulting in a broken batter and a greasy cookie. Additionally, the heavy use of packed brown sugar is intentional; the molasses content provides the hygroscopic properties needed to keep the cookie soft and chewy for days.
Selecting High-Quality Dark Chocolate Chunks
While chocolate chips are convenient, they contain stabilizers like soy lecithin that help them hold their shape under heat. For this recipe, you want the opposite. Hand-chopping a bar of dark chocolate (60-70% cacao) creates irregular “pools” of melted chocolate that weave through the dough. This high cacao percentage is vital because it provides a sophisticated bitterness that cuts through the sweetness of the raspberry center, balancing the overall palate.
Step-by-Step: Engineering the Perfect Stuffed Cookie
Success with stuffed cookies requires a disciplined approach to assembly. You cannot rush the cooling or freezing phases, as each step builds the foundation for the next. We treat this process in three distinct phases to ensure the dough remains workable and the filling stays frozen until the moment it hits the oven rack.
Phase 1: Stabilizing and Freezing the Fruit Core
Start by whisking your raspberry preserves with the cornstarch until no white streaks remain. You will notice the preserves take on a slightly matte finish. Drop teaspoon-sized dollops onto a parchment-lined tray, making sure they are tall rather than wide. Freeze these for at least one hour. If they feel tacky or soft to the touch, they aren’t ready. They must be hard enough to peel off the paper like a coin.
Phase 2: Mixing the High-Pigment Cocoa Dough
When creaming your butter and sugars, look for the mixture to turn a pale tan color and double in volume. This aeration creates the tiny air pockets that the baking soda will later expand. When adding your dry ingredients, sift the cocoa and flour together. Cocoa powder is notorious for stubborn clumps that won’t break down during mixing. Fold in your chocolate chunks by hand at the very end to avoid overworking the gluten, which would make the cookies tough.
If you’re enjoying the process of creaming butter and sugar for these cookies, you might also appreciate the technique in our molten raspberry chocolate cookies.
Phase 3: The Sealing Technique to Prevent Leaks
This is the most critical phase. Flatten a 2-tablespoon ball of dough into a wide, even disc in your palm. Take only two frozen raspberry discs out of the freezer at a time. Place the frozen core in the center and wrap the dough upwards, pinching the seams together with authority. Roll the ball between your palms until the surface is perfectly smooth. If you see a red streak or a thin spot, patch it with a tiny bit of extra dough immediately.
Thermal Precision: Baking and Cooling Parameters
Oven calibration is the difference between a molten center and a dry one. Set your oven to 350°F and ensure it is fully preheated. This temperature is the “sweet spot” because it is hot enough to set the edges of the cookie quickly, creating a structural “crust,” while leaving the very center underbaked and fluid. You are looking for the edges to be firm to the touch while the center still looks slightly damp and soft.
The 10-minute rest on the baking sheet is not just a suggestion; it is part of the cooking process. Carry-over cooking occurs as the residual heat from the pan continues to set the bottom and sides of the cookie. If you try to move them too early, the structural integrity will fail, and the raspberry lava will gush out prematurely. This resting period allows the starches to set and the molten center to stabilize into a thick, jammy consistency.
Troubleshooting Common Stuffed Cookie Failures
If your filling leaked out, the culprit is usually a thin spot in the dough or a filling that wasn’t frozen solid. Ensure you are centering the raspberry disc perfectly and that your dough is at least a quarter-inch thick all the way around. If the leak happened at the bottom, you likely didn’t seal the “pinch” point well enough before rolling the ball.
Dry cookies are often the result of overmeasuring the cocoa powder or overbaking. Cocoa is highly absorbent, so use the “spoon and level” method for your measurements. If the center of your cookie isn’t liquid, you likely baked them for two or three minutes too long, or you skipped the cornstarch stabilization, allowing the filling to soak into the surrounding dough fibers.
Storage and Reheating for Maximum Flow
To maintain the best texture, store these cookies in a single layer in an airtight container. Do not stack them, as the moisture from the raspberry centers can migrate and make the cookie shells soft. They will stay fresh at room temperature for up to three days. Avoid refrigeration, as the cold air will crystallize the fats in the chocolate and turn the fudgy dough into a crumbly, dry mess.
For that “just out of the oven” experience with leftovers, use the microwave. Heat a single cookie for 5 to 8 seconds. This is just enough time to vibrate the sugar molecules in the center and re-melt the chocolate chunks without drying out the dough. You’ll know it’s ready when the chocolate chunks on top look glossy and the cookie feels slightly heavy in your hand.
Expert Baking Troubleshooting
Why did my raspberry filling disappear into the dough?
This usually happens if the preserves weren’t frozen solid or if the dough was too warm during assembly. If the filling is liquid when it enters the oven, the flour in the dough acts like a sponge and absorbs the moisture before it has a chance to become “lava.” Always keep your raspberry discs in the freezer until the very second you are ready to wrap them in dough.
Can I use fresh raspberries instead of preserves?
I don’t recommend using fresh berries for this specific “lava” effect. Fresh raspberries are about 85% water. As they bake, that water turns into steam, which will puff up the cookie and create a cakey, airy texture rather than a dense, molten one. Furthermore, fresh berries lack the sugar concentration needed to create a thick, flowing syrup, often leaving you with a hollow, damp spot instead of a rich filling.
How do I achieve the “crackle” top texture?
The crackle is a result of the ratio between granulated sugar and brown sugar. Granulated sugar promotes crispness and surface evaporation. As the top of the cookie dries out in the oven heat, it forms a thin crust. When the leavening agents (baking soda) cause the cookie to expand, that dried surface cracks, creating those beautiful fissures. Don’t over-mix the dough, as too much gluten development can prevent these cracks from forming.
What is the best way to store these for 48 hours?
Place the cookies in a hard-sided airtight container with a small piece of parchment paper between any layers if you absolutely must stack them. Keep them in a cool, dry place away from direct sunlight. The sugar in the dough will naturally pull moisture from the air, so a tight seal is essential to prevent the exterior from becoming sticky. They are best enjoyed within the first two days for the most fluid center.
Raspberry Chocolate Lava Cookies
Course: DessertCuisine: AmericanDifficulty: medium12
cookies20
minutes12
minutes245
kcal60
MinutesThese decadent cookies feature a fudgy dark chocolate base loaded with chocolate chunks and a molten raspberry center. By freezing the filling with a touch of cornstarch, you achieve a perfect lava effect without the mess.
Ingredients
1/2 cup high-quality raspberry preserves (seedless preferred for a smoother “lava” look)
1 teaspoon cornstarch (to stabilize the filling)
1/2 cup unsalted butter, softened
3/4 cup brown sugar, packed
1/4 cup granulated sugar
1 large egg, room temperature
1 teaspoon vanilla extract
1 1/3 cups all-purpose flour
1/2 cup dark cocoa powder
1 teaspoon baking soda
1/4 teaspoon salt
1 cup dark chocolate chunks (large chunks for the visual “pools” of chocolate)
Fresh raspberries for garnish
Directions
- Prepare the “Lava” Centers: In a small bowl, whisk the raspberry preserves with 1 teaspoon of cornstarch until smooth. Line a small tray with parchment paper. Drop 12 individual teaspoons of the mixture onto the tray. Place the tray in the freezer for at least 1 hour until the preserves are frozen solid. This is the only way to prevent the filling from melting through the dough in the oven.
- Preheat your oven to 350°F (175°C) and line a large baking sheet with parchment paper.
- In a large bowl, cream together the softened butter, brown sugar, and granulated sugar until light and fluffy. Beat in the egg and vanilla extract.
- Sift together the flour, cocoa powder, baking soda, and salt. Gradually add the dry ingredients to the wet mixture until a thick, dark dough forms. Fold in the dark chocolate chunks.
- Scoop about 2 tablespoons of dough and flatten it into a disc in your palm. Remove only 2-3 frozen raspberry discs from the freezer at a time (to keep them from melting while you work). Place one frozen disc in the center of the dough.
- Carefully fold the dough around the frozen raspberry center, pinching the edges firmly to seal. Roll it into a smooth ball, ensuring there are no cracks or thin spots where the jam could escape.
- Place the dough balls on the prepared baking sheet, spacing them 2 inches apart. For the visual look in the image, press one or two extra chocolate chunks into the top of each ball.
- Bake for 10 to 12 minutes. The edges should be set and the surface should have a slight crackle, but the centers will still look soft. Do not overbake, or the raspberry center will dry out.
- Let the cookies cool on the pan for at least 10 minutes. This resting period allows the cookie structure to set and the molten center to stabilize so it does not gush out too quickly when you take your first bite. Garnish with fresh raspberries and serve warm.
Notes
- To prevent leaking, only remove a few frozen raspberry discs from the freezer at a time while assembling. Ensure the dough is pinched firmly with no cracks before baking. Let cookies rest for 10 minutes to allow the structure to set.


