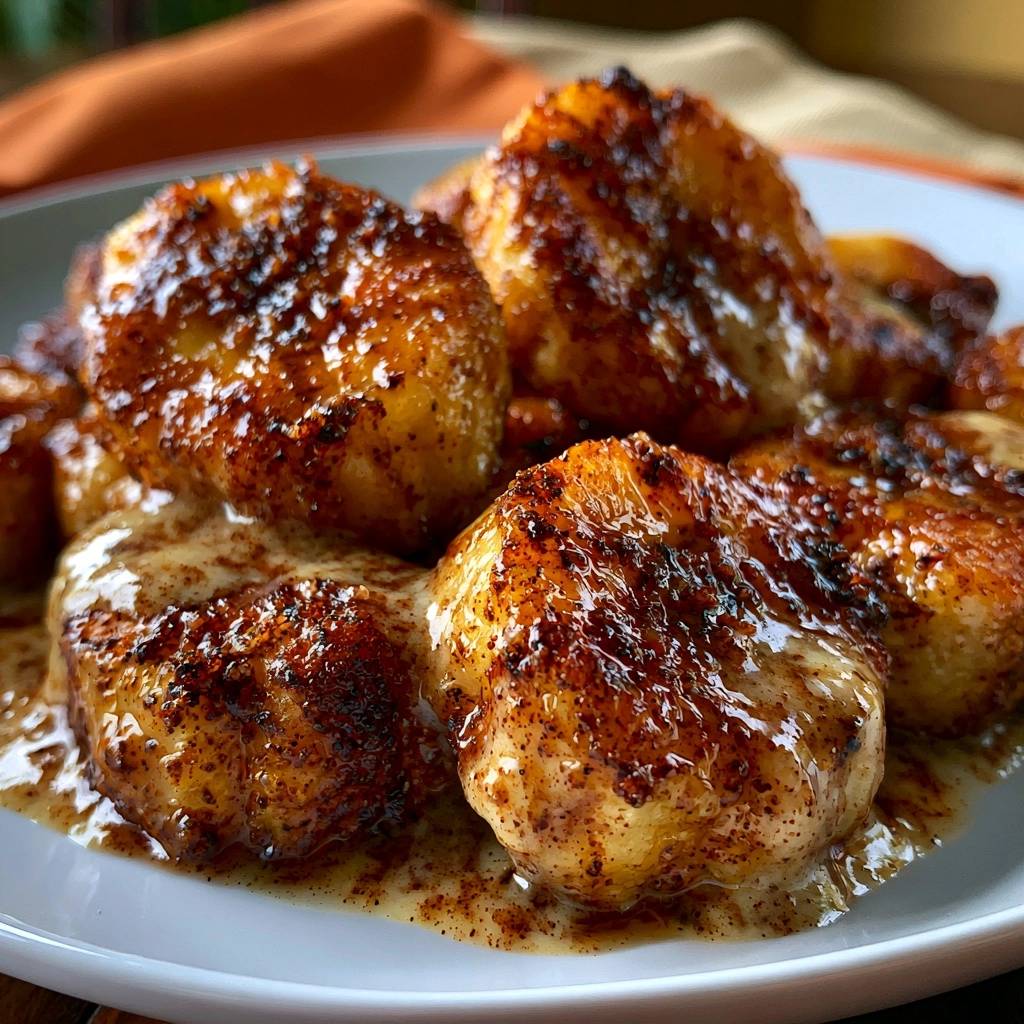
Nothing compares to the first bite of a perfectly seared sea scallop. You know the one: a crust so golden and crisp it almost cracks, followed by a center that’s as tender and sweet as butter. Most home cooks, however, end up with something entirely different. Instead of a restaurant-quality sear, they find themselves staring at pale, rubbery pucks swimming in a pool of gray liquid.
The “Anti-Soggy Bottom” philosophy isn’t just a catchy name; it’s a commitment to moisture management and heat control. To get that professional finish, you have to treat the scallop like a high-end steak rather than delicate seafood. We’re moving away from the “boiled” look and toward a deep, caramelized crust that locks in every drop of natural sweetness.
The secret to this transformation lies in the surface chemistry of the protein. If there’s even a microscopic layer of water on the scallop when it hits the pan, it will steam, not sear. I’ve found that the most successful batches come from scallops that have been “air-dried” in the fridge for 15 minutes before they ever touch a paper towel. This technical precision is what separates a home-cooked meal from a culinary masterpiece.
The Anatomy of a Perfect Sea Scallop
When you’re at the seafood counter, the most important question you can ask is, “Are these wet or dry?” Wet scallops are treated with sodium tripolyphosphate, a chemical that makes them soak up water like a sponge. This adds weight to the price tag and, more importantly, makes it physically impossible to get a good sear because that chemical water leaks out the moment the heat hits.
Always look for “dry-packed” sea scallops. They should have a creamy, ivory, or slightly pinkish hue rather than a stark, bleached white. In terms of size, look for U-10 or U-15 grading. This means there are 10 to 15 scallops per pound. These larger sizes are essential for our garlic butter method because they provide enough surface area for a heavy crust to form without the middle overcooking.
Identifying and Removing the Abductor Muscle
Before you start seasoning, you need to check for the “foot.” This is a small, rectangular tag of tough muscle on the side of the scallop that it uses to attach to its shell. While it’s perfectly safe to eat, it stays incredibly tough and rubbery even after cooking. It feels like a little rubber band in the middle of a cloud.
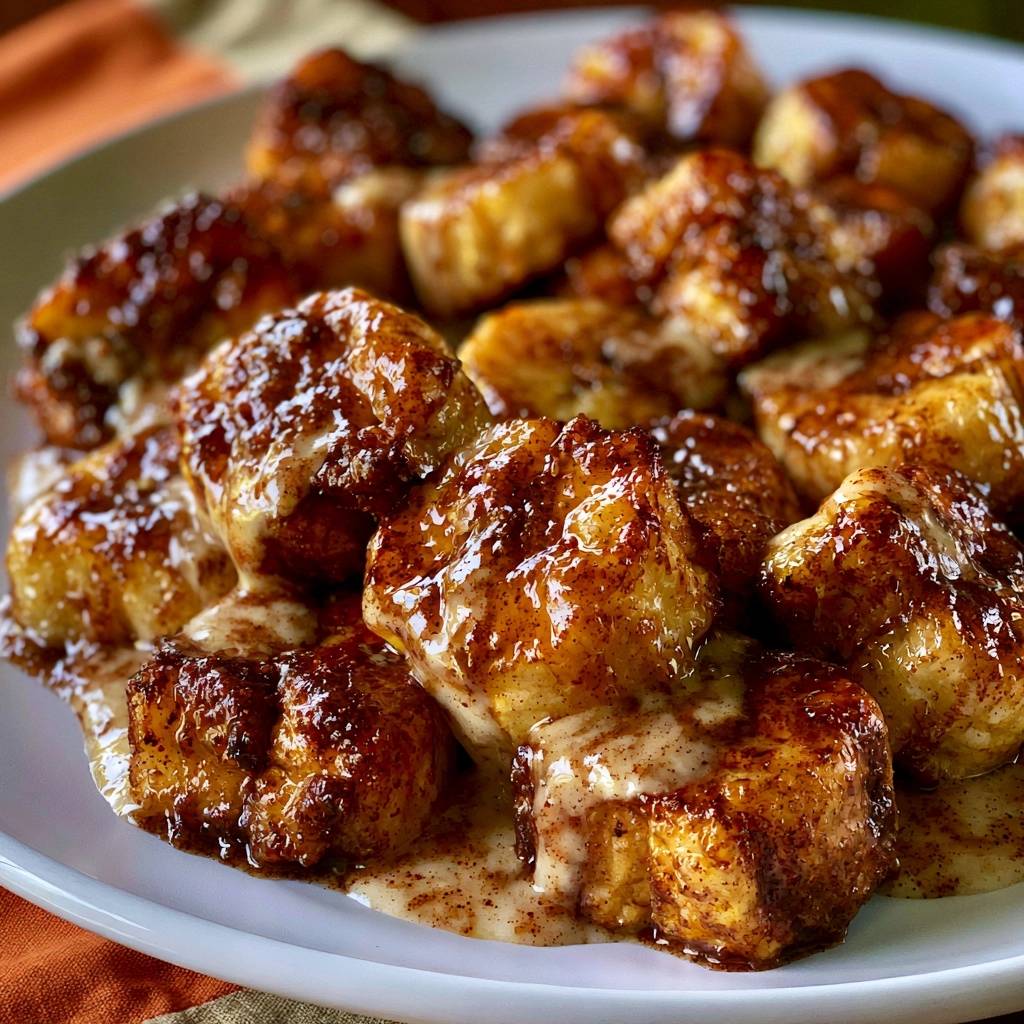
Locating it is easy. Just feel around the side of the scallop for a firm piece of flesh that runs against the grain of the rest of the body. Simply pinch it and pull it away; it should pop right off. Removing this ensures that every single bite of your Pan-Seared Garlic Butter Scallops is melt-in-your-mouth tender.
Essential Components for Pan-Seared Garlic Butter Scallops
Quality ingredients are the backbone of this dish. I always recommend using unsalted butter. This gives you total control over the seasoning and, more importantly, unsalted butter has a slightly different protein structure that allows you to monitor the browning of the milk solids more accurately. You want that nutty aroma without the salt crystals burning against the pan.
For the initial sear, you need a high-smoke point oil. Extra virgin olive oil will smoke and turn bitter at the temperatures required for a proper crust. Instead, reach for avocado oil or grapeseed oil. These can handle the 400°F+ heat needed to trigger the Maillard reaction, which is the chemical process that creates that savory, browned flavor profile.
The Role of Aromatics and Spices
While garlic is the star, the supporting cast of smoked paprika and onion powder does the heavy lifting for the crust. Smoked paprika adds a subtle earthiness and a beautiful brick-red tint that enhances the visual appeal of the sear. Because these are dry spices, they adhere to the scallop and toast instantly in the hot oil.
Fresh garlic is added much later in the process. If you put minced garlic in at the start with the scallops, it would turn into bitter, black charcoal by the time the scallops were ready to flip. By using onion powder in the initial rub, you get that savory depth right away without the risk of burning fresh aromatics.
The Science of Moisture Management
Moisture is the enemy of the sear. When water meets a hot pan, it immediately turns to steam. Steam is capped at 212°F, but the Maillard reaction—the browning we crave—doesn’t really kick into high gear until you hit 285°F to 330°F. If your scallops are wet, they will never get hotter than 212°F until all that water evaporates, by which time the inside will be overcooked.
This is why you must season only seconds before cooking. Salt is hygroscopic, meaning it draws moisture out of the protein. If you salt your scallops and let them sit for five minutes, you’ll see a pool of liquid forming on top. That liquid will ruin your crust. Pat them dry, season them, and get them into the pan immediately.
Step-by-Step: Achieving the Restaurant-Quality Sear
Cooking scallops is a fast-paced process that requires your full attention. You aren’t just “frying” them; you’re managing a series of temperature shifts. Have your butter, minced garlic, and cream measured out and sitting right next to the stove before you turn on the flame.
The goal is a specific transformation: the bottom should become a dark, caramelized disc while the sides remain translucent. As the heat travels upward, the scallop will change from jelly-like to firm. Watching this “tide” of opaque white move up the side of the scallop is your best indicator of doneness.
Phase 1: High-Heat Contact and Searing
Get your skillet screaming hot. When the oil is shimmering and you see the first tiny wisp of smoke, it’s time. Place the scallops in the pan starting at the 12 o’clock position and move clockwise. This helps you remember which one went in first so you can flip them in the same order.
Now, the hardest part: don’t touch them. It’s tempting to peek or move them around, but every time you move the scallop, you drop the surface temperature. The protein will actually “stick” to the pan at first. Once a proper crust has formed, the scallop will naturally release itself from the metal. If you have to tug on it, it’s not ready to flip.
Phase 2: The Garlic Butter Baste (Arrosé)
Once you flip the scallops, the game changes. The heat is already high, so now we add the flavor. Drop the chilled butter and the minced garlic into the empty spaces of the pan. The butter will immediately start to foam and bubble, which is exactly what you want.
Tilt the pan slightly so the melting butter pools at the bottom with the garlic. Use a large spoon to continuously scoop that hot, garlic-infused fat over the top of the scallops. This French technique, called arrosé, gently cooks the top of the scallop with flavored fat while the bottom finishes searing. It creates a rich, velvety coating that no seasoning rub can match.
Phase 3: Creating the Emulsified Cream Sauce
To get that luxurious, glossy sauce, we introduce a small amount of heavy cream right at the end. As the cream hits the bubbling garlic butter, it acts as an emulsifier. You’ll see the sauce go from oily and separated to thick and unified in about 30 seconds.
Swirl the pan gently to encourage the liquids to marry. The cream picks up the browned bits (the fond) from the bottom of the pan, incorporating all that concentrated scallop flavor back into the sauce. As soon as the sauce coats the back of a spoon, kill the heat. The residual heat will finish the cooking without breaking the emulsion.
Troubleshooting Common Scallop Mistakes
If your scallops feel like rubber bands, they are overcooked. Scallops continue to cook for a minute after they leave the pan, so you want to pull them when the center still looks slightly “misty” or translucent. If you use a meat thermometer, aim for an internal temperature of 125°F to 130°F.
If you aren’t getting a golden color, your pan isn’t hot enough or you’ve crowded the pan. When you put too many cold scallops in at once, the pan temperature plummets. Cook in batches if you have to. It’s better to eat two perfectly seared scallops than six soggy ones.
Optimal Equipment for High-Heat Searing
A heavy-bottomed stainless steel or cast iron skillet is non-negotiable here. These materials hold onto heat much better than thin aluminum. When that cold scallop hits the surface, a heavy pan stays hot, whereas a cheap pan will cool down instantly, leading to—you guessed it—steaming instead of searing.
Avoid non-stick pans for this recipe. Most non-stick coatings aren’t designed for the high heat required for a professional sear, and they don’t allow the “fond” to develop on the bottom of the pan. That fond is the secret ingredient to the cream sauce we’re building in the final phase.
Flavor Variations and Ingredient Swaps
If you want to change the flavor profile, try swapping the smoked paprika for a pinch of curry powder for an aromatic, golden twist. You can also replace the heavy cream with a splash of coconut cream for a slightly different richness, though the emulsion won’t be quite as stable.
For herbs, fresh chives or tarragon are incredible partners for garlic butter. Add them at the very last second so they stay bright green and fragrant. If you don’t have avocado oil, ghee (clarified butter) is a fantastic alternative because it has a very high smoke point but still offers that buttery flavor from the start.
What to Serve with Pan-Seared Garlic Butter Scallops
Because this dish is incredibly rich, you need something with high acidity or a clean, earthy base to balance the plate. A parsnip or cauliflower purée provides a silky bed that soaks up the extra garlic butter sauce without competing with the scallops’ texture.
A simple arugula salad with a heavy squeeze of lemon and some shaved fennel is another perfect match. The peppery bite of the greens cuts right through the heavy cream and butter. If you want something heartier, a lemon-zest risotto or a very thin angel hair pasta tossed in olive oil works beautifully.
Expert Tips for Sourcing and Storage
Freshness is everything. When you buy scallops, they should smell like the clean ocean, not “fishy.” If they have a sharp or ammonia-like scent, walk away. They should be firm to the touch and hold their shape; if they look mushy or are falling apart, they are past their prime.
If you must use frozen scallops, thaw them slowly in the refrigerator overnight. Place them on a plate lined with several layers of paper towels to catch the moisture as they defrost. Never thaw them in the microwave or under hot water, as this will ruin the delicate protein structure and make them impossible to sear.
Frequently Asked Questions
Can I use frozen scallops for this recipe?
Yes, you can use frozen scallops, but you must be extra diligent about moisture. Thaw them completely in the fridge on paper towels. Before cooking, let them sit at room temperature for 10 minutes and pat them dry again. Frozen scallops often release more water, so ensure your pan is extra hot to compensate.
Why did my garlic turn bitter?
Garlic turns bitter when it burns. This usually happens if it’s added too early or if the pan is too hot when the butter goes in. Always add the garlic with the butter after you’ve flipped the scallops and slightly lowered the heat or moved the pan to a cooler part of the burner. The foaming butter helps protect the garlic from direct contact with the intense heat of the pan.
How do I know when the scallop is done without cutting it?
Look at the sides of the scallop. As it cooks, the translucent, raw-looking flesh will turn an opaque, solid white. When that whiteness has crept up about three-quarters of the way from the bottom, and the top feels firm but still has a slight “give” (like the fleshy part of your palm), they are done. They should feel bouncy, not hard.
Can I use olive oil instead of avocado oil?
It is not recommended for the initial sear. Standard olive oil has a smoke point around 375°F, and extra virgin is even lower. To get a true restaurant sear, you need the pan closer to 425°F. Using olive oil at that heat will cause it to break down, creating smoke and a burnt, acrid taste that will ruin the delicate flavor of the scallops.
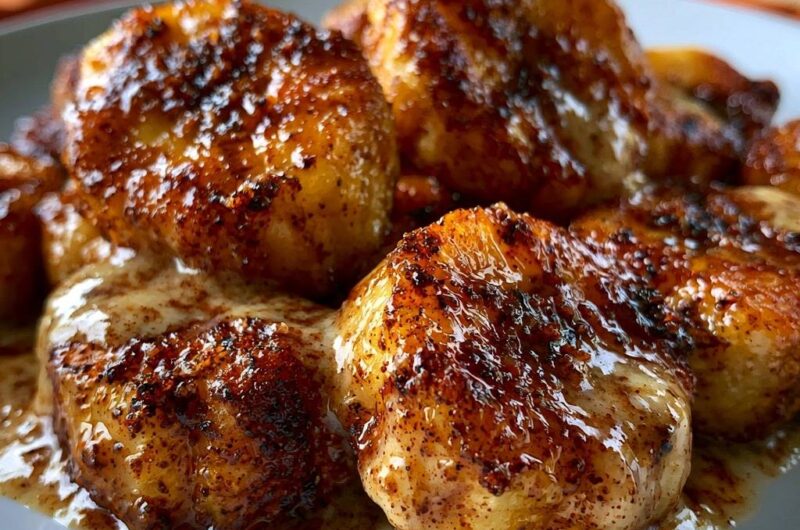
Pan-Seared Garlic Butter Scallops
Course: Main CourseCuisine: AmericanDifficulty: easy2
servings10
minutes8
minutes18
Minutes340
kcalAmerican
Ingredients
1 pound large sea scallops (dry-packed preferred)
2 tablespoons unsalted butter, chilled
1 tablespoon high-smoke point oil (like avocado or grapeseed oil)
3 cloves garlic, minced
1/2 teaspoon smoked paprika
1/4 teaspoon onion powder
Salt and black pepper to taste
2 tablespoons heavy cream (for the emulsified sauce shown in image)
Fresh lemon juice for finishing
Directions
- The most critical step for a perfect sear is to remove all surface moisture. Remove the small side muscle from the scallops if present. Pat the scallops extremely dry on all sides using paper towels. If they feel even slightly damp, they will steam instead of sear.
- In a small bowl, mix the salt, pepper, smoked paprika, and onion powder. Season the scallops only right before they hit the pan. Salting too early draws out moisture, which ruins the crust.
- Heat a heavy stainless steel or cast iron skillet over high heat. Add the oil and wait until it is shimmering and just starting to smoke.
- Place scallops in the pan, ensuring they do not touch. Do not move them for 2 to 3 minutes. This patience is what prevents sticking and creates the deep, dark golden-brown crust seen in the image.
- Flip the scallops once. Immediately add the butter and minced garlic to the pan. As the butter melts and foams, use a spoon to continuously baste the scallops with the garlic butter for 1 minute.
- To achieve the creamy sauce consistency shown in the image, pour the heavy cream into the center of the pan, swirling it into the bubbling garlic butter for 30 seconds until it thickens and coats the scallops.
- Remove from the heat immediately once the sides are opaque. Squeeze fresh lemon juice over the top to cut through the richness and serve instantly, spooning the pan sauce over the scallops.
Notes
- Dry-packed scallops are preferred to avoid excess moisture. Ensure the pan is shimmering hot before adding scallops to prevent sticking and steaming.