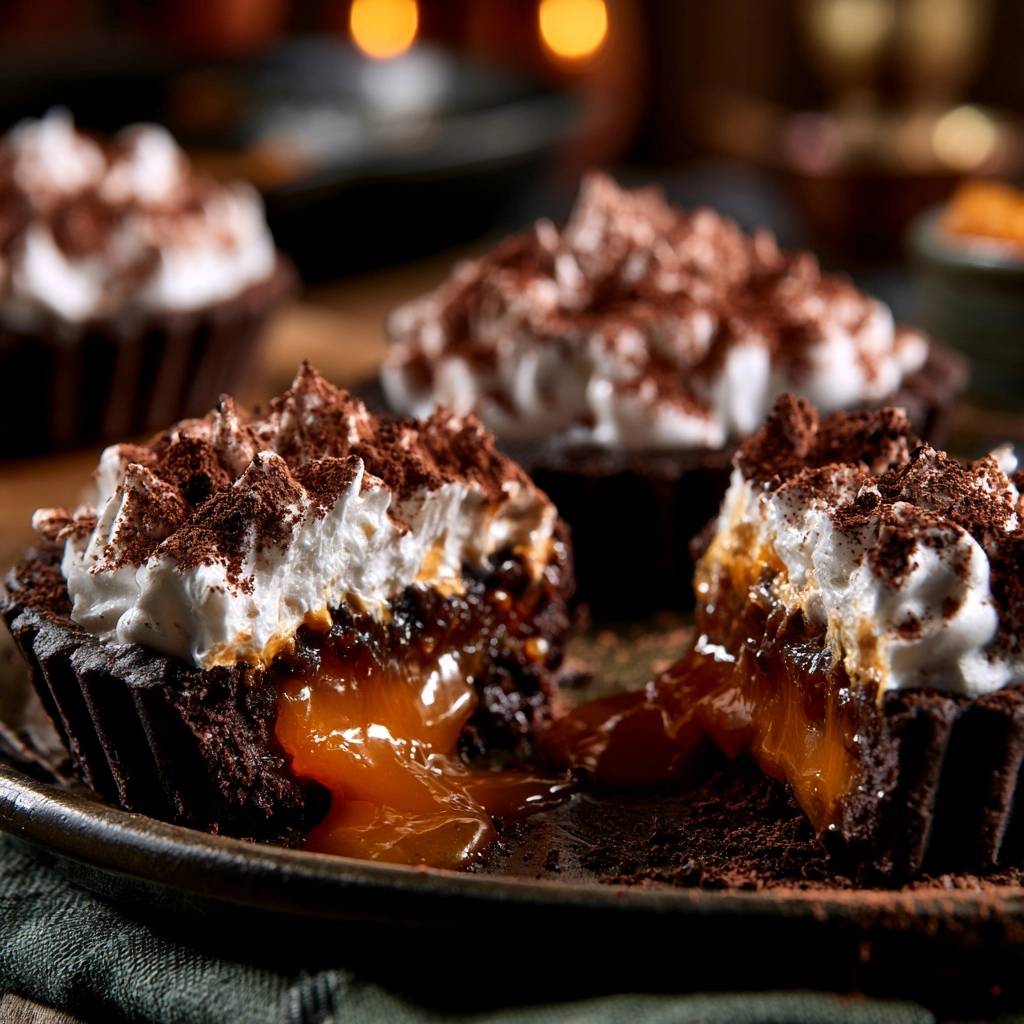
Imagine biting into a dessert where the first sensation is the sharp, satisfying snap of a dark chocolate shell. Immediately after, a river of buttery, salted caramel flows across your palate, balanced by a cloud of unsweetened whipped cream. It is a study in contrasts: crunchy and smooth, bitter and sweet, cold and molten. This is the ultimate experience of Salted Caramel Chocolate Tarts, a dish that relies as much on structural engineering as it does on high-quality ingredients.
However, most home bakers struggle with the dreaded “soggy bottom,” where the moisture from the caramel turns a promising crust into a limp, grainy mess. You want a tart that holds its shape even after you lift it from the pan. The secret to success lies in a specific double-barrier method that protects the pastry from the filling. By mastering the art of the chocolate seal, you ensure every single bite maintains that professional, bakery-style crunch.
I’ve found that the most common mistake is rushing the cooling process. If you pour warm caramel onto a chocolate seal that hasn’t fully hardened, the barrier dissolves, and the caramel seeps into the crust. Patience is your best friend here. You must let the chocolate-lined shells chill until they feel like stone before the caramel ever touches them. This simple discipline separates a messy kitchen experiment from a show-stopping dessert.
The Architecture of a Perfect Chocolate Tart Shell
Building a tart shell that can support a heavy, liquid-gold filling requires a dense foundation. While traditional shortcrust pastry is lovely, a cookie-crumb base offers a much tighter grain. This tight grain is essential because it minimizes the microscopic gaps where caramel could potentially leak through. When you use Oreo-style crumbs, you’re essentially creating a compressed wall of cocoa solids and butter.
The ratio of fat to crumb is the most critical part of the physics here. If you use too much butter, the crust will slump down the sides of the pan in the oven. If you use too little, it will crumble the moment you try to unmold it. Five tablespoons of melted butter for every one and a half cups of crumbs creates a “wet sand” texture that packs down firmly, ensuring the sides are thick enough to act as a structural levee for the caramel.
Why We Remove the Cookie Cream Filling
It might seem tedious to scrape the cream out of your cookies, but it’s a non-negotiable step for a stable tart. The cream filling in sandwich cookies is made of vegetable fats and sugars that melt at a much lower temperature than butter. If you leave it in, the crust becomes greasy and loses its structural integrity in the oven. You want pure cocoa flavor and a dry crumb to ensure the butter can do its job of binding everything together.
Essential Components for the Salted Caramel Filling
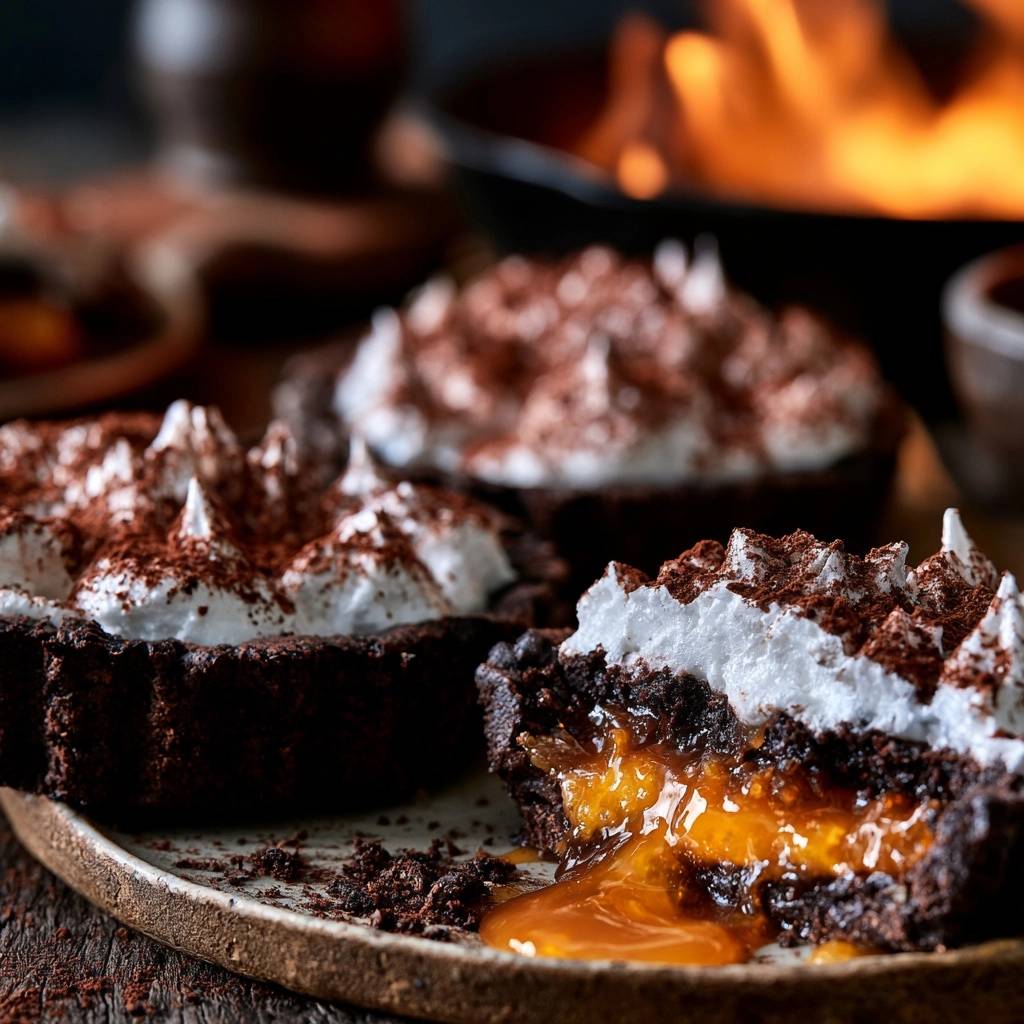
Caramel is a temperamental beast, and the quality of your dairy makes all the difference. You need heavy cream with at least 36% fat content to achieve that luxurious, mouth-coating texture. Lower fat milks or light creams will result in a thin, watery sauce that won’t set properly. The fat provides the necessary viscosity to keep the caramel “molten” at room temperature without it running off the plate.
Temperature management is equally vital when you’re working with these ingredients. Always use room-temperature butter when whisking it into the melted sugar. If you drop cold butter into a pan of 350-degree liquefied sugar, the temperature shock can cause the mixture to seize or the fat to separate. By keeping your butter soft, it emulsifies instantly, creating a glossy, uniform sauce that looks like liquid velvet.
Selecting the Right Dark Chocolate for Sealing
The chocolate seal isn’t just for flavor; it’s a functional waterproof liner. I recommend using a dark chocolate with 60% to 70% cacao. This higher cocoa butter content ensures the chocolate sets firmly and stays snappy. Milk chocolate contains too much sugar and dairy, which makes it softer and more prone to melting when the caramel is added. Plus, the bitterness of dark chocolate provides a necessary foil to the intense sweetness of the sugar.
Step-by-Step: Building the Anti-Soggy Bottom Foundation
When you start pressing your crumb mixture into the mini tart pans, pay special attention to the “corners” where the bottom meets the sides. This is the most common point of failure. Use your thumb or the back of a small measuring cup to pack the crumbs tightly into that crease. You want a consistent thickness all the way around so the caramel doesn’t find a thin spot to break through.
As you press, you’ll notice the crumbs might feel a bit loose. Don’t worry; the heat of the oven will melt the butter and sugar in the crumbs, effectively “gluing” them together. The goal is to create a solid, cup-like shape that feels sturdy. If the sides look jagged or thin, add a few more crumbs and press again until the rim is flush with the top of the pan.
The Compaction Technique After Baking
Baking the shells for 8 to 10 minutes isn’t just about toasting the crumbs; it’s about setting the structure. However, the crust will naturally puff up slightly in the heat. The moment those pans come out of the oven, you must act quickly. Take a small spoon and gently but firmly press the bottom and sides again while the crust is still hot and pliable.
This “compaction” step is a game-changer. It forces the air out of the crumb layer and creates a high-density barrier. By doing this, you’re closing up those tiny pores that would otherwise act like a sponge for the caramel. Once you’ve pressed them down, you’ll see the crust looks darker and more polished. This is the foundation of a truly crisp tart.
The Science of the Waterproof Chocolate Barrier
The real magic happens when you apply the melted dark chocolate. In the world of baking, this is known as creating a hydrophobic layer. Because chocolate is fat-based, it naturally repels the water content found in the heavy cream of the caramel. By brushing a thin, even layer over the inside of the shell, you’re essentially laminating the cookie crust.
Think of it like painting a wooden boat. The chocolate fills in every microscopic gap left between the cookie crumbs. Once it chills and hardens, it forms a solid, unbreakable wall. Even if your caramel is slightly on the thinner side, it will never be able to penetrate that chocolate shield, keeping your crust as crunchy on day three as it was on day one.
Temperature Control During the Sealing Phase
Timing the chocolate application is a delicate balance. You want the tart shells to be warm to the touch, but not piping hot. If they’re too hot, the melted chocolate will become too thin and run to the bottom, leaving the sides exposed. If they’re stone cold, the chocolate will set too fast, making it hard to get a smooth, even coat. Aim for that “just out of the oven for five minutes” window for the perfect spread.
Mastering the Dry Caramel Method
Making caramel by melting dry sugar is faster and often more flavorful than the wet method, but it requires your full attention. Put your sugar in a heavy-bottomed saucepan and turn the heat to medium. Do not touch it with a spoon! If you stir the sugar before it’s melted, you’ll end up with hard, crystallized lumps that are nearly impossible to dissolve. Instead, gently swirl the pan to move the unmelted sugar into the hot spots.
Watch the color like a hawk. It will go from white to pale yellow, then to a light cinnamon, and finally to a deep, reddish amber. You want to pull it off the heat the second it smells toasted and looks like an old penny. If you wait too long, the sugar will burn and turn bitter. If you pull it too early, the caramel will lack that complex, smoky depth that makes salted caramel so addictive.
Incorporating Fats Without Separation
When you add the butter and cream to the hot sugar, the reaction is violent. The mixture will hiss and steam will billow up, which is perfectly normal. This is why you need a deep saucepan. Whisk vigorously and continuously during this stage. You are forcing the fat from the butter and cream to bond with the liquid sugar. If you stop whisking, the fat might separate and float to the top, leaving you with a greasy mess.
Achieving the Molten Yet Stable Caramel Texture
Once your caramel is finished, let it sit in the pan for about 20 minutes. This cooling period is vital for the texture. If you pour the caramel while it’s boiling hot, it will melt your chocolate seal instantly, defeating the whole purpose of the barrier. You’re looking for a consistency that resembles warm honey—thick enough to coat a spoon but still fluid enough to level itself out in the tart shell.
After pouring, the tarts need a long nap in the fridge. Two hours is the minimum, but four is better. This time allows the sugar molecules to stabilize into a soft, fudge-like state. When you eventually cut into the tart, the caramel should slowly bulge outward rather than running all over the plate. It’s that perfect “molten” look that signals a professional-grade dessert.
Troubleshooting Common Caramel and Crust Issues
If your caramel ends up grainy, it usually means a few stray sugar crystals fell from the side of the pan back into the melt. You can sometimes fix this by adding a tiny splash of water and reheating it slowly, but prevention is better. Use a wet pastry brush to wipe down the sides of the pan if you see crystals forming. If the caramel is too hard to bite through once chilled, you likely boiled it for too long after adding the cream. Next time, pull it off the heat exactly 60 seconds after the cream is fully incorporated.
Crust issues usually stem from the unmolding process. If the crust crumbles when you try to remove it from the tin, it might be too cold. The butter in the crust acts like glue, and if it’s straight from the fridge, it can be brittle. Let the tarts sit at room temperature for 5 or 10 minutes before gently pressing up on the bottom of the removable tart pan. If the chocolate seal cracks, it’s often because the layer was too thick. A thin, painted-on layer is much more flexible than a thick slab of chocolate.
Advanced Finishing: The Cocoa Dusting Technique
The final dusting of cocoa powder isn’t just for looks; it’s a functional flavor component. The caramel and the cookie crust are both quite sweet. By adding a heavy layer of unsweetened cocoa powder over the whipped cream, you introduce a sophisticated bitterness that resets your palate between bites. It also provides a beautiful matte contrast to the glossy caramel hidden underneath.
To get that professional look, use a fine-mesh sieve and hold it high above the tarts. Tap the side of the sieve gently to create a light, even snowfall of cocoa. If you hold it too close, you’ll get clumps. Do this step just before serving, as the moisture in the whipped cream will eventually soak up the powder, turning it from a dusty matte to a dark syrup over time.
Make-Ahead Strategies and Storage Requirements
These tarts are fantastic for dinner parties because they actually benefit from being made ahead of time. You can prepare the shells and fill them with caramel up to two days in advance. Keep them in the refrigerator in an airtight container to prevent them from picking up any “fridge smells.” The chocolate seal will keep the crust perfectly crisp for the entire duration.
However, do not add the whipped cream until you are ready to serve. Whipped cream tends to deflate and weep moisture over time, which can ruin the aesthetic and eventually soften the cocoa dusting. I don’t recommend freezing these tarts. The freezing and thawing process changes the molecular structure of the caramel, often causing it to become grainy or unpleasantly sticky.
Expert Tips for Professional Presentation
For a truly high-end look, use a piping bag fitted with a large star tip to apply the whipped cream. Instead of just dolloping it on, pipe small, tight rosettes or one large, continuous swirl starting from the outside and moving in. This creates “high peaks” that catch the cocoa powder beautifully and give the tart a sense of height and drama on the plate.
Before you serve, take a small paring knife and gently scrape any stray crumbs or chocolate drips off the edges of the tart. A clean, sharp rim makes the dessert look like it came straight from a French patisserie. If you want to go the extra mile, sprinkle a few extra flakes of sea salt directly onto the caramel before you add the cream. It provides a little hidden crunch and a burst of flavor that surprises the guest.
Frequently Asked Questions
Can I use store-bought caramel sauce?
I strongly advise against using store-bought ice cream toppings or jarred caramel. Those products are designed to be pourable at room temperature and contain stabilizers that prevent them from setting firm. If you use them in a tart, the filling will simply run out like water the moment you take a bite. You need the high sugar-to-fat ratio of a homemade caramel to ensure it stays stable within the shell.
Why did my caramel turn hard like candy?
This usually happens because the sugar was cooked to too high a temperature after the cream and butter were added. Caramel goes through different stages (soft ball, hard ball, crack stage) based on how much water is evaporated. If you boil the mixture for several minutes instead of just one, you’re removing too much moisture, which results in a tooth-breaking candy rather than a soft sauce.
Can I use milk chocolate for the seal?
While you can technically use milk chocolate, it isn’t the best choice for structural integrity. Milk chocolate has a lower melting point and a softer texture due to the added milk solids. It won’t provide that distinct “snap” when you bite into the tart, and it may soften too much if the room is warm. Stick to dark chocolate for the best moisture barrier and flavor balance.
How do I get the tarts out of the pans without breaking them?
The best way to unmold these is to use tart pans with removable bottoms. Once the tarts are fully set in the fridge, let them sit on the counter for about 5 minutes. Place the tart pan on top of a small glass or jar, then gently slide the outer ring down. Use a thin offset spatula to slide the tart off the metal base and onto your serving plate. If the crust feels stuck, the butter might just be too cold; a few more minutes at room temperature will fix it.
How long will these stay fresh in the fridge?
These tarts will stay delicious for up to 3 days if stored in an airtight container. The chocolate seal is incredibly effective at preventing the crust from getting soggy. However, after the third day, the whipped cream (if already applied) will start to break down, and the caramel may begin to absorb some moisture from the air, losing its perfect texture.
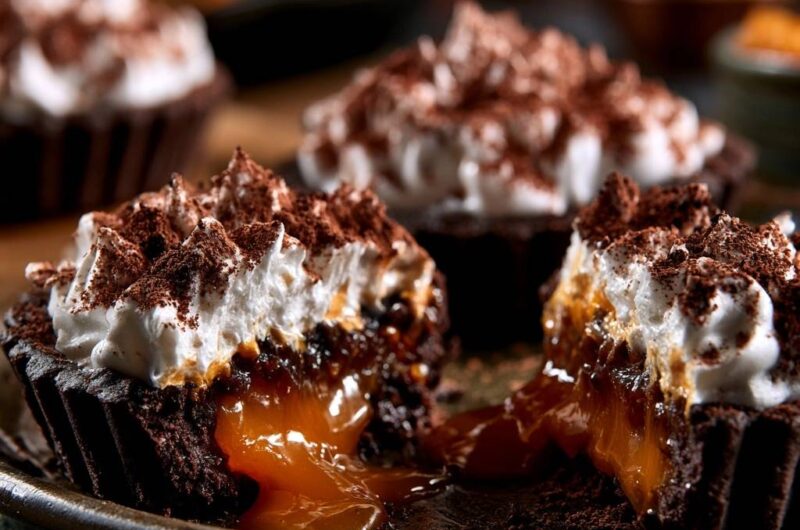
Salted Caramel Chocolate Tarts
Course: DessertCuisine: AmericanDifficulty: easy6
individual tarts30
minutes20
minutes50
Minutes480
kcalAmerican
Ingredients
1 1/2 cups chocolate cookie crumbs (Oreo style, cream removed)
5 tablespoons unsalted butter, melted
2 ounces dark chocolate, melted (for sealing the crust)
1 cup granulated sugar
6 tablespoons unsalted butter, room temperature
1/2 cup heavy cream
1 teaspoon sea salt
1 cup heavy whipping cream (for topping)
2 tablespoons powdered sugar
3 tablespoons cocoa powder (for heavy dusting)
Directions
- Preheat your oven to 350 degrees F. Combine chocolate cookie crumbs and 5 tablespoons melted butter. Press the mixture firmly into the bottom and up the sides of six mini tart pans, ensuring the sides are thick enough to hold the molten center.
- To prevent the soggy bottom, bake the empty shells for 8 to 10 minutes. Immediately after removing from the oven, use the back of a spoon to press the crust down and against the sides again. This compacts the crumbs, creating a dense barrier.
- While the shells are still warm, brush the inside of each shell with a thin layer of the 2 ounces of melted dark chocolate. This creates a waterproof seal. Let the shells cool completely until the chocolate is set and the shell is rock hard.
- In a heavy saucepan, melt the granulated sugar over medium heat. Do not whisk initially; swirl the pan until the sugar melts and turns a deep amber color.
- Once amber, add the 6 tablespoons of butter and whisk vigorously until melted. Slowly pour in the 1/2 cup of heavy cream while whisking. The mixture will bubble rapidly. Let it boil for 1 minute, then remove from heat and stir in the sea salt.
- Allow the caramel to cool for 20 minutes at room temperature. It should be thick but still pourable. Pour the warm caramel into the chocolate-sealed shells. Refrigerate for at least 2 hours to set the caramel to a “molten” but stable consistency.
- Beat the remaining heavy cream and powdered sugar until stiff peaks form. Using a star tip or a spoon, create high, textured peaks of cream onto the chilled tarts.
- Finish with a very heavy dusting of cocoa powder over the cream just before serving to achieve the dark, textured aesthetic shown in the image. The bitterness of the cocoa perfectly balances the sweet, flowing caramel.
Notes
- The key to success is brushing the warm crust with melted chocolate to create a waterproof barrier before adding the caramel filling.