Imagine the deep, umami-rich aroma of a slow-cooked beef ragu filling your kitchen on a quiet afternoon. You’re looking for that perfect contrast between the earthy, vegetal notes of fresh spinach pasta and a sauce that feels like a warm hug. However, many home cooks struggle with beef that turns out chewy or stringy rather than succulent.
The secret to this Slow-Braised Beef and Spinach Ravioli lies in the science of collagen breakdown. By using a low-and-slow approach, we transform tough fibers into a velvety sauce that clings to every green ravioli. You won’t find any dry, disappointing bites here; just pure, melt-in-your-mouth comfort that rivals any high-end bistro.
Expertise in braising starts with patience and the right temperature control. I’ve found that the most common mistake is rushing the simmer, which causes the muscle fibers to seize up. If you keep the heat low and follow the shredding technique, the meat will reabsorb the tomato juices like a sponge, ensuring every forkful is incredibly tender.
The Science of Tenderness in Beef Chuck
To understand why this recipe works, you have to look at the anatomy of the beef chuck roast. This cut comes from the shoulder of the animal, a hard-working muscle group loaded with connective tissue called collagen. If you cook this quickly over high heat, the collagen shrinks and squeezes out moisture, leaving you with a piece of leather.
However, when you maintain a steady, low temperature between 160°F and 180°F, a beautiful chemical transformation occurs. The tough collagen slowly melts into gelatin. This gelatin is what gives the sauce its luxurious, lip-smacking mouthfeel and keeps the meat fibers lubricated. It’s the difference between a sauce that feels watery and one that feels truly rich.
Low-and-slow braising isn’t just a suggestion; it’s a biological necessity for this cut of meat. While high heat results in stringy, dry strands, the gentle heat of a Dutch oven allows the beef to relax. By the end of the three-hour mark, the internal structure has essentially dissolved, leaving behind meat that falls apart with the mere suggestion of a fork.
Essential Components for the Braised Ragu
Quality ingredients are the foundation of a great ragu, starting with the tomatoes. I highly recommend using San Marzano crushed tomatoes because they offer a perfect balance of sweetness and acidity. Their thick flesh and low seed count create a smoother, more refined sauce than standard canned varieties.
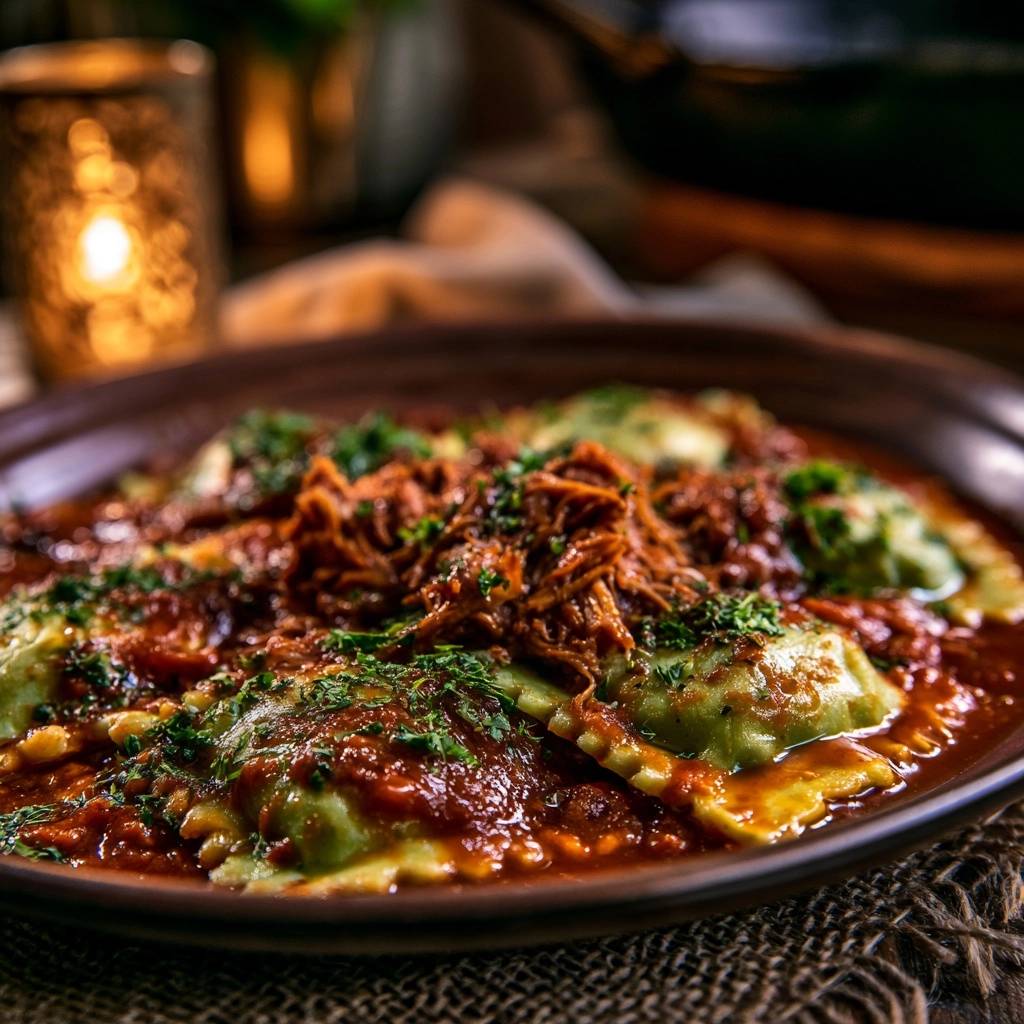
Tomato paste acts as your flavor concentrator and primary thickener. When you sauté it with the aromatics, it loses its raw, metallic edge and develops a savory depth. For the pasta, look for fresh spinach and cheese ravioli in the refrigerated section. The vibrant green “spinach-infused” dough provides a beautiful visual contrast against the deep red sauce.
Freshness matters when you’re dealing with a dish this heavy. The spinach in the ravioli adds a necessary grassy note that cuts through the richness of the beef. If you can’t find fresh, high-quality frozen ravioli will work, but ensure they are the large, pillowy kind that can stand up to a hearty meat sauce.
Selecting the Right Beef Cut
While you might be tempted to use brisket or short ribs, chuck roast is the undisputed king for this specific ragu. It has the ideal ratio of lean meat to intramuscular fat, which ensures the sauce doesn’t become overly greasy. Short ribs are delicious but often require more skimming of rendered fat during the process.
When you’re at the butcher counter, look for a roast with plenty of white flecks of marbling throughout the meat. You should trim away any large, thick caps of hard external fat, but leave the internal marbling alone. That internal fat is what bastes the meat from the inside out during the long simmer.
The Role of Aromatics and Deglazing
The “Holy Trinity” of this dish consists of yellow onion, garlic, and tomato paste. You want to sauté the onions until they are translucent and sweet, providing a soft flavor base. When you add the tomato paste, stir it until it turns a dark brick red; this “pinking” process is crucial for a sophisticated flavor profile.
Deglazing is the most satisfying part of the prep. When you pour in your liquid, use a wooden spoon to scrape up the “fond,” which are those browned bits stuck to the bottom of the pot. Those bits are concentrated flavor bombs. Whether you use a splash of broth or a dark grape juice, that liquid captures the essence of the seared meat.
Phase One: Achieving the Perfect Sear
Before the meat ever touches the pan, you must pat it completely dry with paper towels. Moisture is the enemy of the Maillard reaction. If the beef is wet, it will steam in the oil rather than sear, and you’ll miss out on the complex flavors that only a crust can provide.
Heat your oil until it’s shimmering but not smoking. Sear the beef in batches to avoid crowding the pan. If you put too much meat in at once, the temperature of the oil drops, and the meat will grey instead of brown. You are looking for a dark mahogany crust on all sides of every chunk.
This crust is the foundation of your sauce’s color and depth. Don’t be afraid of a little dark color; that’s where the umami lives. Once the meat is seared, set it aside on a plate and let it rest while you build the rest of the sauce components in the same pot.
Phase Two: The Low-Temperature Braising Process
Once you’ve returned the beef to the pot with the liquids, bring it to a bare simmer. You should see only a few small bubbles breaking the surface occasionally. A rolling boil will toughen the meat fibers, undoing all your hard work. This is a gentle process, not a race.
Using a heavy-bottomed Dutch oven is ideal because it distributes heat evenly and prevents hot spots that could burn the sauce. If your stove is finicky, you can move the covered pot into a 300°F oven. The oven provides consistent ambient heat from all sides, which often results in a more even braise than a stovetop burner.
Check the pot every hour to ensure the liquid hasn’t evaporated too much. The beef should remain mostly submerged. If the liquid level drops significantly, add a splash more broth. After about two and a half hours, start testing the meat with a fork; it should give way with almost no resistance.
Phase Three: Shredding and Sauce Reduction
The “Rest and Reabsorb” technique is what separates a good ragu from a great one. Instead of shredding the meat directly in the pot, remove the chunks to a separate bowl. This allows you to see the grain of the meat and shred it into fine, uniform strands using two forks.
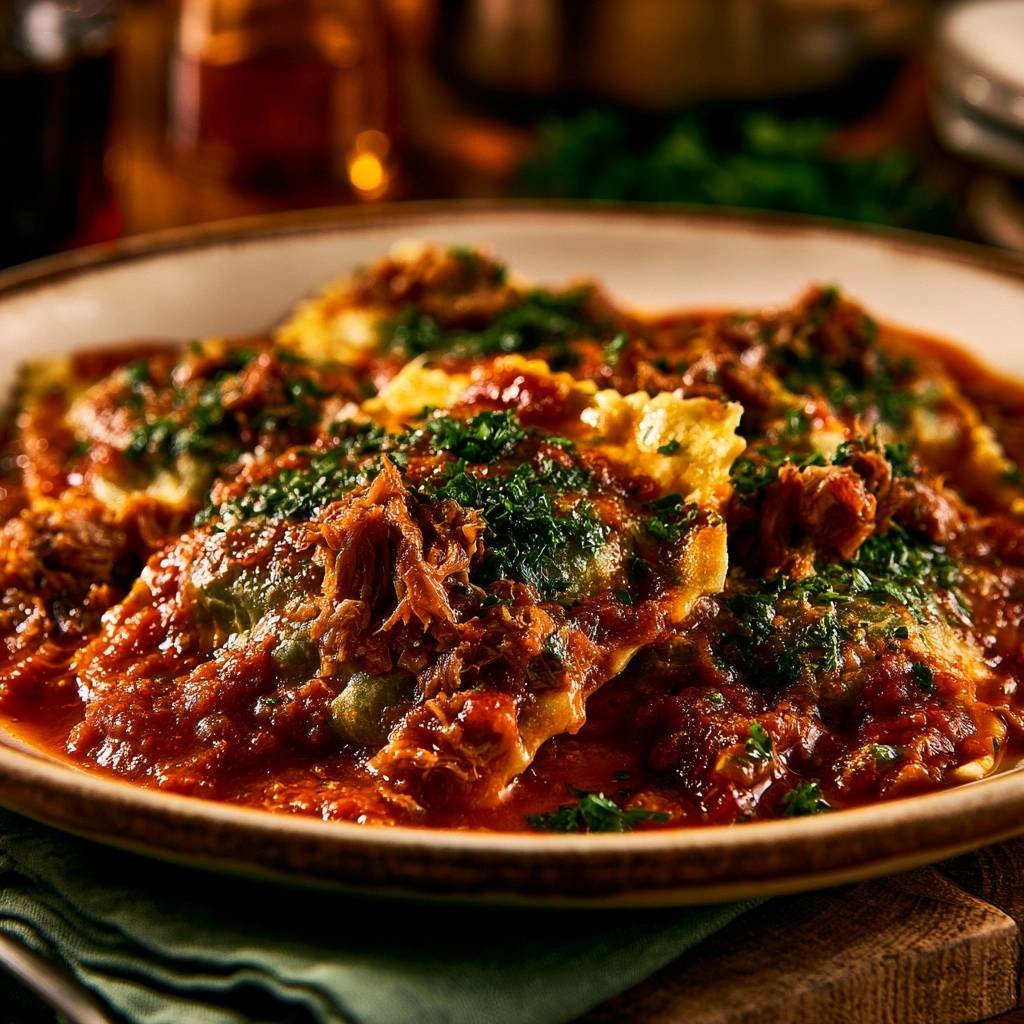
Once shredded, return the beef to the Dutch oven. Simmer the mixture uncovered for the final 15 minutes. During this time, the shredded fibers act like tiny sponges, soaking up the concentrated tomato essence. The sauce will thicken naturally as the liquid reduces, creating a succulent, jammy consistency.
This final simmer is also when you should do your final seasoning check. As the sauce reduces, the saltiness will concentrate. Taste it now and add a pinch more salt or black pepper if needed. The result should be a thick, hearty ragu that stays put when ladled over the ravioli.
Preparing the Spinach and Cheese Ravioli
Fresh spinach ravioli are delicate and require a gentle touch. Start with a large pot of water and season it until it’s “salty like the sea.” This is your only chance to season the pasta dough itself. Bring the water to a gentle boil rather than a violent one to prevent the ravioli from bursting.
Watch for the “puff” factor. As the ravioli cook, they will float to the surface and look slightly inflated. This usually takes only 3 to 5 minutes for fresh pasta. Use a slotted spoon to remove them carefully. Draining them in a colander can sometimes tear the thin spinach dough, so a gentle lift is better.
If you aren’t saucing them immediately, a tiny drizzle of olive oil can keep them from sticking. However, the best method is to plate them right away. The heat from the pasta will help the ragu meld with the cheese filling as you take your first bite.
Troubleshooting Common Braising Obstacles
If your sauce feels too thin after the meat is shredded, don’t panic. Simply turn up the heat slightly and simmer uncovered for a few extra minutes. The surface area of the shredded beef will help thicken the liquid quickly. Just stay close to the pot so the bottom doesn’t scorch.
If the meat is still tough after three hours, it simply needs more time. Every cow is different, and some cuts have more stubborn connective tissue. Cover the pot and give it another 30 minutes. It will eventually break down; you just have to be more patient than the beef.
Sometimes canned tomatoes can be overly acidic. If the sauce has a sharp, sour bite, stir in a tiny pinch of sugar or a tablespoon of butter at the very end. The fat in the butter rounds out the sharp edges of the tomato, creating a much smoother flavor profile.
To prevent ravioli from sticking, ensure you use enough water in the pot. Pasta needs room to move. If they do stick together after draining, a quick splash of the starchy pasta cooking water will usually loosen them up without making them greasy.
Optimal Side Dishes and Pairings
Because this dish is incredibly rich and savory, you want side dishes that provide a bright, crisp contrast. A bitter greens salad featuring arugula or radicchio is a perfect companion. Toss the greens in a simple lemon vinaigrette to provide the acidity needed to cleanse your palate between bites.
Sparkling apple cider or a crisp ginger sparkling water can provide a refreshing, bubbly contrast to the heavy fats of the beef. The carbonation helps cut through the gelatinous texture of the ragu. Avoid overly sweet drinks, as they can clash with the savory herbs in the sauce.
Finally, no ragu is complete without a piece of crusty sourdough bread. You’ll want something with a sturdy crumb to mop up every last drop of the sauce. A quick toast with a bit of garlic and olive oil makes the bread even more capable of handling the heavy shredded beef.
Storage and Make-Ahead Instructions
Braised beef is famous for tasting even better the next day. As the ragu sits in the fridge, the flavors continue to meld and mature. If you’re making this ahead of time, cool the sauce completely before transferring it to an airtight container. It will stay fresh for up to four days.
You can freeze the beef ragu for up to three months, but I recommend freezing the sauce and the pasta separately. When you’re ready to eat, thaw the sauce in the fridge overnight and reheat it gently on the stove. Always cook fresh ravioli right before serving for the best texture.
Expert Troubleshooting and FAQ
Can I use a slow cooker instead of a Dutch oven?
Yes, you can use a slow cooker, but you must reduce the beef broth by half. Slow cookers don’t allow for evaporation, so using the full amount of liquid will result in a watery sauce. Cook on the low setting for 7 to 8 hours for the best results. Always sear the meat in a skillet first before adding it to the slow cooker to ensure you get that deep flavor.
Why is my spinach ravioli turning grey?
Spinach pasta turns grey when it is overcooked. The chlorophyll in the spinach is sensitive to heat and will break down if left in boiling water too long. To keep that vibrant green color, pull the ravioli out the moment they float to the top and look slightly puffed. Shocking them with the sauce immediately also helps preserve the color.
Can I substitute dried herbs for fresh?
You can substitute dried oregano for fresh, but use a 1:3 ratio. Since dried herbs are more concentrated, one teaspoon of dried oregano is roughly equivalent to one tablespoon of fresh. However, for the parsley garnish, I strongly recommend staying with fresh. The fresh parsley provides a necessary hit of brightness and color that dried herbs simply cannot replicate.
What if I don’t have a Dutch oven?
If you don’t have a heavy Dutch oven, any thick-bottomed, deep pot with a tight-fitting lid will work. The key is the lid; you need to trap the moisture inside. If your lid is loose, you can place a piece of parchment paper or aluminum foil over the pot before putting the lid on to create a better seal. Avoid thin, lightweight pots, as they are prone to scorching the sauce during the long simmer.
How do I reheat leftovers without the beef getting dry?
The best way to reheat the ragu is on the stovetop over low heat. Add a splash of water or beef broth to the pan to loosen the sauce, as the gelatin will have thickened it into a jelly-like consistency in the fridge. Cover the pan while reheating to trap the steam, which keeps the beef fibers moist and tender. Avoid the microwave if possible, as it tends to heat unevenly and can toughen the meat.
Slow-Braised Beef and Spinach Ravioli
Course: Main CourseCuisine: Italian-AmericanDifficulty: easy4
servings20
minutes3
hours180
Minutes680
kcalItalian-American
Ingredients
2 lbs beef chuck roast, trimmed and cut into 3-inch chunks
1 package (18-24 oz) fresh spinach and cheese ravioli (green pasta)
28 oz crushed tomatoes (San Marzano preferred)
3 tablespoons tomato paste
1 large yellow onion, finely diced
4 cloves garlic, minced
1.5 cups beef broth
2 tablespoons olive oil
1 teaspoon dried oregano
1/2 teaspoon red pepper flakes
Salt and black pepper to taste
1/2 cup fresh parsley, very finely minced for garnish
Directions
- Pat the beef chunks completely dry with paper towels. This is the first step to preventing tough meat; a dry surface ensures a deep sear which locks in moisture. Season generously with salt and pepper.
- Heat olive oil in a heavy-bottomed Dutch oven over medium-high heat. Sear the beef in batches, ensuring you don’t crowd the pan, until a dark mahogany crust forms on all sides. Remove beef and set aside.
- Lower heat to medium. Add onions and sauté until translucent (about 5 minutes). Add garlic and tomato paste, stirring constantly for 2 minutes until the paste turns a deep brick red.
- Deglaze the pot with a splash of broth, scraping the bottom with a wooden spoon to release the flavorful browned bits (fond).
- Pour in the crushed tomatoes, beef broth, oregano, and red pepper flakes. Return the beef and any accumulated juices to the pot. The liquid should almost cover the meat.
- Bring to a bare simmer, then cover with a tight-fitting lid. Reduce heat to the lowest setting (or place in a 300°F oven). Simmer for 2.5 to 3 hours. The long cook time at low heat is the only way to break down tough connective tissue into tender collagen.
- Once the beef is fork-tender, remove the chunks from the sauce. Use two forks to shred the meat into fine strands.
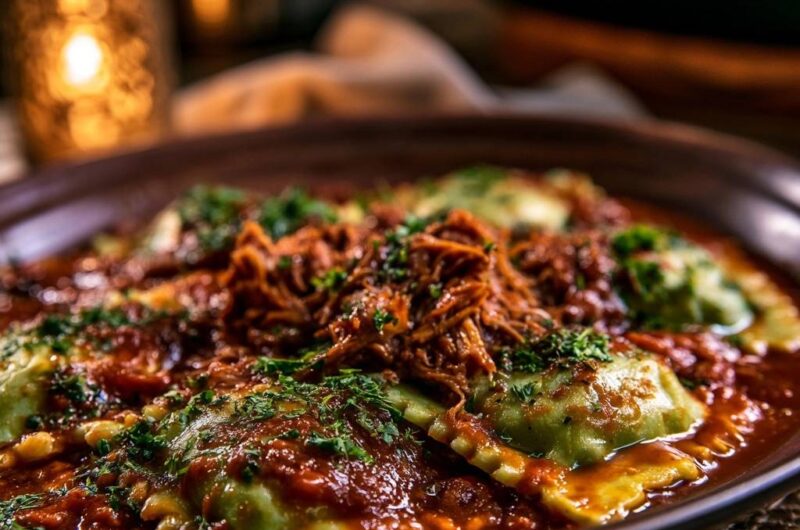
- Return the shredded beef to the sauce and simmer uncovered for 10-15 minutes. This allows the sauce to reduce and the beef fibers to soak up the liquid, creating the thick, succulent ragu seen in the image.
- While the sauce finishes, boil the spinach ravioli in heavily salted water according to package directions (usually 3-5 minutes). Drain carefully.
- To plate like the photo: Lay the green ravioli in a shallow bowl. Generously ladle the shredded beef ragu over the center, allowing the sauce to pool around the edges. Finish with a heavy dusting of finely minced fresh parsley.
Notes
- The secret to preventing tough meat is ensuring a deep sear on a dry surface and allowing the shredded meat to simmer in the sauce to reabsorb juices.