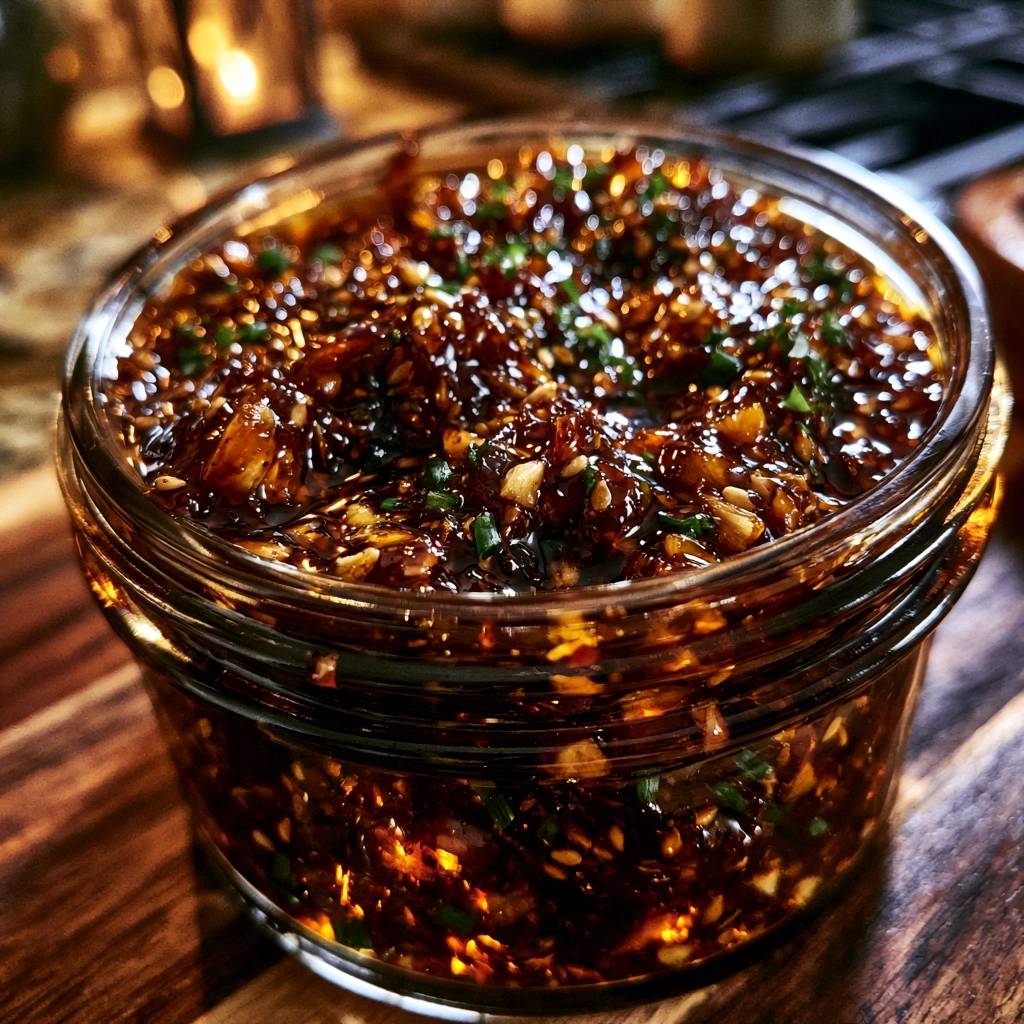
There is a specific sound that defines a perfect Sweet and Spicy Garlic Chili Crisp. It is that audible, glass-like crunch when your spoon hits the bottom of the jar, followed by the sight of shimmering, mahogany-colored oil. Most people struggle with homemade versions because they end up with bitter, blackened garlic that tastes like burnt popcorn. This recipe changes that narrative entirely by focusing on a controlled, gentle fry and a unique caramelization technique.
The secret to that deep, dark hue and the jammy texture lies in the interaction between brown sugar and soy sauce. While many recipes rely solely on the chili flakes for color, we use the heat of the oil to flash-caramelize these ingredients. This creates a complex, savory-sweet base that clings to every noodle or dumpling it touches. You aren’t just making a condiment; you’re building a layer of concentrated umami that balances fiery heat with a mellow, sugary finish.
To ensure your garlic stays golden and crispy rather than acrid, we utilize the cold-start method. By placing your aromatics in room-temperature oil, you allow the moisture to evaporate slowly and evenly. This prevents the outside of the garlic from scorching before the inside has a chance to crisp up. If you’ve ever had a batch turn out chewy or unpleasantly dark, this technique is the professional fix you’ve been looking for.
The Science of the Cold-Start Infusion
Frying aromatics is a delicate dance of thermodynamics. When you drop minced garlic into a shimmering hot pan, the high heat immediately shocks the exterior, causing it to polymerize and brown. However, garlic is full of internal moisture. In a hot-start scenario, the outside burns while the inside remains damp, leading to a texture that is leathery rather than crunchy.
Starting with room-temperature oil allows for a uniform cellular breakdown of the shallots and garlic. As the temperature rises gradually, the water inside the cells turns to steam and escapes at a steady pace. This process creates tiny air pockets within the garlic bits. Once the moisture is gone, the oil moves in to toast those pockets, resulting in a “glass-like” crunch that shatters when you bite into it.
Essential Components for Sweet and Spicy Garlic Chili Crisp
Quality ingredients are the backbone of a great crisp. You want a neutral oil with a high smoke point, such as grapeseed or vegetable oil. These oils act as a blank canvas, allowing the aromatics and spices to shine without adding any heavy or off-putting flavors of their own. Avoid olive oil here, as its distinct taste can clash with the Asian-inspired flavor profile.
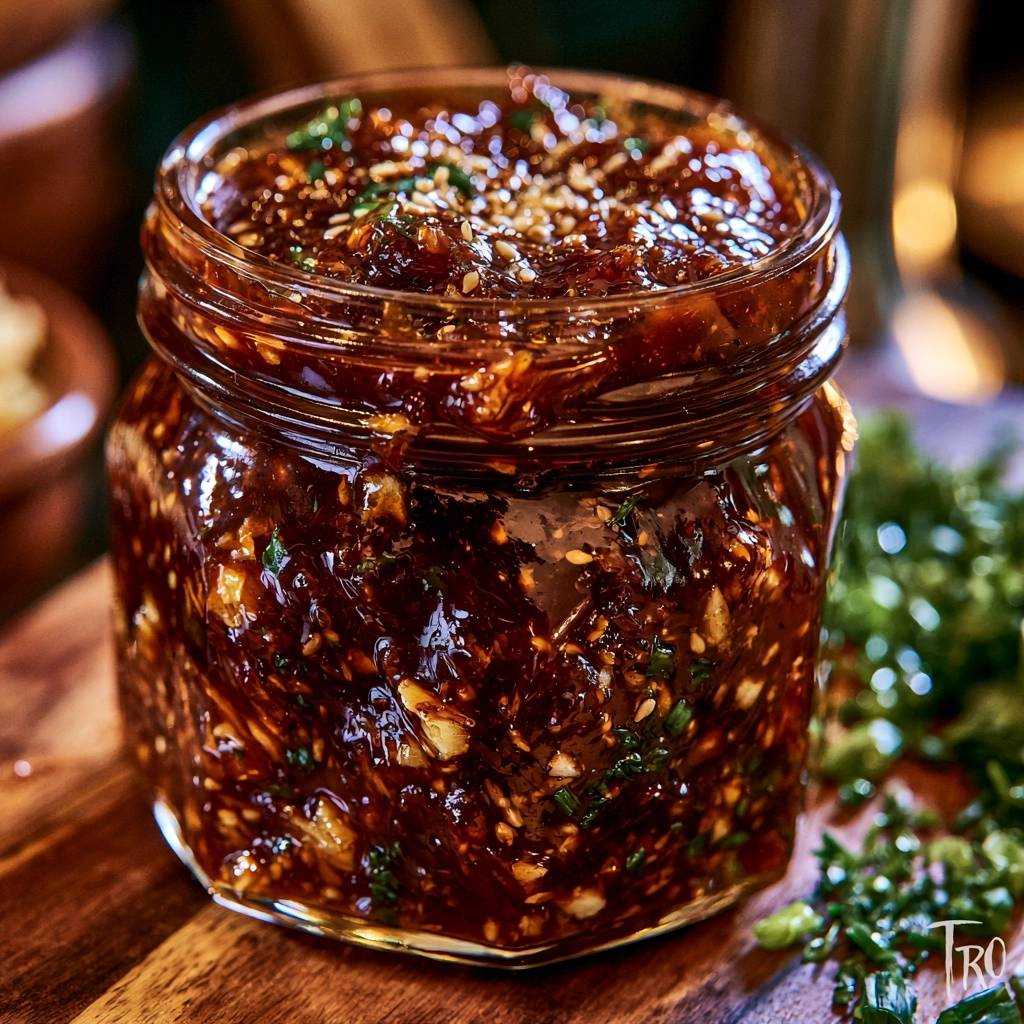
The choice of chili is equally vital. Gochugaru, or Korean chili flakes, is the preferred option for its vibrant red color and mild, fruity undertone. Unlike standard pizza-style crushed red pepper, which can be aggressively spicy and dry, Gochugaru provides a smoky depth. Brown sugar is the final essential piece, acting as a heat-buffer that rounds out the sharp edges of the capsaicin.
Choosing the Right Chili Flake Profile
The grind size of your chili flakes dictates the final “sludge” consistency of your crisp. Coarse flakes like Gochugaru provide a beautiful texture and a more substantial bite. If you use a powder-fine grind, the oil will become muddy and overly dense. Standard red pepper flakes work in a pinch, but they often lack the sweetness found in Korean varieties.
The Role of Soy Sauce in Color Development
Adding soy sauce to the spice base is a non-traditional move that yields professional results. When the 300°F oil hits the soy sauce, the amino acids and sugars undergo a rapid Maillard reaction. This creates that signature dark mahogany color instantly. It allows you to achieve a rich, aged look without having to over-fry your garlic to the point of bitterness.
Required Tools for Precision Frying
A heavy-bottomed saucepan is your best friend for this recipe. Thin pans develop hot spots that can ruin a batch of garlic in seconds. You also need a heat-proof glass jar, such as a Mason jar, for the “sizzle” phase. Never use plastic or thin glass, as the thermal shock of the hot oil can cause them to melt or shatter instantly. A simple metal spoon is perfect for monitoring the color of the garlic as it toasts.
Step-by-Step: Achieving the Perfect Golden Crunch
Achieving the perfect texture requires patience and a keen eye. The process is divided into three distinct phases that transform raw aromatics into a shelf-stable, crunchy delight. You are looking for specific visual and auditory cues at every stage to ensure success.
Phase 1: The Low-and-Slow Aromatic Fry
After combining the oil, garlic, and shallots in the pan, turn the heat to medium-low. Initially, you will see vigorous bubbling around the garlic. This is the moisture leaving the plant cells. As the aromatics dry out, the bubbles will slow down significantly. Resist the urge to turn up the heat to speed things up; a slow fry is the only way to reach that perfect golden blonde color without scorching.
Phase 2: Prepping the Spice Base and The Sizzle
While the garlic fries, assemble your dry ingredients in your glass jar. When the garlic in the pan reaches a pale straw color, it is time for the sizzle. Carefully pour the hot oil over the spices. The mixture will foam and bubble violently as the oil extracts fat-soluble flavors from the chilies. This “blooming” process is what gives the oil its spicy kick and aromatic punch.
Phase 3: The Carry-Over Cooking Window
The most critical 60 seconds happen right after you remove the pan from the heat. Garlic continues to cook in the hot oil even after it leaves the burner. If you wait until the garlic is dark brown in the pan, it will be burnt by the time it hits the jar. Pull it off when it looks like light honey; the residual heat will carry it to a perfect deep gold within seconds.
Troubleshooting: Avoiding Bitter or Soggy Results
If your chili crisp tastes like “burnt popcorn,” the oil was likely too hot or the garlic stayed in too long. Unfortunately, burnt garlic cannot be fixed and must be restarted. However, if your garlic is chewy or soggy, it usually means the moisture wasn’t fully cooked out. You can sometimes save this by very gently reheating the oil, though it is tricky. If the batch is too salty, simply “stretch” it by adding a bit more plain neutral oil and a pinch more sugar.
Flavor Variations and Ingredient Swaps
Once you master the base, you can customize the flavor profile. For an umami bomb, stir in a half-teaspoon of mushroom powder or a pinch of MSG. If you prefer a more traditional Sichuan profile, add a whole star anise or a small piece of cinnamon stick to the oil while it heats. For those who crave extreme heat, finely mince two Thai Bird’s Eye chilies and add them to the spice base before the oil pour.
Optimal Pairings for Your Homemade Crisp
While this is a natural partner for noodles and dumplings, its versatility goes much further. Drizzle it over silken tofu for a quick snack, or use it to top fried eggs for a breakfast with a kick. The sweet and spicy profile even works as a surprising bridge for desserts; try a small spoonful over high-quality vanilla bean ice cream. The fresh chives added at the end provide a bright, oniony counterpoint to the deep, fried flavors of the oil.
Storage Logistics and Shelf Life
Always let the oil cool completely to room temperature before tightening the lid on your jar. If you seal it while warm, condensation will form inside, which can lead to spoilage or soggy garlic. Store the jar in the refrigerator for up to two weeks. Note that some oils may cloud or solidify slightly when cold; simply let the jar sit at room temperature for a few minutes or stir it well before serving.
Expert Tips for Professional Results
For the best texture, mince your garlic by hand with a sharp knife rather than using a garlic press. A press turns garlic into a paste, which burns too quickly and lacks the “crisp” factor. Also, follow the “Chive Rule”: never add fresh chives to the hot oil. High heat will turn them grey and bitter. Stir them in only after the oil is completely cool to preserve their vibrant green color and fresh taste.
Why Fresh Chives Matter
The addition of fresh chives provides an essential aesthetic contrast. The bright green flecks pop against the dark red oil, making the dish look as good as it tastes. Beyond looks, they offer a hit of freshness that cuts through the richness of the fried garlic and oil.
Managing the Heat Level
You can easily adjust the “crunch-to-oil” ratio. If you prefer a saucy oil for drizzling, increase the oil by a quarter cup. If you want a thick, chunky “sludge” that you can pile onto rice, stick to the recipe measurements. To lower the heat without losing flavor, swap half of the chili flakes for toasted sesame seeds.
How long does homemade chili crisp last?
This Sweet and Spicy Garlic Chili Crisp stays fresh and crunchy for up to two weeks when stored in an airtight container in the refrigerator. Always use a clean, dry spoon to scoop it out to prevent any moisture or bacteria from entering the jar. If the oil looks cloudy, it is likely just the natural fats solidifying in the cold; a quick stir or a few minutes on the counter will return it to its liquid state.
Why is my garlic chewy instead of crispy?
Chewy garlic is usually the result of the oil not being hot enough for long enough, or the garlic pieces being too large. If the moisture doesn’t fully evaporate during the frying process, the garlic remains soft. To fix this in future batches, ensure you are using a medium-low heat and waiting for the bubbling to slow down significantly before pulling the pan off the heat. The “bubble logic” is your best indicator of doneness.
Can I substitute the Gochugaru with something else?
Yes, you can use standard crushed red pepper flakes found in most grocery stores, but the flavor will be sharper and less smoky. If you use standard flakes, you might want to add an extra teaspoon of brown sugar to balance the increased heat. Avoid using fine chili powder, as it will make the oil gritty and unpleasantly thick rather than providing a clean, infused oil texture.
Is it safe to store garlic in oil at room temperature?
No, it is not recommended to store homemade garlic oil at room temperature due to the risk of botulism. While the frying process removes most moisture, the safest practice is to keep the finished crisp in the refrigerator. The high sugar and salt content help with preservation, but the cold environment is essential for long-term safety. Always discard the batch if you notice any off-smells or unusual bubbling after storage.
What if I don’t have shallots?
If you don’t have shallots, you can substitute them with the white parts of green onions (scallions) or a very finely minced red onion. Shallots are preferred because they have a higher sugar content and a more delicate flavor that caramelizes beautifully. If you skip the shallots entirely, increase the garlic by two cloves to ensure the crisp remains flavorful and aromatic.
Sweet and Spicy Garlic Chili Crisp
Course: CondimentCuisine: Asian FusionDifficulty: easy12
servings10
minutes15
minutes25
Minutes115
kcalAsian Fusion
Ingredients
1 cup neutral oil (grapeseed or vegetable)
1/2 cup Gochugaru (Korean chili flakes) or coarse red chili flakes
8 cloves garlic, minced (roughly 1/3 cup)
2 shallots, finely minced
2 tablespoons sesame seeds
1 tablespoon brown sugar
1 tablespoon soy sauce (for deep color and umami)
1 teaspoon salt
1 star anise (optional, for depth)
3 tablespoons fresh chives, finely chopped
Directions
- The secret to avoiding scorched garlic is starting with a cold pan. Place the oil, minced garlic, and minced shallots into a small saucepan before turning on the heat.
- Set the burner to medium-low. As the oil warms up, the moisture in the garlic and shallots will slowly evaporate. This gradual temperature rise allows them to crisp up evenly from the inside out rather than burning on the exterior.
- Stir frequently for about 10 to 12 minutes. Watch for the bubbles to slow down and the garlic to turn a pale golden blonde.
- While the oil heats, place the chili flakes, sesame seeds, brown sugar, salt, and soy sauce in a large heat-proof glass jar.
- Once the garlic in the pan is a light golden color, immediately remove the pan from the heat. The residual heat will continue to cook the garlic to a perfect deep gold within seconds.
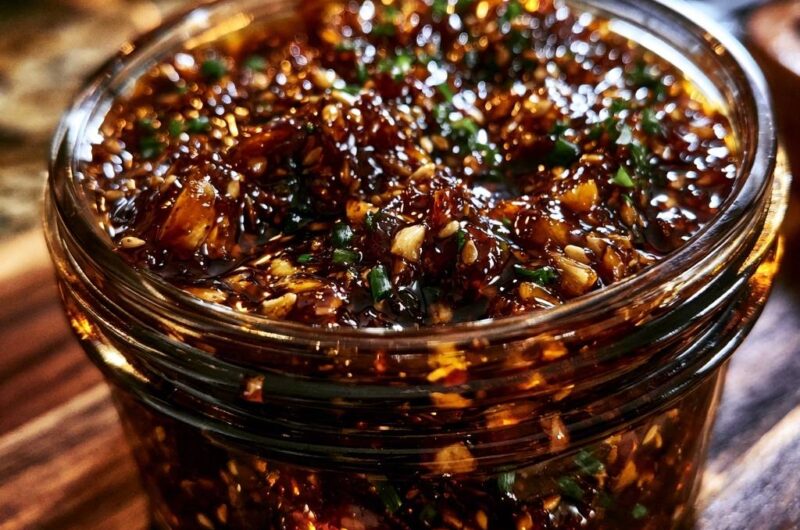
- Carefully pour the hot oil and garlic mixture over the spice base in the jar. The oil will sizzle vigorously; the soy sauce and sugar will caramelize instantly, creating the dark, rich hue and “crisp” texture seen in the photo.
- Let the mixture cool completely to room temperature. The flavors will deepen and the oil will darken as it sits.
- Once cool, stir in the fresh chives. The chives provide the bright green flecks that contrast against the dark oil.
- Store in the refrigerator for up to two weeks. Stir well before using on eggs, noodles, or dumplings.
Notes
- The soy sauce and brown sugar are essential for the dark color and caramelized flavor. Ensure you use a heat-proof glass jar when pouring the hot oil to prevent cracking.