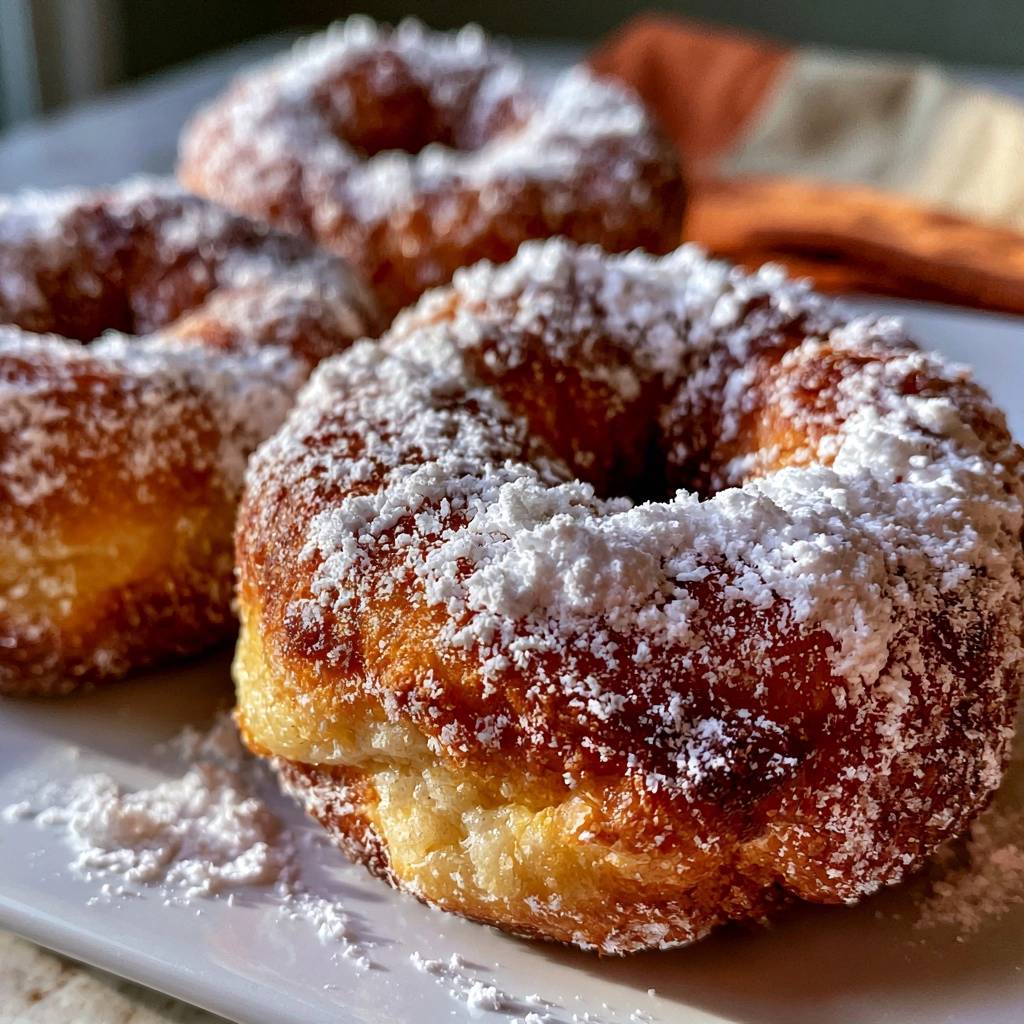
Imagine biting into a donut that shatters slightly under your teeth, revealing a golden, craggy exterior that gives way to a center as tender as a cloud. These aren’t those greasy, limp rings you find in a grocery store plastic bin. We’re talking about the heavy hitters of the bakery case—the Old-Fashioned Sour Cream Donuts that boast deep ridges and a snowy coating of powdered sugar. The contrast between the crisp, fried outer shell and the dense, cake-like interior is what makes this specific treat a timeless masterpiece.
However, many home cooks shy away from frying because they fear the dreaded “soggy bottom.” There is nothing worse than a donut that has soaked up oil like a sponge, leaving you with a heavy, flavorless mess. The secret to avoiding this isn’t just luck; it’s a commitment to the “Anti-Soggy Bottom” philosophy. By controlling the moisture in the batter and the temperature of the oil, you can create a professional-grade donut that stays light and crisp long after it leaves the pot.
The real magic happens when you stop treating the batter like a standard cake mix. Most people fail because they overwork the dough or use whole eggs, which creates a rubbery, bread-like texture. The secret is using only egg yolks and full-fat sour cream. This combination ensures a rich, short crumb that breaks apart perfectly when you take a bite. If you follow the chemistry, you’ll get those iconic “cracks” every single time.
The Chemistry of the Craggy Surface
That beautiful, uneven surface isn’t an accident; it’s a deliberate chemical reaction. The lactic acid found in full-fat sour cream is the primary driver here. When that acid hits the baking soda in the dry ingredients, it triggers an immediate release of carbon dioxide. These bubbles expand rapidly the moment the dough hits the hot oil, causing the surface to “burst” and create those signature nooks and crannies.
This craggy texture serves a vital purpose beyond just looking rustic. Those deep ridges act as tiny canyons that trap and hold onto the powdered sugar. Instead of the sugar simply sliding off a smooth surface, it nestles into the cracks, creating a thick, flavorful crust. Furthermore, the rapid expansion of the surface during the fry creates a protective barrier. This prevents the oil from seeping into the heart of the donut, keeping the interior moist but never greasy.
Essential Components for Sour Cream Donuts
When it comes to the ingredients, quality and fat content are your best friends. You must use full-fat sour cream for this recipe. The high fat and protein content provide the necessary structure for a cake donut, while the moisture keeps the crumb from drying out. If you try to use a low-fat or “light” version, the batter will be too thin, and you’ll lose that iconic cracked exterior. The sour cream also adds a subtle tang that balances the sweetness of the sugar coating.
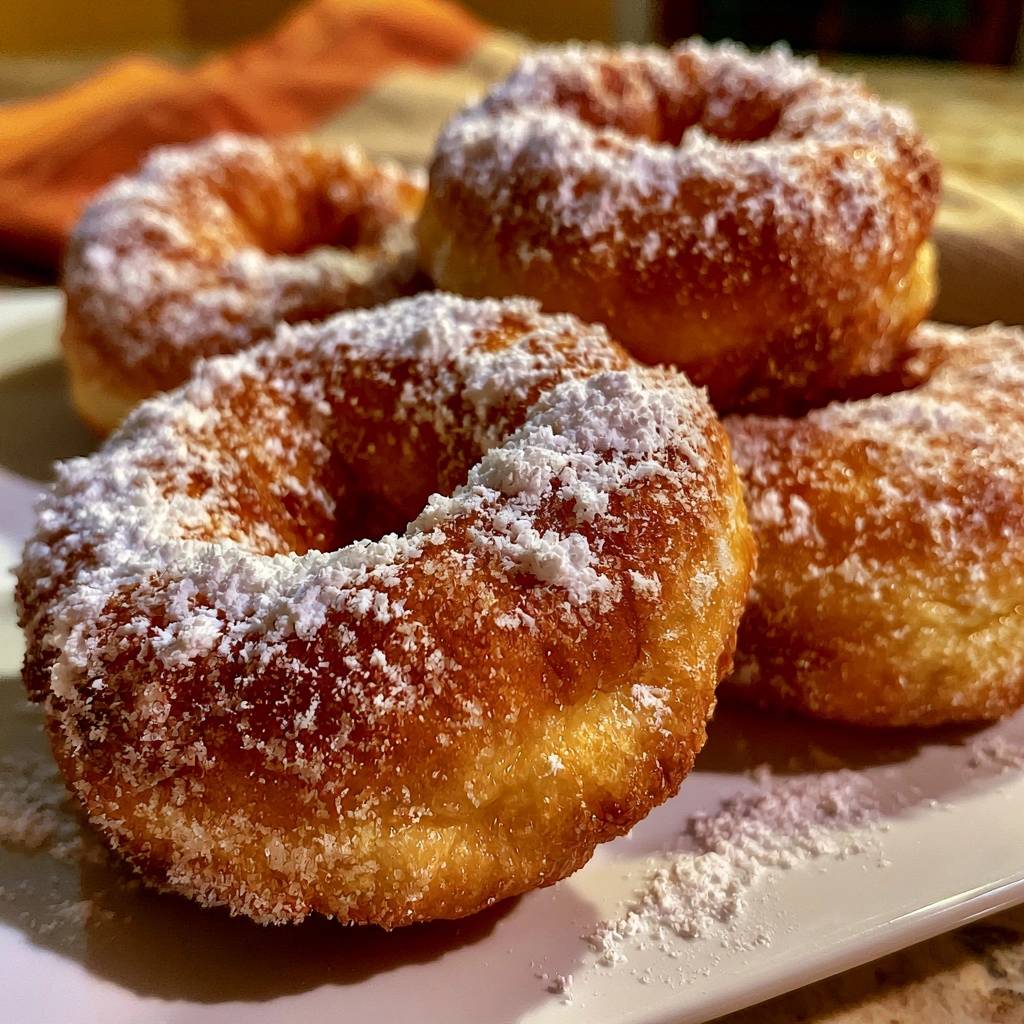
Nutmeg is the “secret” ingredient that gives these donuts that nostalgic, professional bakery aroma. Without it, the donut tastes like plain fried dough; with it, it tastes like a classic Old-Fashioned. We also swap whole eggs for two large egg yolks. Egg yolks are rich in lecithin and fats, which tenderize the dough. By removing the whites, you eliminate the proteins that can make a donut feel “spongy” or tough, resulting in a melt-in-your-mouth texture.
For the flour, stick with standard all-purpose flour. It has just enough protein to hold the donut together without making it chewy. If you find your dough is too sticky to handle, don’t keep adding flour to the bowl. Instead, use a generous amount on your work surface. This keeps the interior of the donut light while making the shaping process much easier for you.
Selecting the Right Frying Oil
Choosing the right oil is the difference between a clean, golden donut and one that tastes like a burnt mess. You need an oil with a high smoke point, such as vegetable, canola, or peanut oil. These oils can withstand the 370°F heat required to sear the exterior without breaking down or smoking. Avoid olive oil or butter for frying, as they will burn quickly and impart a bitter flavor to your beautiful pastry.
Critical Tools for Temperature Control
You cannot wing it when it comes to oil temperature. A deep-fry thermometer is a non-negotiable tool for this recipe. If the oil drops even twenty degrees, your donuts will start absorbing fat instead of searing, leading to that oily “soggy bottom” we want to avoid. A heavy-bottomed vessel, like a cast-iron Dutch oven, is also essential. The thick walls retain heat much better than a thin pot, meaning the temperature won’t plummet the moment you drop in the cold dough.
Once the donuts are fried, don’t just dump them onto a pile of paper towels. While paper towels absorb excess oil, they also trap steam underneath the donut. This steam softens the crust you worked so hard to create. Instead, use a wire cooling rack set over a baking sheet. This allows air to circulate around the entire donut, ensuring the bottom stays just as crisp and craggy as the top.
Mixing the Perfect Shaggy Dough
The way you mix the dough determines the final texture of your donut. When you combine the wet and dry ingredients, use a gentle folding motion with a spatula. You aren’t looking for a smooth, glossy batter like you would for a birthday cake. In fact, a perfectly smooth dough is a sign that you’ve overworked the gluten, which will result in a tough, bread-like donut that’s hard to chew.
Stop mixing the moment the flour streaks disappear. The dough should look “shaggy”—slightly lumpy and definitely sticky. This unevenness is actually a good thing! Those lumps and bumps in the dough are what transform into the craggy, crispy ridges once they hit the hot oil. If the dough looks a little messy, you’re exactly where you need to be for a bakery-style finish.
Step-by-Step: Cutting and Shaping Techniques
When you move the dough to your floured surface, put down the rolling pin. A heavy rolling pin will compress the air pockets you’ve just created, leading to a heavy donut. Instead, use your hands to gently pat the dough down to a 1/2-inch thickness. This “gentle pat” method preserves the internal structure and ensures the donut rises properly when it hits the heat.
Make sure to flour your donut cutter well between every single cut. Since the dough is intentionally sticky, it can easily get stuck in the mold. If you don’t have a donut cutter, you can use a large round glass and a small soda bottle cap for the center hole. Just remember to handle the cutouts as little as possible to keep the dough cool and the gluten relaxed.
The High-Heat Frying Protocol
This is the core of the “Anti-Soggy” strategy. You want your oil between 365°F and 370°F. This high heat causes the moisture in the dough to turn to steam instantly, pushing outward and creating a “sear” that prevents oil from entering. When you drop the dough in, it should sizzle vigorously and float to the top within seconds. If it sinks and stays there, your oil is too cold.
Fry only 2 or 3 donuts at a time. If you crowd the pot, the temperature of the oil will drop too fast, and you’ll end up with greasy donuts. Watch for the color to turn a deep, golden brown before flipping. You’ll see the “cracks” opening up on the top side while the bottom fries. Use a slotted spoon or a wooden skewer to flip them gently, ensuring you don’t splash hot oil.
Achieving the Double-Layer Powdered Coating
To get that thick, professional white finish, you have to use a two-stage coating process. The first toss happens while the donuts are still warm—about 3 to 4 minutes after they come out of the oil. At this stage, the residual heat melts a tiny amount of the sugar, creating a “tack” or a base layer that sticks firmly to the crust. If you wait until they are cold, the sugar will just fall off.
The second layer is all about the aesthetics. Once the donuts have cooled completely, use a fine-mesh sieve to sift a heavy layer of powdered sugar over the tops. This creates that beautiful, snowy look that doesn’t melt away. If you try to do this while they are hot, the sugar will turn into a clear glaze. Patience is key here for that classic “Old-Fashioned” appearance.
Troubleshooting Common Frying Obstacles
If you find that your donuts are dark brown on the outside but raw in the middle, your oil is too hot. The exterior is cooking before the heat can reach the center. Lower the flame and let the oil temperature stabilize before trying again. Conversely, if the interior feels heavy and tastes like oil, your temperature was likely too low, or you crowded the pot.
A tough, chewy crumb usually stems from over-mixing the dough. If your first batch is tough, try to be even more gentle with the remaining dough scraps. Don’t re-roll the scraps more than once, as every time you handle the dough, the gluten develops further. It’s better to have a few “ugly” donut holes than a tough, rubbery donut.
Why My Donuts Didn’t Crack
If your donuts came out smooth rather than craggy, check your leavening agents. Baking powder and baking soda lose their potency over time. If they are expired, they won’t produce enough gas to “burst” the surface. Additionally, make sure your dough isn’t too warm. If the butter in the dough melts before it hits the oil, you’ll lose that structural integrity that leads to the cracks.
Storage and Refreshing Instructions
Old-Fashioned Sour Cream Donuts are at their absolute peak within a few hours of frying. Because they are cake-based, they can dry out if left uncovered. However, do not store them in an airtight plastic container, or the crust will turn soft and gummy from the trapped moisture. A cardboard bakery box or a plate loosely covered with a clean kitchen towel is the best way to keep them for 24 hours.
If you have leftovers the next day, you can easily refresh them. Place the donuts in an air fryer or a low-temperature oven (about 300°F) for 2 to 3 minutes. This will crisp up the exterior and soften the middle again. You might need a fresh dusting of powdered sugar afterward, but they will taste nearly as good as the moment they were made.
Expert Tips for Success
If you don’t have a thermometer, you can use the “bread cube test.” Drop a small cube of white bread into the oil; it should turn golden brown in exactly 60 seconds if the oil is around 365°F. Another great tip is to chill your shaped donuts in the fridge for 15 minutes before frying. This helps them hold their shape and creates a better temperature contrast for a crispier crust.
When flipping the donuts, use a long wooden skewer or a chopstick. It gives you much more control than a bulky spatula and prevents you from accidentally knocking off the craggy bits that we worked so hard to create. Finally, always keep a close eye on your heat dial. You’ll likely need to turn the heat up slightly after adding a new batch of dough to compensate for the temperature drop.
How should I store leftover donuts?
Store your donuts in a breathable container, like a cardboard box or a paper bag, at room temperature. Avoid airtight plastic containers or bags, as these trap moisture and will make the crispy, craggy crust turn soft and soggy within hours. They are best eaten within 24 hours, but you can refresh them in a 300°F oven for a few minutes to restore the crunch. Do not refrigerate them, as this dries out the cake interior quickly.
Why did my donuts turn out greasy and heavy?
Greasy donuts are almost always caused by low oil temperature. If the oil is below 365°F, it won’t sear the outside of the dough fast enough, allowing the oil to soak into the center. Always use a thermometer to ensure you stay in the 365°F-370°F range. Another culprit is crowding the pot; adding too many donuts at once drops the oil temperature instantly. Stick to frying 2 or 3 at a time for the best results.
Can I use a different type of flour or a substitute for sour cream?
For the best texture, stick with all-purpose flour. Bread flour will make them too chewy, and cake flour may make them too fragile to handle. If you don’t have sour cream, full-fat Greek yogurt is the best substitute because it has a similar acidity and fat content. Avoid using milk or thin yogurt, as the dough will become too wet and lose the ability to form those iconic surface cracks during frying.
What is the best way to handle the sticky dough?
This dough is intentionally sticky to ensure a moist crumb, so don’t be tempted to keep adding flour to the mix. Instead, generously flour your hands and the work surface. If the dough feels too difficult to manage, wrap it in plastic and chill it in the refrigerator for 30 minutes. Chilling firms up the butter and makes the dough much easier to pat out and cut without sticking to your tools.
Why are my donuts raw in the middle but burnt on the outside?
This happens when your oil temperature is too high, usually over 380°F. The intense heat cooks the exterior far too quickly before the heat can penetrate the thick dough. If this happens, turn down your heat and wait for the oil to return to the 365°F-370°F range. Also, ensure you aren’t patting the dough thicker than 1/2-inch, as overly thick donuts are much harder to cook through evenly.
Can I freeze these donuts for later?
You can freeze the un-sugared, fried donuts once they have cooled completely. Wrap them tightly in plastic wrap and place them in a freezer bag for up to two months. To serve, thaw them at room temperature and warm them in a 300°F oven for 5 minutes to crisp the edges. Apply the powdered sugar coating only after they have been reheated, as the sugar does not survive the freezing and thawing process well.
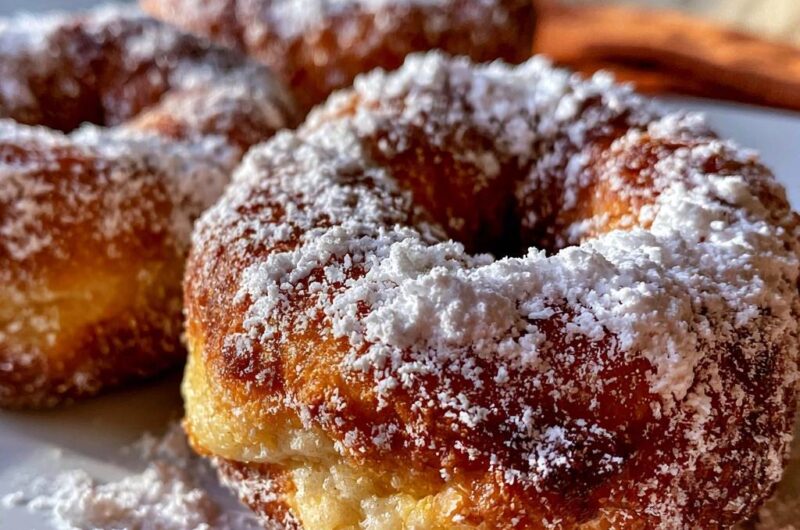
Old-Fashioned Sour Cream Donuts
Course: DessertCuisine: AmericanDifficulty: easy12
donuts20
minutes15
minutes35
Minutes310
kcalAmerican
Ingredients
2 ¼ cups all-purpose flour
½ cup granulated sugar
1 ½ teaspoons baking powder
½ teaspoon baking soda
½ teaspoon salt
½ teaspoon ground nutmeg
3 tablespoons unsalted butter, melted and cooled
2 large egg yolks (for a richer, less spongy crumb)
½ cup full-fat sour cream (essential for the craggy texture)
1/3 cup whole milk
Vegetable oil for frying (at least 2-3 inches deep)
1 ½ cups powdered sugar for coating
Directions
- In a large bowl, whisk together the flour, granulated sugar, baking powder, baking soda, salt, and nutmeg.
- In a separate bowl, whisk the melted butter, egg yolks, sour cream, and milk until smooth.
- Gradually fold the wet ingredients into the dry ingredients using a spatula until a sticky dough forms. Do not overmix; the dough should be slightly shaggy to ensure the “cracked” look seen in the image.
- Turn the dough onto a well-floured surface. Gently pat it down to 1/2-inch thickness (do not use a heavy rolling pin, or you will lose the air pockets). Use a donut cutter to create shapes.
- To solve the soggy bottom problem, use a deep-fry thermometer to maintain the oil at exactly 365°F-370°F. This high heat instantly sears the exterior, creating a barrier against oil absorption.
- Carefully drop 2 to 3 donuts into the hot oil. Fry for about 2 minutes per side. The donuts should develop a deep golden-brown, craggy crust.
- Use a slotted spoon to remove the donuts and place them immediately onto a wire cooling rack set over a paper towel. This allows air to circulate entirely around the donut, preventing steam from being trapped underneath, which causes sogginess.
- Let the donuts cool for exactly 3 to 4 minutes. While still warm, toss them in a bowl of powdered sugar. The residual heat will allow the first layer to slightly adhere.
- Once fully cooled, sift a heavy second layer of powdered sugar over the tops to achieve the thick, snowy finish shown in the image.
Notes
- To prevent a soggy bottom, maintain oil temperature between 365 and 370 degrees Fahrenheit and cool donuts on a wire rack to allow air circulation. Use egg yolks instead of whole eggs for a richer crumb.