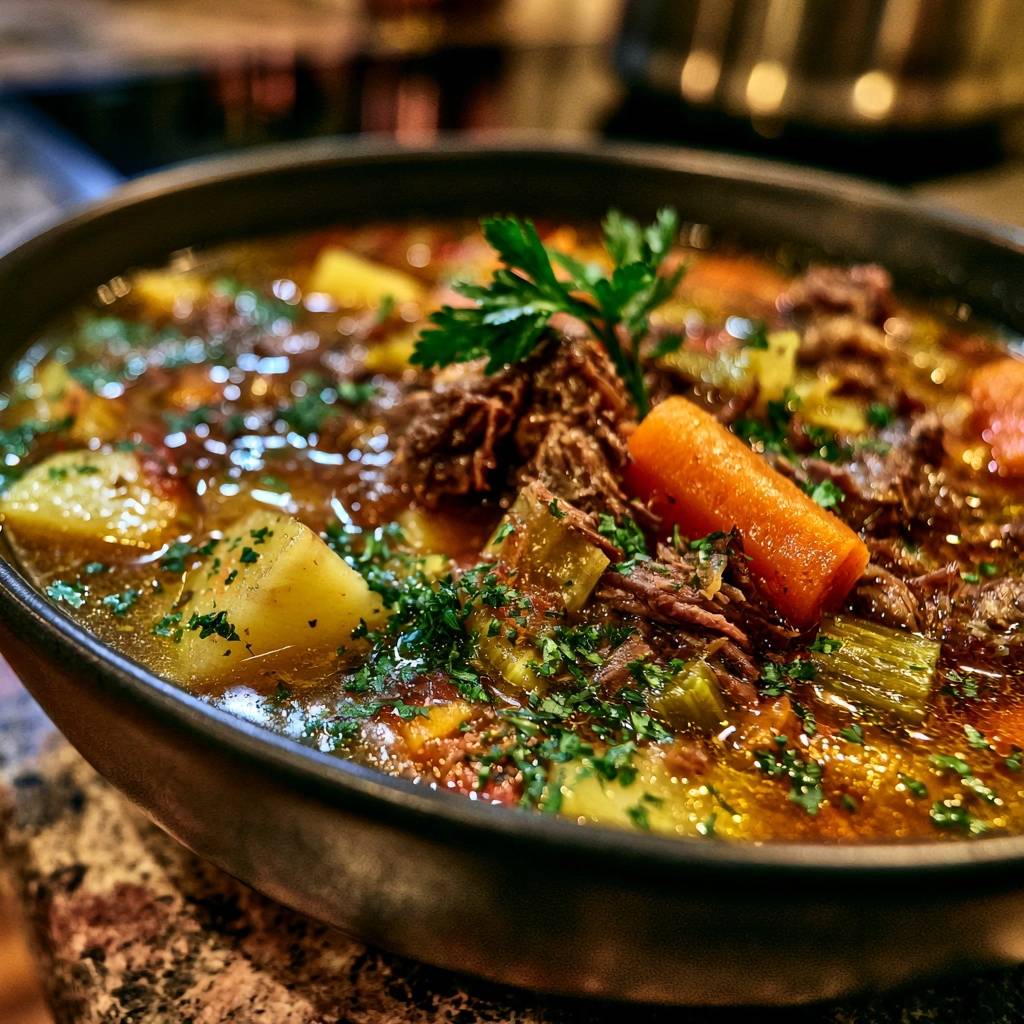
Imagine pulling a heavy lid off a Dutch oven to reveal a bubbling, mahogany-rich gravy and beef so tender it practically falls apart at the mere suggestion of a fork. You’ve likely experienced the heartbreak of a stew where the meat is rubbery and the broth feels thin or uninspired. This isn’t just a meal; it’s a lesson in patience that rewards you with a deep, savory warmth that fills the entire house.
The secret to this Slow-Simmered Hearty Beef Stew lies in the transformation of humble ingredients through controlled heat. We aren’t just boiling meat in water. We are building layers of flavor, starting with a hard sear and ending with a gentle braise that coaxes every bit of richness out of the beef. It’s the kind of cooking that makes you feel like a pro because the results are consistently spectacular.
If you want to guarantee success, you must master the sear. Most home cooks move the meat too early, but you need to let that beef sit in the hot oil until it naturally releases from the pan. That dark crust, known as the Maillard reaction, is the foundation of the entire flavor profile. Without it, your stew will lack the “umami” punch that defines a truly great dish.
The Science of Tenderizing Chuck Roast
Beef chuck roast is the undisputed king of the stew pot, but it requires a specific scientific approach to shine. This cut comes from the shoulder, a hard-working muscle loaded with connective tissue and collagen. If you cook it quickly over high heat, those fibers tighten up like a clenched fist, resulting in the dreaded “chewy” beef. However, when you maintain a low temperature, a beautiful chemical reaction occurs.
Between 160°F and 180°F, collagen begins to melt and convert into gelatin. This process doesn’t happen instantly; it requires a minimum of 2.5 hours of gentle heat. As the collagen dissolves, it lubricates the muscle fibers, creating that succulent, melt-in-your-mouth texture. If you see a rolling boil in your pot, you’ve gone too far. You want a “lazy” simmer where only a few bubbles break the surface occasionally.
Why Fat and Connective Tissue Matter
You might be tempted to use a leaner cut like sirloin or round, but I’m telling you now: don’t do it. Lean cuts lack the internal fat and connective tissue necessary for a long braise. Without that collagen-to-gelatin conversion, lean meat simply dries out and becomes stringy. The white marbling in a chuck roast is your best friend, providing the moisture and “lip-smacking” richness that makes the broth feel velvety.
Essential Components for a Rich Stew Base
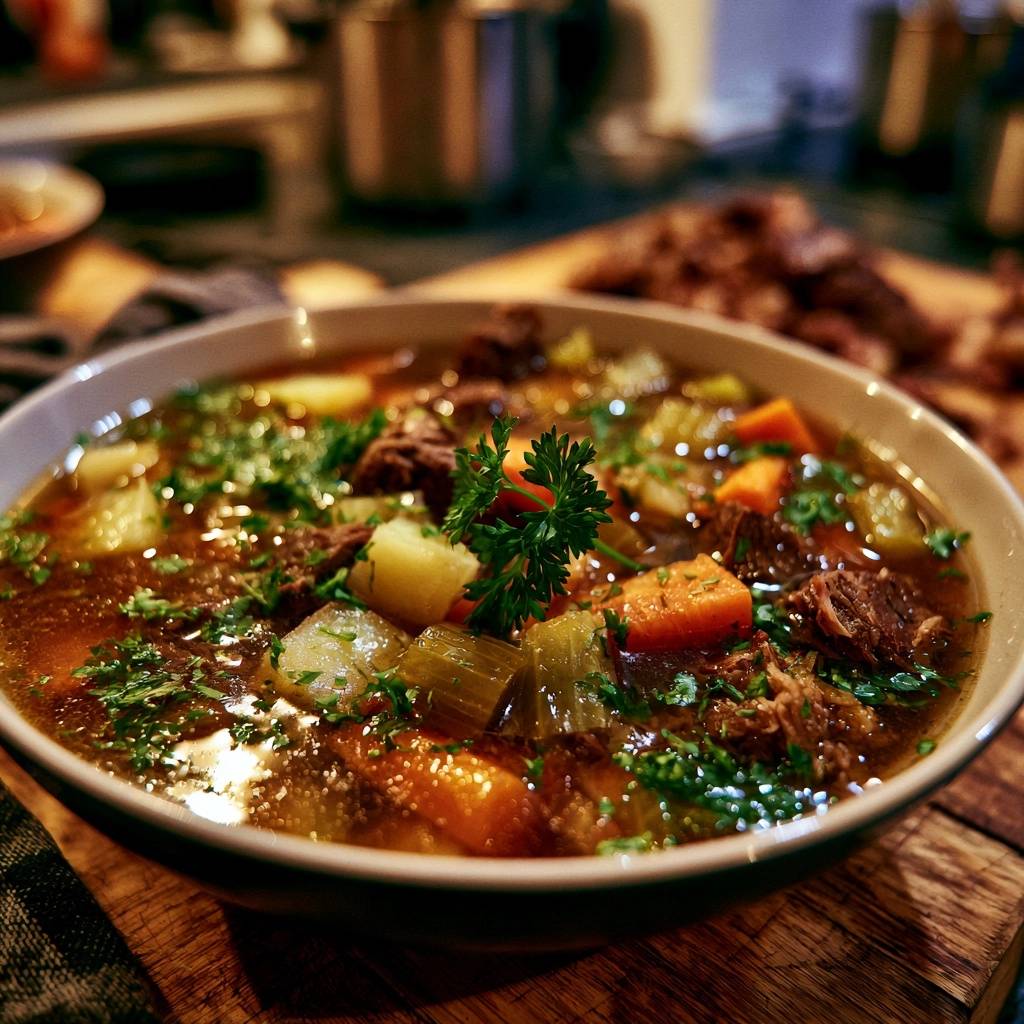
A great stew is a team effort between the meat and the aromatics. We start with the “holy trinity” of onions, celery, and garlic to create a fragrant base. These vegetables melt into the background, providing a subtle sweetness that balances the heavy salt and fat of the beef. I always recommend using Yukon Gold potatoes for this recipe. Unlike Russets, which can turn grainy and disintegrate, Yukon Golds hold their shape while contributing a buttery texture to every bite.
Don’t underestimate the power of your carrots, either. By cutting them into thick batons, you ensure they don’t turn into mush during the final hour of cooking. They should be tender enough to crush against the roof of your mouth but still recognizable as vegetables. Every ingredient here has a job to do, from the structural integrity of the potatoes to the aromatic lift of the fresh parsley added at the very end.
Selecting the Right Beef Broth and Aromatics
While water technically works, using a high-quality beef bone broth is a total game-changer. Bone broth contains natural gelatin, which adds body to your sauce without needing excessive amounts of flour. To really push the flavor over the top, we use tomato paste and Worcestershire sauce. These are “umami bombs” that provide a fermented, salty depth that mimics the flavor of a sauce that has been aging for days.
The Role of Acidity and Deglazing
After searing the meat and sautéing the vegetables, you’ll notice a dark film on the bottom of the pot. This is the “fond,” and it is pure gold. Adding a cup of liquid—broth with a splash of balsamic vinegar—allows you to scrape those bits up. The acidity in the liquid helps cut through the richness of the beef fat, brightening the overall flavor so the dish doesn’t feel overly heavy or one-note.
Step-by-Step: Achieving the Perfect Maillard Sear
The biggest mistake you can make happens before the heat even touches the pan. If your beef is wet, it will steam instead of sear. I always take a few extra minutes to pat every single chunk of beef bone-dry with paper towels. It seems like a small step, but it’s the difference between a grey, boiled-looking piece of meat and a gorgeous, mahogany-crusted masterpiece. Once the meat is dry, season it aggressively with salt and pepper.
Heat your oil until it’s shimmering but not smoking. When you drop the beef in, you should hear a loud, satisfying sizzle. If it’s quiet, your pan isn’t hot enough. Leave the meat alone for at least 3 minutes. Resist the urge to poke or prod it. Once a deep crust has formed, the meat will release easily from the bottom of the Dutch oven, signaling it’s time to flip.
Managing Heat and Batch Cooking
Patience is your greatest asset during the searing phase. If you crowd the pan by throwing all two and a half pounds of beef in at once, the temperature of the oil will plummet. Instead of searing, the meat will release its juices and start poaching in its own liquid. Work in batches, giving each piece of beef plenty of “elbow room.” This ensures the heat stays high and the crust stays crispy.
Building Flavor with Tomato Paste and Fond
Once the meat is out, the onions and celery go in to pick up the leftover fat. After they soften, stir in the tomato paste. You want to cook the paste for about two minutes until it turns from a bright red to a dark, brick-red color. This technique, called “pincé,” removes the raw metallic taste of the tomato and unlocks a deep sweetness. When you finally pour in your deglazing liquid, use a wooden spoon to vigorously scrape the bottom of the pot to incorporate all that toasted flavor.
The Low and Slow Braising Technique
Now comes the easy part, but it’s also where most people lose their way. After you return the beef to the pot and add your liquids, bring it to a simmer. As soon as you see those first few bubbles, turn the heat down to the lowest setting. You want the liquid to barely move. Cover the pot with a tight-fitting lid to trap the moisture inside. This creates a pressurized environment that forces heat into the center of the beef chunks.
Check the pot every 45 minutes or so. If you see a vigorous boil, turn the heat down even further. If the liquid is boiling, the muscle fibers will toughen up regardless of how long you cook them. We are looking for a gentle, consistent heat that coaxes the meat into submission over the course of two and a half hours. This is the time to step away and let the stove do the heavy lifting.
Timing the Vegetable Addition
Never add your potatoes and carrots at the beginning of the cook time. If they sit in the pot for three hours, they will turn into a grainy puree. By adding them during the final 45 to 60 minutes, you ensure they cook through perfectly while absorbing the seasoned broth. They should be fork-tender but still have enough structure to stand up to the heavy beef chunks.
The Shredded Texture Secret
Before serving, I like to take two forks and gently press down on the larger chunks of beef. You aren’t looking to pulverize the meat into a mush, but rather to slightly break the fibers apart. This increases the surface area of the beef, allowing it to soak up the rich gravy like a sponge. It transforms the dish from a standard “meat and potatoes” meal into a cohesive, hearty stew where every bite is saturated with flavor.
Troubleshooting Common Stew Obstacles
Even with the best intentions, things can go sideways. If your stew feels a bit thin after the full cooking time, don’t panic. You can easily thicken it by taking a few of the cooked potato chunks and mashing them against the side of the pot with a spoon. The starch from the potatoes will naturally thicken the broth without changing the flavor profile. Alternatively, a small cornstarch slurry can work wonders in a pinch.
If you test the meat after 2.5 hours and it still feels tough or “bouncy,” it simply isn’t done yet. Every cow is different, and some cuts of chuck roast have more connective tissue than others. Just put the lid back on and give it another 30 minutes. You cannot overcook beef chuck in a braise as long as the heat stays low; it will only get more tender the longer it sits in that gentle heat.
Fixing Thin or Watery Broth
A watery broth usually means the lid wasn’t tight enough or the heat was too low to allow for slight reduction. If mashing potatoes doesn’t give you the body you want, remove the lid for the last 20 minutes of cooking. This allows some of the water to evaporate, concentrating the flavors and thickening the sauce into a proper gravy that coats the back of a spoon.
What to Do if Meat is Still Tough
Toughness is almost always a result of undercooking or boiling. If you’ve kept the heat low and it’s still tough, just keep going. The transition from tough to tender happens relatively quickly at the end of the cooking process. It’s like a switch flips once the collagen finally gives way. Stay the course, and I promise it will eventually yield to your fork.
Optimal Pairings for Hearty Beef Stew
This stew is incredibly rich, so you want sides that can either soak up the gravy or provide a sharp contrast. A thick slice of crusty sourdough bread is the classic choice for a reason—it’s the perfect vessel for cleaning your bowl. If you want something a bit more elegant, serve the stew over a bed of creamy polenta or buttery mashed potatoes for a double dose of comfort.
To balance the heaviness, I always suggest a bright, acidic side salad. A simple mix of arugula with a lemon vinaigrette helps cleanse the palate between bites of the savory beef. The bitterness of the greens cuts right through the fat, making every spoonful of stew taste as fresh as the first one. It’s all about creating a balanced experience on the plate.
Storage, Reheating, and Make-Ahead Benefits
Here’s a pro tip: this stew actually tastes better the next day. As the dish cools, the flavors continue to meld and the beef absorbs even more of the seasoned liquid. If you’re planning a dinner party, make this a day in advance. Just let it cool completely on the counter before transferring it to the fridge. This also makes it easier to skim off any excess fat that solidifies on the surface.
When reheating, do it slowly on the stovetop over medium-low heat. Adding a splash of water or extra broth will help loosen the gravy, which often thickens into a gel in the fridge. Avoid the microwave if possible, as it can heat the meat unevenly and cause the vegetables to become rubbery. A slow warm-up on the stove preserves that “just-cooked” texture perfectly.
Freezing and Thawing Best Practices
This stew freezes beautifully, making it a great option for meal prep. Store it in airtight containers or heavy-duty freezer bags for up to three months. When you’re ready to eat, thaw it in the refrigerator overnight. Don’t try to reheat it directly from frozen, as the potatoes can develop a strange, mealy texture if they are shocked with high heat while still icy.
Expert Tips for Success
Always use a heavy-bottomed pot, like a cast-iron Dutch oven. These pots distribute heat more evenly than thin stainless steel, which prevents hot spots that can scorch your gravy. Also, don’t skip the bay leaves! They might seem like a small detail, but they add a subtle herbal background note that keeps the stew from tasting too “flat” or heavy.
Finally, finish the dish with a massive handful of fresh parsley. The heat of the stew will slightly wilt the greens, releasing their oils and providing a burst of freshness that wakes up all the other flavors. It adds a pop of color that makes the dish look as good as it tastes. Cooking is about the details, and these small touches are what separate a good home cook from a great one.
How do I store leftovers?
Store your beef stew in an airtight container in the refrigerator for up to 4 days. For longer storage, you can freeze it for up to 3 months. When freezing, leave about an inch of space at the top of the container as the liquid will expand. Thaw in the fridge overnight before reheating on the stovetop over low heat to maintain the texture of the beef and vegetables.
Why is my beef still tough after cooking?
If the beef is tough, it almost always means it hasn’t cooked long enough. Chuck roast requires time for the collagen to break down into gelatin. Even if you’ve followed the timer, some cuts are tougher than others. Simply cover the pot and continue simmering for another 30 minutes. Also, ensure you aren’t boiling the stew; a hard boil tightens the muscle fibers, making them rubbery.
Can I use a different cut of meat?
While chuck roast is the best choice due to its fat content, you can use brisket or beef shanks. Avoid lean cuts like sirloin, eye of round, or “stew meat” packs that look very lean. These will become dry and stringy during the long cooking process. If you use a different cut, ensure it has plenty of visible white marbling and connective tissue to ensure a tender result.
Can I use red wine vinegar instead of balsamic?
Yes, a tablespoon of red wine vinegar added at the end of the deglazing step works well. This ensures the stew still has a balanced flavor profile.
How do I thicken the stew if it’s too watery?
The easiest way to thicken the stew is to mash a few of the cooked potatoes directly into the broth. The released starch acts as a natural thickener. You can also simmer the stew uncovered for the last 15-20 minutes to allow some liquid to evaporate. If you need a more significant change, mix 1 tablespoon of cornstarch with 1 tablespoon of cold water and stir the slurry into the bubbling stew.
Do I have to sear the meat in batches?
Yes, batch searing is non-negotiable for the best flavor. If you crowd the pan, the temperature drops and the meat will steam in its own juices rather than browning. Steamed meat is grey and lacks the deep, caramelized flavor that a proper sear provides. Take the extra 10 minutes to sear in two or three batches; the depth of flavor in the final gravy is well worth the effort.
Slow-Simmered Hearty Beef Stew
Course: Main CourseCuisine: AmericanDifficulty: easy6
servings20
minutes3
hours30
minutes180
Minutes410
kcalAmerican
Ingredients
2.5 pounds beef chuck roast, cut into 2-inch chunks
3 tablespoons vegetable oil
2 teaspoons salt, plus more to taste
1 teaspoon black pepper
1 large yellow onion, finely chopped
4 cloves garlic, minced
2 tablespoons tomato paste
4 cups beef bone broth
1 cup extra beef broth plus 1 tablespoon balsamic vinegar
2 tablespoons Worcestershire sauce
1 pound Yukon Gold potatoes, cut into 1-inch cubes
3 large carrots, cut into 1.5-inch thick batons
3 stalks celery, cut into 1-inch pieces
1 teaspoon dried thyme
2 bay leaves
1/2 cup fresh parsley, finely chopped (for garnish and stirring in)
Directions
- Pat the beef chunks completely dry with paper towels. This is the secret to a proper sear. Season generously with salt and pepper.
- Heat the oil in a large heavy-bottomed Dutch oven over medium-high heat. Sear the beef in batches, ensuring you do not crowd the pan. Brown each side until a deep, dark crust forms. Remove meat and set aside.
- In the same pot, add the onion and celery. Sauté for 5-7 minutes until softened. Add the garlic and tomato paste, stirring constantly for 2 minutes until the paste turns a deep brick red.
- Pour in the extra 1 cup of broth and the balsamic vinegar. Use a wooden spoon to scrape every single brown bit (the fond) off the bottom of the pot. This is the key to the deep color and savory flavor profile seen in the image.
- Return the beef and any accumulated juices to the pot. Add the remaining broth, Worcestershire sauce, thyme, and bay leaves. The liquid should just cover the meat.
- Bring to a very gentle simmer, then immediately reduce heat to low. Cover tightly. To solve the tough meat problem, maintain a bare simmer (just a few bubbles) for 2.5 hours. Never let it reach a rolling boil.
- Add the carrots and potatoes. Continue to simmer, covered, for another 45 to 60 minutes.
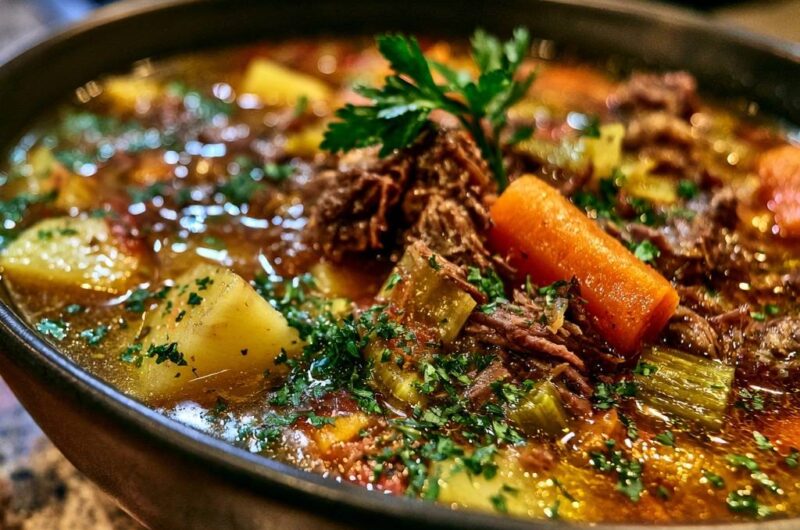
- Once the beef is fork-tender, use two forks to slightly break apart the larger chunks of beef directly in the pot. This creates the shredded, hearty texture shown in the image and allows the meat to soak up more broth.
- Remove the bay leaves. Stir in half of the fresh parsley. Serve in deep bowls, topped with a generous amount of the remaining fresh parsley and a sprig for garnish to match the visual presentation.
Notes
- The secret to tender meat is maintaining a bare simmer and never letting the liquid reach a rolling boil. Patting the beef dry before searing is essential for developing a deep crust and rich flavor.