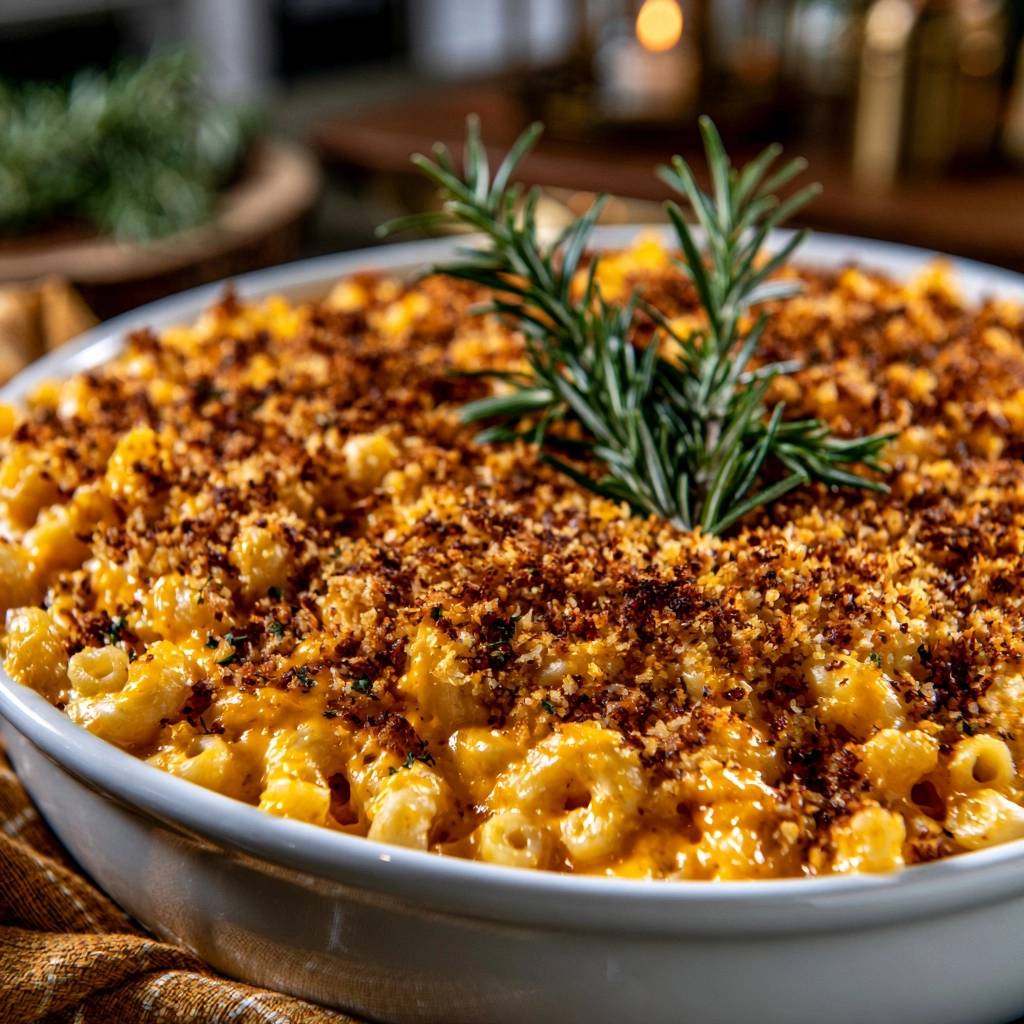
We’ve all been there. You pull a beautiful, bubbling dish of macaroni out of the oven, expecting a decadent treat, only to find a pool of yellow oil at the bottom and noodles that feel like sandpaper. It’s heartbreaking when a comfort food classic turns into a greasy, separated mess. Most home cooks assume it’s the brand of cheese or the oven temperature, but the real culprit is usually a broken emulsion.
This Rosemary Garlic Baked Mac and Cheese isn’t just another recipe; it’s a masterclass in texture. By combining the woodsy, pine-like aroma of fresh rosemary with the sharp, savory bite of aged cheddar, we create a flavor profile that’s sophisticated yet deeply nostalgic. You’re going to achieve a sauce so velvety it looks like it came from a high-end bistro, all while keeping that crispy, buttery topping we crave.
The secret to this success lies in the “Off-Heat” method. If you add your cheese to a boiling milk base, the proteins will seize up and squeeze out the fat, leaving you with a grainy texture. By letting your sauce base cool for just ninety seconds before stirring in the cheese, you ensure the proteins relax into a smooth, stable coating that stays creamy even after twenty minutes in a hot oven.
Why Most Baked Macaroni and Cheese Fails
The most common tragedy in the world of baked pasta is “Greasy Separation.” This happens when the heat is too high, causing the fat in the cheese to break away from the solids. Instead of a unified sauce, you get oily noodles. Another frequent failure is “Watery Noodle” syndrome, where the pasta continues to release starch and moisture into the sauce, thinning it out until it loses its richness.
Most recipes ignore the basic chemistry of how cheese melts. They treat cheese like a solid that just needs to get hot, but it’s actually a complex matrix of protein, fat, and water. This Rosemary Garlic Baked Mac and Cheese recipe focuses on stability over speed. We use a specific starch-to-fat ratio in our roux to act as an anchor, holding that cheese in a perfect state of suspension so it never breaks.
Essential Components for Rosemary Garlic Baked Mac and Cheese
Quality ingredients are the foundation of a dish this simple. Sharp cheddar is the star here because it provides the necessary acidity to cut through the heavy creaminess of the milk and butter. However, cheddar alone can be one-dimensional. That’s why we add finely grated Parmesan; it brings a salty, umami depth that makes the whole dish pop.
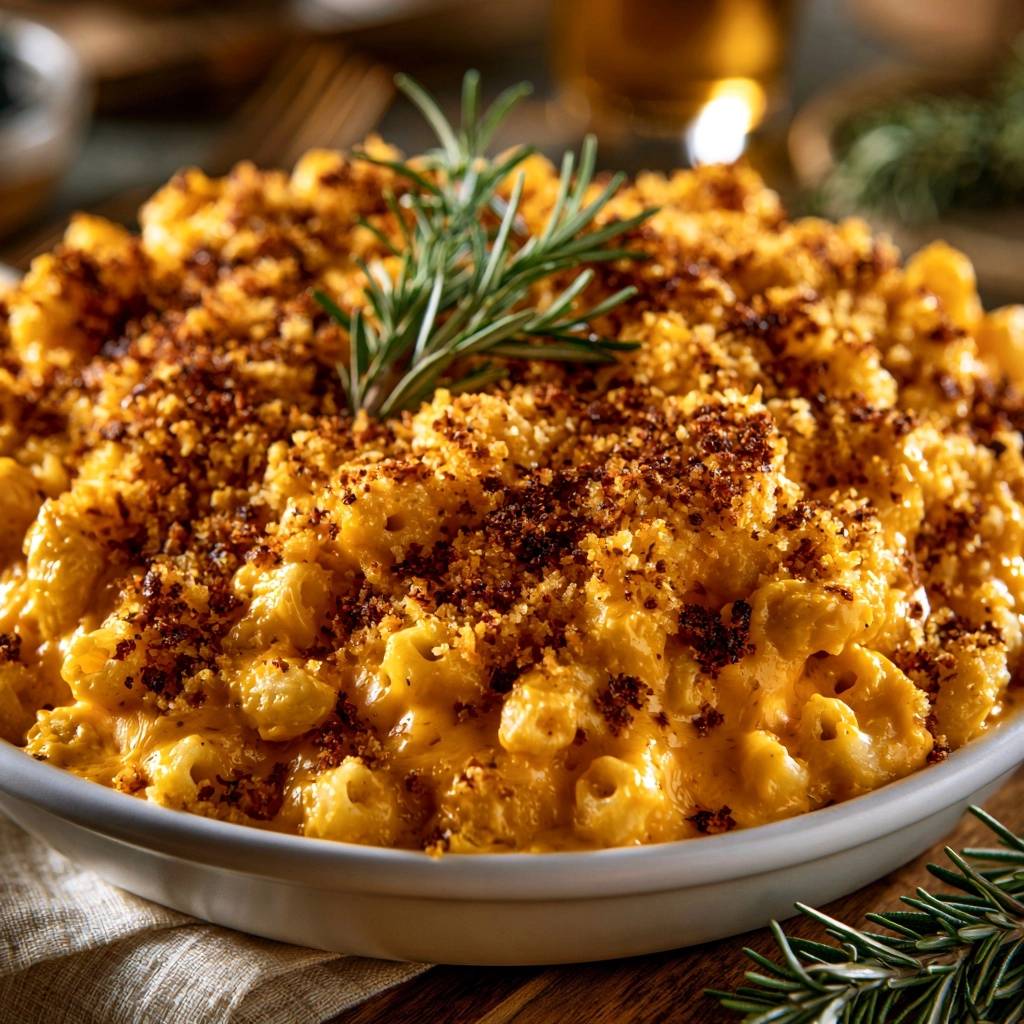
The rosemary is equally vital. You must use fresh rosemary needles rather than the dried, jarred version. Fresh rosemary contains volatile oils that permeate the sauce as it bakes, creating a fragrant, herbal backbone. Dried rosemary often stays tough and can feel like eating small sticks, whereas finely minced fresh leaves melt right into the garlic-infused base.
The Case Against Pre-Shredded Bagged Cheese
If you want a professional result, you have to throw away the bag of pre-shredded cheese. Manufacturers coat those shreds in cellulose or potato starch to keep them from clumping in the package. While that’s great for storage, it’s a disaster for your sauce. That coating prevents the cheese from melting into a cohesive liquid, which is the primary cause of “gritty” mac and cheese.
Take five minutes to hand-shred a block of high-quality cheddar using a box grater. This creates more surface area and leaves the cheese “naked,” allowing it to bond instantly with your warm milk base. You’ll notice the difference the second the cheese hits the pot; it will transform into a glossy, stretchy ribbon of gold rather than a clump of stubborn strings.
Selecting the Right Pasta Shape
While traditional elbow macaroni is the classic choice for a reason, the shape of your pasta dictates how much sauce you get in every bite. Elbows have a hollow center that acts like a tiny straw, trapping the rosemary-scented sauce inside. This ensures you aren’t just eating dry noodles with sauce on top.
If you want to experiment, look for tubular shapes with ridges, like cavatappi or rigatoni. These ridges provide extra “grip” for the cheese sauce to cling to. The goal is a high surface-area-to-sauce ratio. Whatever shape you choose, make sure it has a hole or a deep groove to capture the garlic and herb notes effectively.
The Chemistry of a Stable Roux and Mornay
A perfect sauce starts with a “Blonde Roux,” which is a 1:1 mixture of butter and all-purpose flour. You need to whisk these together over medium heat for at least two minutes. This step is crucial because it cooks out the “raw” taste of the flour. If you skip this, your final dish will have a pasty, cereal-like aftertaste that masks the garlic and rosemary.
When it’s time to add the milk, make sure it’s at room temperature. Pouring ice-cold milk into a hot roux causes thermal shock, which leads to stubborn flour clumps that are impossible to whisk out. By using room-temperature milk and adding it in a slow, steady stream, you create a smooth, thick base known as a Béchamel. Once the cheese is added, it becomes a Mornay sauce.
Step-by-Step: Achieving the Perfect Emulsion
Phase one begins with par-boiling your pasta. You must cook the macaroni for exactly three minutes less than the package’s al dente instructions. The noodles should feel quite firm, almost undercooked. This is intentional; the pasta will finish cooking in the oven by absorbing the moisture from the cheese sauce, which prevents the final dish from becoming mushy.
Phase two is building your flavor base. Once your milk and roux have thickened enough to coat the back of a spoon, whisk in the garlic powder and smoked paprika. Garlic powder is actually superior to fresh garlic here because it distributes evenly throughout the sauce without the risk of burning during the high-heat baking process. The paprika adds a subtle warmth and a beautiful orange hue.
Phase three is the most important: the “Off-Heat” method. Take the pot off the stove entirely. Let it sit for about 90 seconds. This slight drop in temperature is the secret to a velvet finish. Fold in your hand-shredded cheeses in small batches. By the time the last handful of cheddar melts, you’ll have a glossy, thick emulsion that looks like liquid silk.
Mastering the Rosemary Garlic Infusion
To get the most out of your rosemary, you need to mince it as finely as possible. You want the flavor to be everywhere, but you don’t want your guests picking “pine needles” out of their teeth. When you mince the herb, you’re breaking the cell walls and releasing the aromatic oils directly into the sauce. This creates a sophisticated, earthy flavor that balances the richness of the cheddar.
The garlic powder acts as the perfect partner to the rosemary. It provides a consistent, savory background note that lingers on the palate. Because we use a full two teaspoons, the garlic is present but not overwhelming. It bridges the gap between the sharp cheese and the floral herbs, making the entire dish feel cohesive and well-rounded.
Engineering the Panko Breadcrumb Crust
Standard breadcrumbs are often too fine, resulting in a sandy texture that gets lost in the sauce. Panko, or Japanese-style breadcrumbs, are the gold standard for baked mac and cheese. They are larger, airier flakes that create a “shatter-crisp” topping. This provides a necessary textural contrast to the soft, creamy pasta underneath.
Before sprinkling them on, you must toss the Panko with melted butter and a pinch of salt. This ensures every single crumb is coated in fat. When the heat of the oven hits the topping, the butter fries the breadcrumbs in place, turning them a deep, dark golden brown. This also creates a moisture barrier, preventing the crumbs from soaking up the sauce and becoming soggy.
Troubleshooting Common Mac and Cheese Errors
If you find your sauce is too thick before it even hits the oven, don’t panic. Simply whisk in a splash of warm milk, one tablespoon at a time, until it reaches a pourable consistency. Remember that the sauce will thicken further as it bakes and cools, so you want it to look slightly looser than your desired final result when it’s in the pot.
If the sauce looks grainy, it’s usually because the heat was too high when the cheese was added, or you used pre-shredded cheese with too much cellulose. While you can’t fully “undo” a broken sauce, adding a teaspoon of lemon juice or a splash of heavy cream can sometimes help re-emulsify the fats. To avoid mushy pasta, always set a timer for your boiling water; those three minutes of undercooking are non-negotiable.
Make-Ahead Strategies and Storage
You can easily prep this dish 24 hours in advance, which makes it perfect for dinner parties. Follow the instructions up until the point of baking, but do not add the breadcrumb topping yet. Cover the baking dish tightly with foil and refrigerate. When you’re ready to eat, add the buttered Panko and bake. You may need to add 5-10 minutes to the cook time since the dish is starting out cold.
For leftovers, store them in an airtight container in the fridge for up to three days. I don’t recommend freezing this dish, as dairy-heavy sauces tend to “weep” or separate when thawed, leading to a grainy texture. If you must freeze it, do so before baking, and accept that you’ll need to stir it vigorously once it’s reheated to try and bring the emulsion back together.
Optimal Pairings for Rosemary and Garlic Profiles
Because this Rosemary Garlic Baked Mac and Cheese is so rich and savory, it pairs best with side dishes that offer high acidity or a bit of crunch. A simple arugula salad tossed with fresh lemon juice and olive oil is the perfect palate cleanser. The peppery bite of the greens cuts right through the heavy cheddar sauce.
Roasted balsamic Brussels sprouts are another fantastic option. The sweetness of the balsamic glaze complements the earthy rosemary, while the charred edges of the sprouts mirror the crunch of the Panko topping. If you want something lighter, a crisp apple and walnut salad provides a refreshing sweetness that balances the pungent garlic notes beautifully.
Frequently Asked Questions
Can I use gluten-free flour for the roux?
Yes, you can certainly use a gluten-free 1:1 all-purpose flour blend to create the roux. Most high-quality blends contain xantham gum, which helps mimic the thickening power of wheat flour. However, keep in mind that gluten-free flour can sometimes brown faster than regular flour, so keep a close eye on your roux to ensure it doesn’t burn. You should also use gluten-free pasta, but be extra careful not to overcook it during the boiling phase, as gluten-free noodles tend to fall apart much faster than traditional wheat pasta in the oven.
Why is my rosemary flavor too subtle?
The strength of rosemary flavor usually comes down to the freshness of the herb. If your rosemary sprigs have been sitting in the fridge for a week, they’ve likely lost a significant amount of their aromatic oils. To boost the flavor, you can gently “bruise” the rosemary leaves with the side of your knife before mincing them. This brings the oils to the surface. Also, ensure you are using the full tablespoon called for in the recipe. If you really love the herb, you can even steep a few whole sprigs in the milk while you’re warming it, then remove them before making the sauce.
Can I add other cheeses like Gruyère or Fontina?
Absolutely! While sharp cheddar provides the classic “mac” flavor, adding Gruyère or Fontina can elevate the dish significantly. Gruyère adds a nutty, sophisticated sweetness that pairs perfectly with rosemary, while Fontina is famous for its incredible melting capabilities. If you decide to swap, I recommend keeping at least 50% of the cheddar for that necessary acidic bite, then replacing the other 50% with your choice of melting cheese. Just ensure you are still shredding these from a block to maintain that silky, grit-free texture we’re aiming for.
How do I reheat leftovers without the sauce breaking?
Reheating is where many great mac and cheeses go to die. The microwave is often too aggressive, causing the cheese fat to separate and turn the dish oily. The best way to reheat is “low and slow” in the oven. Place your leftovers in a baking dish, add a tablespoon of milk or water to help loosen the sauce, and cover it tightly with foil. Heat at 300 degrees F until warmed through. This gentle heat allows the starch in the sauce to re-absorb the moisture without the proteins seizing up. If you must use a microwave, use 50% power and stir every 45 seconds.
The Importance of the Five-Minute Rest
It is incredibly tempting to scoop into the pan the moment it comes out of the oven, but patience is a vital ingredient here. When the mac and cheese is piping hot, the sauce is at its most fluid. If you serve it immediately, the sauce will likely run to the bottom of the plate rather than clinging to the noodles. This is known as carry-over cooking.
During a five to ten-minute rest, the temperature drops just enough for the starches to fully set. This transforms the sauce from a liquid into a thick, creamy coating that hugs every curve of the macaroni. As the dish settles, the flavors of the rosemary and garlic also become more pronounced. You’ll end up with a much more satisfying, cohesive bite that stays creamy from the first forkful to the last.
Rosemary Garlic Baked Mac and Cheese
Course: Main CourseCuisine: AmericanDifficulty: easy6
servings15
minutes25
minutes40
Minutes580
kcalAmerican
Ingredients
1 pound elbow macaroni
4 cups sharp cheddar cheese, freshly shredded from the block
1/2 cup parmesan cheese, finely grated
1/2 cup unsalted butter
1/2 cup all-purpose flour
4 cups whole milk, room temperature
1 tablespoon fresh rosemary, finely minced (plus whole sprigs for garnish)
2 teaspoons garlic powder
1 teaspoon smoked paprika
1.5 cups Panko breadcrumbs (for a thick, dark golden crust)
3 tablespoons unsalted butter, melted (for the topping)
Salt and black pepper to taste
Directions
- Preheat your oven to 375 degrees F. Grease a large, deep baking dish.
- Boil the macaroni in heavily salted water for 3 minutes LESS than the package directions for al dente. The pasta should still have a firm bite. Drain and set aside.
- To solve the “gritty sauce” problem, avoid pre-shredded bagged cheese. Shred your own cheddar from a block. Bagged cheese is coated in cellulose/potato starch which prevents proper melting and creates a grainy texture.
- In a large heavy-bottomed pot, melt the 1/2 cup butter over medium heat. Whisk in the flour and cook for 2 minutes, whisking constantly, to remove the raw flour taste and create a golden roux.
- Slowly pour in the room temperature milk in a steady stream while whisking vigorously. To prevent a watery sauce, you must allow this mixture to reach a gentle simmer and thicken until it heavily coats the back of a spoon before adding any cheese.
- Remove the pot from the heat entirely. This is the “No-Break” secret: adding cheese to boiling liquid causes the proteins to tighten and squeeze out the fat, resulting in a greasy mess. Let the sauce cool for 60-90 seconds, then fold in the shredded cheddar and parmesan in batches until completely smooth.
- Stir in the minced rosemary, garlic powder, paprika, salt, and pepper. Fold in the cooked macaroni until every noodle is submerged in sauce.
- Pour the mixture into the prepared baking dish. In a small bowl, toss the Panko breadcrumbs with the 3 tablespoons of melted butter and a pinch of salt. Sprinkle in a thick, even layer over the top.
- Bake for 20 to 25 minutes until the sauce is bubbling at the edges and the breadcrumbs have reached a deep, dark golden brown.
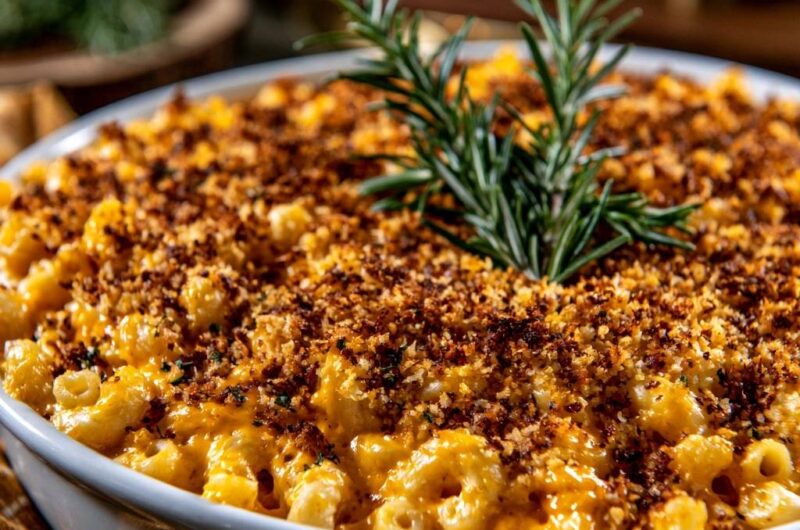
- Remove from the oven and garnish with fresh rosemary sprigs as shown in the image. Let it sit for 5 to 10 minutes before serving to allow the sauce to set into a creamy, non-runny consistency.
Notes
- To prevent a gritty or watery sauce, always shred cheese from a block rather than using bagged varieties. Ensure the sauce is removed from heat before adding cheese to prevent the proteins from seizing and separating.