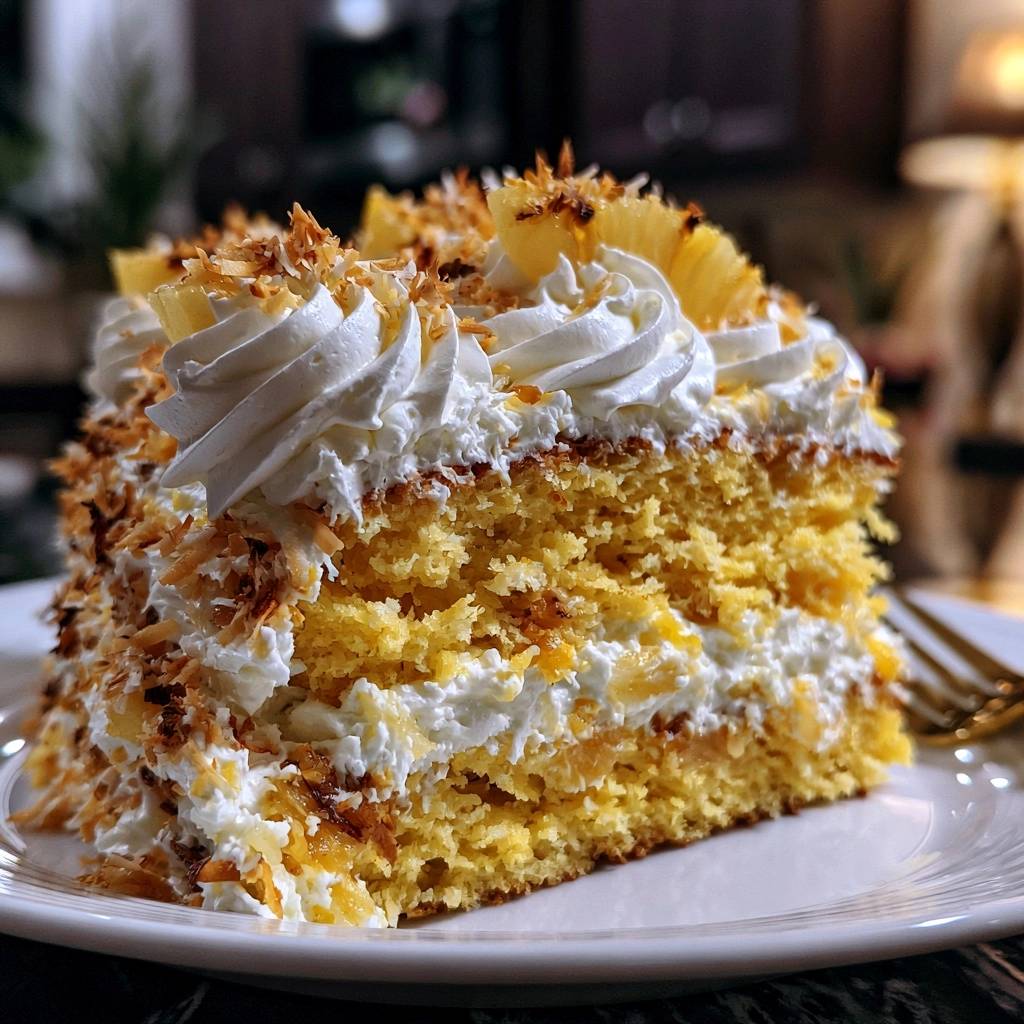
Tropical cakes often promise a vacation on a plate, but they frequently deliver a soggy, dense mess instead. The high water content in fruit like pineapple acts as a hidden saboteur, leaking moisture into the crumb during the baking process. This results in a cake that feels heavy or, worse, develops a gummy layer at the bottom that no amount of frosting can hide.
However, you can achieve a light, airy sponge that still bursts with intense fruit flavor. The secret lies in controlling the hydration of your ingredients before they ever touch the flour. By treating the pineapple as a concentrated flavor paste rather than a wet additive, we create a structural masterpiece that holds its shape beautifully.
I’ve found that the most reliable way to ensure success is to focus on the “Anti-Soggy Bottom” method. This technique involves a quick stovetop reduction of the fruit pulp. It might seem like an extra step, but it is the definitive way to guarantee your Tropical Pineapple Coconut Cream Layer Cake has a professional, bakery-quality crumb every single time.
The Science of Moisture Control in Fruit Cakes
When you add crushed pineapple straight from the can into a batter, you’re essentially adding a ticking time bomb of liquid. As the cake heats up in the oven, the cellular structure of the fruit breaks down, releasing all that trapped juice. This excess water interferes with gluten development and prevents the leavening agents from lifting the heavy batter.
Therefore, we use a searing technique to intervene. By heating the pineapple pulp in a skillet, we evaporate the “free water” that would otherwise ruin the cake’s texture. This process doesn’t just fix the moisture issue; it also initiates a light caramelization of the fruit’s natural sugars, deepening the flavor profile significantly.
Why Searing Pineapple Pulp Changes Everything
Searing the pulp triggers the Maillard reaction, which is usually associated with browning meat but works wonders for fruit sugars too. You are looking to remove about 30% to 40% of the fruit’s water weight. This concentration ensures that every bite of the cake tastes like pure pineapple without the weight of the water dragging the sponge down.
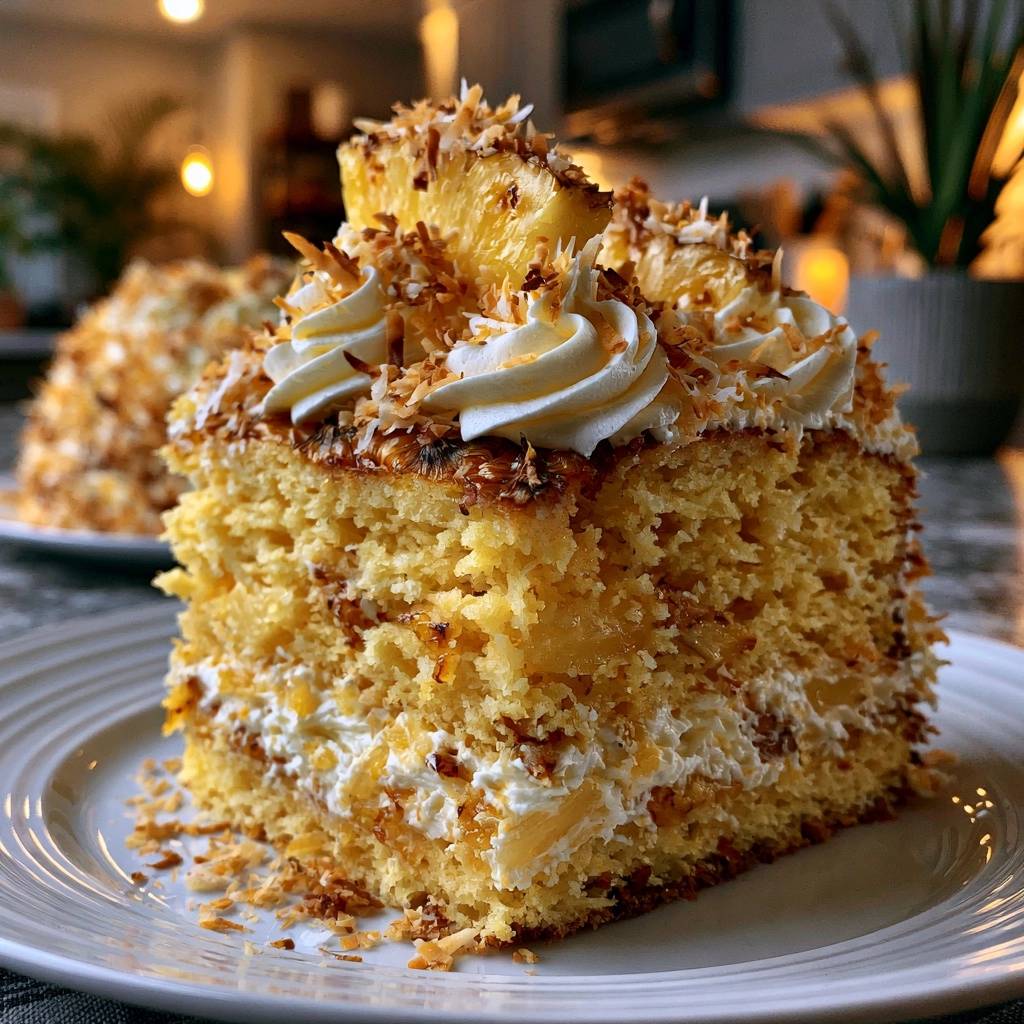
In addition, this concentrated pulp distributes more evenly throughout the batter. Instead of sinking to the bottom of the pan, the lighter, drier fruit bits stay suspended in the crumb. This results in a uniform texture and a consistent flavor in every single slice you serve.
Essential Components for the Pineapple Coconut Cream Base
The foundation of this cake relies on a specific balance of fats. I use a combination of unsalted butter for that classic, rich flavor and vegetable oil to ensure the cake stays moist even after being chilled. Butter provides the structure, while oil keeps the crumb tender and soft to the touch.
Furthermore, your eggs must be at room temperature. Cold eggs can cause the softened butter to seize up, leading to a broken emulsion. When the batter is properly emulsified, it traps air more effectively, which is vital for supporting the weight of the pineapple and coconut additions.
Selecting the Right Coconut and Pineapple
While fresh pineapple is delicious, canned crushed pineapple is actually superior for baking because of its consistent acidity and texture. Just make sure you drain it thoroughly before the searing step. For the coconut, sweetened shredded varieties provide the best chewy contrast to the soft cake layers.
Toasting the coconut is a non-negotiable step for maximum flavor. Raw coconut can sometimes feel “waxy” in a cream-based cake. Toasting it transforms the profile from simple sweetness to a complex, nutty aroma that cuts through the richness of the heavy cream and mascarpone.
The Role of Mascarpone in Stabilized Cream
Standard whipped cream is too fragile to support a heavy layer cake; it will eventually weep or collapse under the weight of the top sponge. Mascarpone acts as a structural scaffold. Because it has a higher fat content and a thicker consistency than heavy cream, it “locks” the air bubbles in place.
This stabilization allows you to pipe thick, one-inch layers of cream that stay put. It provides a velvety mouthfeel that is much more luxurious than a standard buttercream. If you want those clean, professional-looking layers, mascarpone is your best friend in the kitchen.
Step-by-Step: Preparing the Anti-Soggy Pineapple Base
Start by draining your crushed pineapple through a fine-mesh sieve. Don’t just let it sit; use the back of a spoon to press every possible drop of juice into a bowl. Save that juice! You’ll need it later to flavor the batter and keep the cake layers hydrated.
Next, toss the pulp into a small skillet over medium heat. You’ll see a lot of steam at first—that’s the enemy leaving the building. Stir constantly for about 5 minutes until the pineapple looks slightly darker and the pan is mostly dry. Let this mixture cool completely before adding it to your batter.
Mixing and Aerating the Tropical Sponge
When you begin mixing, cream the butter, oil, and sugar until the mixture looks pale and noticeably fluffy. This should take about 3 to 4 minutes. Adding the eggs one at a time ensures they are fully integrated before the next one hits the bowl, maintaining that crucial emulsion.
I recommend the “alternating method” for adding your dry ingredients and the reserved pineapple juice. Start with a third of the flour, then half the juice, and repeat. This prevents the batter from saturating too quickly, which can lead to over-mixing and a tough, rubbery cake.
Oven Calibration and Baking Precision
Position your oven racks in the center to ensure even heat distribution. If your oven has hot spots, rotate the pans halfway through the baking time. Use a toothpick to check for doneness; it should come out clean or with just a few moist crumbs attached.
Avoid opening the oven door too frequently during the first 20 minutes. The cake’s structure is at its most vulnerable then, and a sudden drop in temperature can cause the center to collapse. Once baked, let them cool in the pans for 10 minutes to “set” before moving them to a wire rack.
Constructing the Stabilized Coconut Cream Frosting
To make the frosting, start by beating the softened mascarpone and powdered sugar until smooth. You want to eliminate any lumps before adding the liquid cream. Once smooth, slowly pour in the chilled heavy cream while the mixer is running on low speed.
Turn the speed to high and watch closely. You are looking for “stiff peaks,” meaning the cream stands straight up when you lift the whisk. Be careful not to over-beat, or the mascarpone might turn grainy. If it looks like it’s starting to separate, stop immediately and fold the rest by hand.
Assembly: Building Structural Integrity
Place your first layer on a sturdy plate and spread a generous, even layer of the stabilized cream. I like to go about an inch thick. Sprinkle a layer of toasted coconut over the cream before placing the second cake layer on top. This adds a hidden crunch in the middle of the cake.
After frosting the outside, you must chill the cake for at least one hour. This isn’t just for flavor; it’s a chemical necessity. The fats in the mascarpone and butter need time to firm up so the cake doesn’t slide apart when you try to slice it. Patience here pays off in beautiful, clean edges.
Troubleshooting Common Tropical Cake Issues
If your cream feels too soft to pipe, it’s likely because the mascarpone or the room was too warm. Pop the bowl in the fridge for 15 minutes and then give it a quick whisk. It should firm right back up. Always work with chilled heavy cream for the best volume.
If your cake layers stuck to the pan, you might have tried to remove them while they were still too hot. Next time, try lining the bottom of the pans with parchment paper. For a cake that’s already stuck, wrap the bottom of the pan in a warm, damp towel for a few minutes to loosen the sugars.
Make-Ahead Strategies and Storage Logistics
This cake actually tastes better on day two because the pineapple flavors have time to meld with the cream. You can store it in an airtight cake carrier in the refrigerator for up to 3 days. However, do not freeze this cake. The high moisture in the fruit and the delicate structure of the cream will become grainy and weepy upon thawing.
To keep the toasted coconut on the outside from getting chewy, apply it as close to serving time as possible if you live in a high-humidity area. If the cake is already decorated, keep it loosely covered so the coconut doesn’t absorb too much moisture from the fridge air.
Expert Tips for Professional Presentation
For those beautiful swirls on top, use a large star tip and a piping bag. Start in the center of the swirl and move outward in a circular motion. If you don’t have a piping bag, a simple Ziploc bag with the corner snipped off works in a pinch for a rustic look.
To get perfectly clean slices, use a long, thin knife dipped in hot water. Wipe the knife clean after every single cut. This prevents the cream from dragging into the yellow cake layers, keeping that sharp contrast between the tropical sponge and the snowy white frosting.
Frequently Asked Questions
Can I use fresh pineapple instead of canned?
You can, but you must cook it first. Fresh pineapple contains an enzyme called bromelain that breaks down proteins. If you put raw fresh pineapple in the cake or cream, it will literally digest the structure, leaving you with a soupy mess. Always sauté fresh pineapple until it is fully softened and translucent before using it in this recipe.
How do I prevent the toasted coconut from burning?
Coconut goes from golden to burnt in a matter of seconds. The safest method is using a dry skillet over medium-low heat. Stay at the stove and stir constantly. As soon as the flakes turn a light golden brown and smell nutty, remove them from the hot pan immediately onto a cool plate to stop the cooking process.
What is the best substitute for Mascarpone?
Full-fat cream cheese is the best substitute. It provides the same structural stability, though it will add a slight “tang” to the frosting that mascarpone doesn’t have. If you use cream cheese, make sure it is completely at room temperature before mixing to avoid any tiny white lumps in your smooth frosting.
Why did my cake layers sink in the middle?
This usually happens for two reasons: over-leavening or under-baking. If you use too much baking powder, the cake rises too fast and then collapses. Alternatively, if you pull the cake out before the center is fully set, the weight of the pineapple will cause it to dip. Always use the toothpick test in the very center of the cake.
Can I reduce the sugar in this recipe?
Sugar isn’t just for sweetness; it provides moisture and tenderness to the crumb. You can safely reduce the sugar by about 10% (roughly 2-3 tablespoons), but any more than that and you risk a cake that is dry and tough. The sugar helps hold onto the moisture provided by the pineapple juice.
Tropical Pineapple Coconut Cream Layer Cake
Course: DessertCuisine: AmericanDifficulty: easy12
servings30
minutes30
minutes60
Minutes485
kcalAmerican
Ingredients
2 cups all-purpose flour
1.5 cups granulated sugar
1 tablespoon baking powder (for lift)
1/2 teaspoon salt
3 large eggs, room temperature
1 can (20 oz) crushed pineapple, juice reserved separately
1.5 cups sweetened shredded coconut, toasted
1/2 cup unsalted butter, softened
1/2 cup vegetable oil (for moisture)
1 teaspoon vanilla extract
1/2 teaspoon coconut extract
3 cups heavy whipping cream, chilled
3/4 cup powdered sugar
8 oz mascarpone or cream cheese, softened (to stabilize the thick layers)
Fresh pineapple wedges for garnish
Directions
- Preheat your oven to 350°F. Grease and flour two 8-inch or 9-inch round cake pans.
- The Secret Step: Drain the crushed pineapple through a fine-mesh sieve, pressing firmly to remove all liquid. Place the pulp in a small skillet over medium heat for 4-5 minutes, stirring constantly, until the steam subsides and the pineapple looks slightly caramelized. This prevents the fruit from releasing moisture into the batter. Let cool.
- In a large bowl, cream the butter, oil, and granulated sugar until pale and fluffy. Add eggs one at a time, followed by the vanilla and coconut extracts.
- Whisk the flour, baking powder, and salt together. Gradually add the dry ingredients to the butter mixture, alternating with 1/2 cup of the reserved pineapple juice.
- Fold in the dried pineapple pulp and 1/2 cup of the toasted coconut.
- Divide the batter evenly between the two pans. Bake for 28-32 minutes or until a toothpick comes out clean. Let the cakes cool in the pans for 10 minutes, then transfer to a wire rack to cool completely.
- For the Filling and Frosting: In a large bowl, beat the mascarpone (or cream cheese) with powdered sugar until smooth. Slowly pour in the heavy cream and beat on high speed until very stiff peaks form.
- Assembly: Place one cake layer on a plate. Spread a thick, 1-inch layer of the cream mixture over the top. Sprinkle with toasted coconut. Place the second cake layer on top.
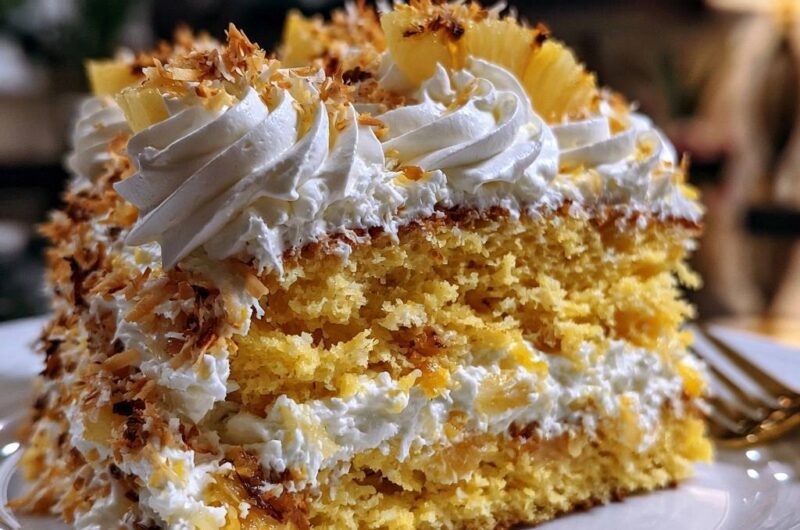
- Cover the top and sides of the cake with the remaining cream. Use a piping bag with a star tip to create the decorative swirls shown in the image.
- Press the remaining toasted coconut onto the sides of the cake. Garnish the top with fresh pineapple wedges and a final sprinkle of coconut. Chill for at least 1 hour before slicing to allow the layers to set.
Notes
- The secret to this cake is searing the pineapple pulp to remove excess water and using mascarpone to stabilize the heavy cream layers.