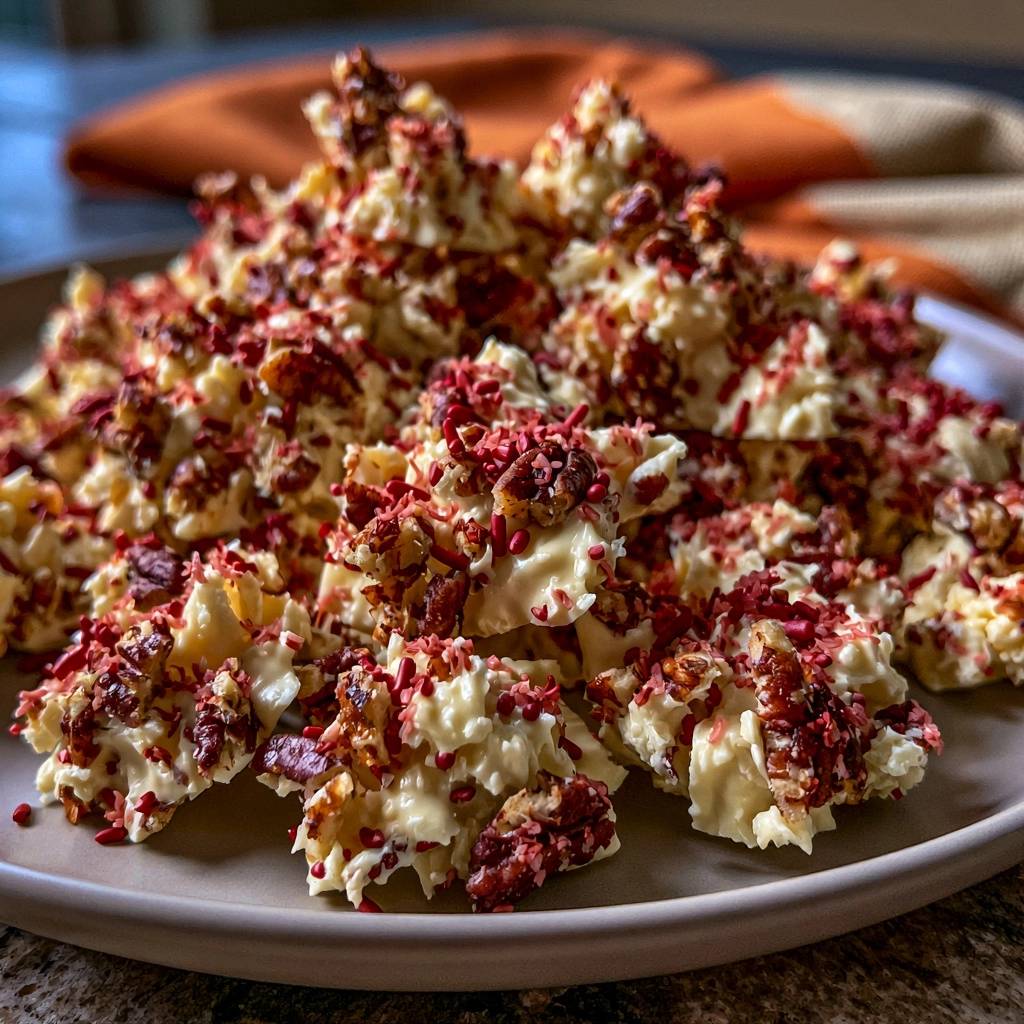
Imagine biting into a confection where the initial snap of premium white chocolate gives way to the buttery, deep crunch of a perfectly toasted pecan. It is a texture lover’s dream, but achieving that professional finish at home often feels like a gamble. Most home cooks find white chocolate incredibly temperamental because it lacks the cocoa solids found in dark chocolate, making it prone to scorching or turning into a gritty, unworkable paste.
The secret to these White Chocolate Pecan Clusters lies in understanding that white chocolate is more of a delicate emulsion than a sturdy candy. Therefore, we treat it with a gentle hand to ensure every cluster has that glossy, high-end look you see in boutique chocolate shops. By mastering a few simple temperature controls, you can create a batch of treats that look like they cost five dollars a piece at a luxury confectioner.
I’ve found that the absolute key to success is the “80-percent rule.” If you wait until every single piece of chocolate is melted while it’s still over the heat, you’ve already gone too far. Removing the bowl early and letting residual heat do the heavy lifting is the only way to guarantee a silky, pourable consistency every single time.
The Chemistry of Melting White Chocolate Without Seizing
White chocolate is a unique beast in the kitchen because it is primarily composed of cocoa butter, milk solids, and sugar. Since it contains no actual cocoa powder, its burn point is significantly lower than its dark or milk counterparts. The high sugar content acts like a magnet for heat, and if the temperature climbs too high, those sugars crystallize and clump together instantly.
When white chocolate “seizes,” it transforms from a liquid into a dry, chalky mess that won’t spread or coat. This usually happens because the milk proteins have been scorched or because a tiny amount of moisture has entered the mix. Understanding this chemistry helps you realize that you aren’t just melting a solid; you are carefully managing a delicate balance of fats and sugars.
Because white chocolate is so sensitive, even the steam from your kitchen can cause a disaster. If the chocolate gets too hot, the fat separates from the solids, leaving you with a yellow, oily puddle. Keeping the temperature low and steady is the only way to maintain the structural integrity of the cocoa butter for that perfect, clean snap.
Why Steam is the Enemy of Your Confections
Moisture is the ultimate villain when you are working with any chocolate, but it is especially aggressive toward white chocolate. A single drop of water acts as a catalyst, causing the sugar particles to bind together and “tighten” the entire mixture into a grainy lump. This is why we never cover a bowl of melting chocolate with a lid, as condensation will drip right back into your hard work.
If you notice your chocolate starting to look slightly dull or stiff, you might be able to rescue it. Quickly whisking in a teaspoon of room-temperature coconut oil or vegetable oil can sometimes smooth out the texture. However, prevention is always better than a cure, so keep your workspace bone-dry and your simmering water at a very low whistle.
Essential Components for High-Quality White Chocolate Pecan Clusters
Since this recipe has so few ingredients, the quality of each one is magnified. You want to avoid “candy melts” or “almond bark” if you are looking for true flavor, as those products often replace cocoa butter with vegetable oils. While they melt easily, they leave a waxy film on the roof of your mouth that hides the flavor of the pecans.
Look for white chocolate that lists cocoa butter as the primary fat source. High-quality couverture wafers or premium baking bars provide a much richer, creamier mouthfeel. These fats carry the flavor of the toasted nuts and the tartness of the raspberries much more effectively than oil-based alternatives.
The contrast in this dish comes from the interplay between the sweet base and the acidic, crunchy toppings. Using freeze-dried fruit provides a concentrated punch of flavor without adding moisture, which would ruin the chocolate’s texture. It is a sophisticated way to balance the sugar and make the clusters feel light rather than cloying.
Selecting the Best White Chocolate Base
When you’re at the store, reach for the chocolate bars in the baking aisle rather than the bags of white chocolate chips. Chips are specifically engineered to hold their shape under heat, meaning they contain stabilizers that prevent them from melting into a smooth, fluid pool. This makes them great for cookies but frustrating for dipping and clustering.
Chopping a bar into uniform, small pieces ensures that everything melts at the same rate. If you can find couverture wafers, those are even better as they are designed for professional tempering. The goal is a thin, even coating that doesn’t overwhelm the pecans, and high-quality bars are the best way to get there.
The Importance of Toasting Your Pecans
Raw pecans have a soft, almost “dusty” flavor that can get lost inside sweet white chocolate. Toasting them at 350°F for about 8 to 10 minutes is a non-negotiable step for the best flavor. This process triggers the Maillard reaction, which develops those deep, caramelized notes and a much crispier texture.
You will know they are ready when your kitchen smells like a warm praline. Be sure to let the pecans cool slightly before folding them into your melted chocolate. If they are piping hot, they can raise the temperature of the chocolate too quickly, potentially causing it to lose its temper and turn soft or streaky later on.
Natural Color and Tartness: Freeze-Dried Raspberries
Freeze-dried raspberries are the secret weapon in this recipe. Unlike fresh berries, which would leak juice and cause the chocolate to seize, freeze-dried crumbles offer a crisp texture and a vibrant, natural red color. The intense acidity of the raspberry perfectly cuts through the richness of the cocoa butter.
When you crush them slightly, they create a beautiful “dust” that clings to the wet chocolate. This adds a professional, artisanal look to your clusters without the need for artificial dyes. The combination of the red fruit and the white chocolate also makes these a stunning addition to any holiday dessert platter.
Step-by-Step: Tempering and Assembly Phase
Success starts with your physical setup. You need a heat-proof glass or stainless steel bowl that fits snugly over a small saucepan. Fill the pan with only an inch or two of water, ensuring that the bottom of the bowl never actually touches the liquid. This creates a gentle “steam bath” that provides indirect, controlled heat.
Once your water reaches a bare simmer, turn the heat down to the lowest setting. You aren’t looking for a rolling boil; you just want enough warmth to encourage the cocoa butter to relax. Patience is your best friend here, so resist the urge to crank up the heat to speed things up.
Setting Up a Proper Double Boiler
The gap between the water and the bowl is your safety zone. If the bowl touches the water, the chocolate at the bottom will overheat and scorch before the top pieces even begin to soften. This leads to those dreaded lumps that no amount of stirring can fix.
Always keep a dry kitchen towel nearby. When you eventually lift the bowl off the pot, the bottom will be covered in condensation. Wipe it immediately so that not a single stray drop of water finds its way into your clusters as you begin the folding process.
The 80-Percent Rule for Residual Heat Melting
This is the most important technical tip I can give you. Stir your chocolate constantly with a rubber spatula, and as soon as about 80 percent of the pieces have disappeared, take the bowl off the heat. The mixture will still look a bit chunky, but don’t worry.
Keep stirring for another minute or two away from the stove. The residual heat in the bowl and the already-melted chocolate will gently coax the remaining bits into a liquid state. This keeps the overall temperature below 110°F, which is the “danger zone” where white chocolate begins to break down and lose its shine.
Folding and Texturing for the “Spiky” Aesthetic
Once your chocolate is smooth, gently fold in your toasted pecans. You want them to be suspended in the chocolate, not drowned in it. Use a tablespoon to scoop mounds onto your parchment paper, but don’t just let them sit in flat puddles.
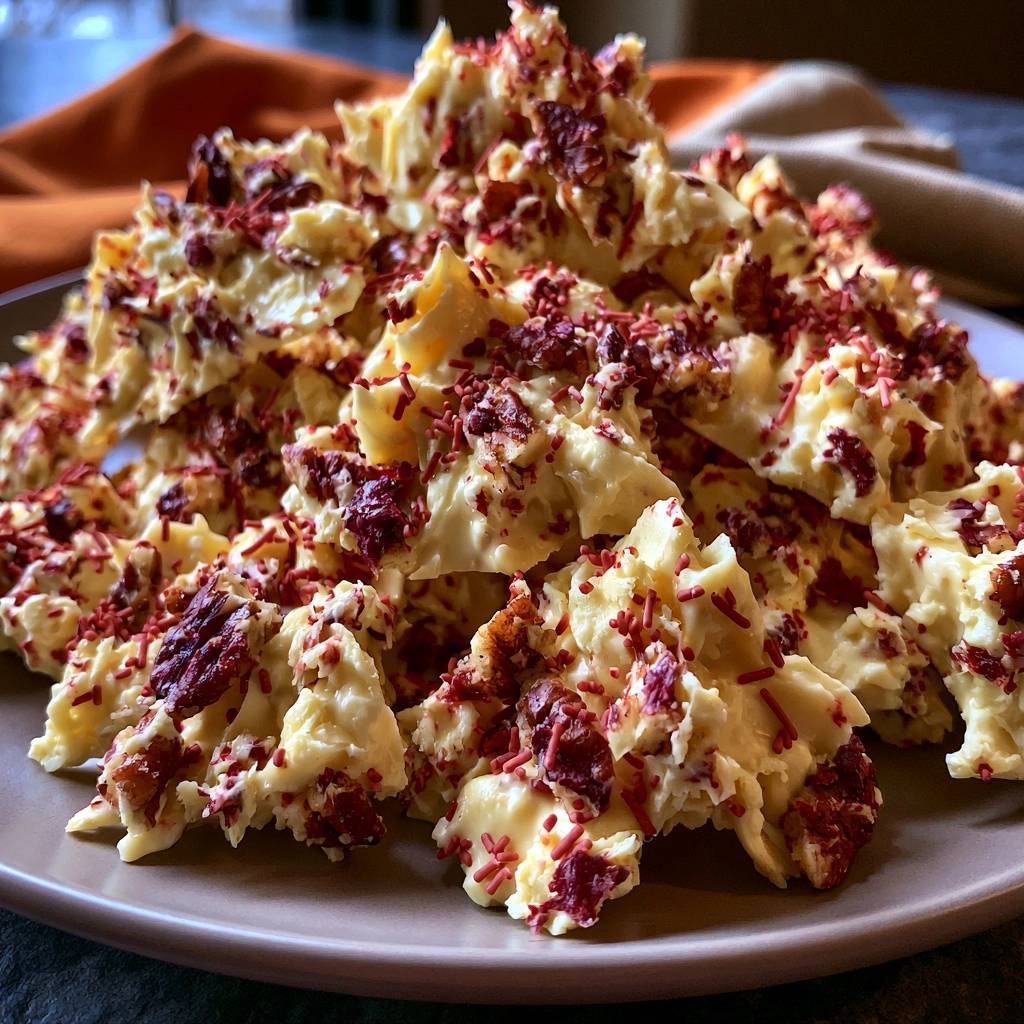
Take a fork and lightly pull upward on the chocolate as you pull the spoon away. This creates little “peaks” and “spikes” that give the clusters a rustic, handcrafted look. These ridges also provide more surface area for your raspberry crumbles and sprinkles to cling to, ensuring every bite is packed with flavor.
Troubleshooting Common White Chocolate Obstacles
Even with the best intentions, white chocolate can be finicky. If your mixture feels heavy or looks like it is losing its gloss, it has likely started to cool too quickly or was slightly overheated. Don’t panic, as most minor texture issues can be smoothed out with a little bit of fat.
If the chocolate feels too thick to drop into clusters, it might be because the room is too cold. You can briefly place the bowl back over the warm water for 5 to 10 seconds to loosen it up. Just remember to stir constantly so the bottom doesn’t get a heat shock.
Fixing Grainy or Lumpy Textures
If your chocolate looks “chalky” or has small grains, it has likely reached the scorching point. While you can’t perfectly reverse a burn, you can often save the batch by adding a teaspoon of coconut oil. The oil helps re-emulsify the fats and solids, restoring a silkier mouthfeel.
Stir the oil in vigorously until the mixture thins out. It might not have the same “snap” as perfectly tempered chocolate once it sets, but it will still taste delicious and look much better than a grainy cluster. This is a great trick to keep in your back pocket for holiday baking marathons.
Preventing “Bloom” and Fat Separation
Have you ever seen chocolate with white streaks or a dull, greyish film? That is called “bloom,” and it happens when the cocoa butter separates and rises to the surface. This is usually caused by drastic temperature changes, like moving the clusters from a hot kitchen directly into a freezing freezer.
To prevent this, let your clusters set at a stable room temperature (around 68°F) if possible. If you must use the fridge to speed things up, only leave them in for 15 minutes. Once they are firm, move them to a cool, dry pantry. This keeps the fat stable and ensures your clusters stay vibrant and glossy for weeks.
Flavor Variations and Nut Substitutions
While pecans and raspberries are a classic pairing, this technique works with almost any dry addition. You can easily swap the pecans for toasted macadamia nuts for a more tropical, buttery profile. If you are dealing with nut allergies, toasted pumpkin seeds or sunflower seeds provide a fantastic crunch and a beautiful color contrast.
When switching ingredients, just keep the ratios the same. You want enough chocolate to bind everything together, but not so much that the nuts are swimming in it. If you use smaller seeds, you might need to increase the amount of “filler” slightly to maintain that chunky, clustered shape.
Savory Additions: Salt and Spice
White chocolate is very sweet, so adding a savory element can make these clusters feel much more sophisticated. A tiny pinch of ground cardamom or ginger folded into the melted chocolate adds a warm, floral note that pairs beautifully with the pecans. It transforms a simple candy into a complex dessert.
I also love finishing these with a few flakes of sea salt right alongside the sprinkles. The salt wakes up your taste buds and balances the heavy sugar of the white chocolate. It is a small addition that makes a massive difference in how many of these you’ll want to eat in one sitting.
Storage Logistics and Make-Ahead Instructions
These clusters are fantastic for making ahead of time because they stay fresh for quite a while. In a cool, dry environment, they will maintain their crunch and flavor for up to three weeks. This makes them an ideal candidate for holiday gift boxes or party prep.
The biggest threat to your stored clusters is humidity. If the air is too damp, the sugar in the chocolate can draw in moisture, leading to a sticky surface. Always use an airtight container and place a piece of parchment paper between layers to prevent them from sticking together or scuffing the finish.
Room Temperature vs. Refrigeration
While it is tempting to keep these in the fridge, room temperature is actually better for the texture of the chocolate. Refrigeration can cause “sugar bloom” due to the condensation that forms when you take the container out of the cold. The chocolate might develop a slightly tacky surface that isn’t as pleasant to handle.
If your kitchen is particularly warm, find the coolest spot in your house, like a basement or a dark pantry. If you absolutely must refrigerate them, let the container come to room temperature before opening the lid. This prevents the moisture in the air from hitting the cold chocolate and ruining the finish.
Shipping and Gifting White Chocolate Pecan Clusters
If you are mailing these to friends, packaging is everything. Because of the “spiky” texture we created with the fork, these clusters can be a bit delicate. Pack them snugly in a tin with plenty of parchment paper or wax paper padding so they don’t rattle around during transit.
Avoid shipping these during the height of summer or to very warm climates, as white chocolate has a lower melting point than dark chocolate. If you are gifting them locally, a simple cellophane bag tied with a ribbon is perfect. The vibrant red raspberries and white chocolate look stunning through the clear plastic.
Expert Troubleshooting and Confectionery FAQ
Can I use a microwave to melt the white chocolate?
Yes, you can, but you must be extremely cautious. Use 50% power and heat in 15-second intervals, stirring thoroughly between each one. White chocolate can burn in the center of the bowl while the edges still look solid, so frequent stirring is the only way to distribute the heat evenly and avoid seizing.
Why did my sprinkles and raspberries fall off?
This usually happens if the chocolate has already started to set before you added the toppings. White chocolate sets faster than you might think, especially if your pecans were cold. Make sure to top each cluster immediately after dropping it onto the parchment paper while the surface is still “tacky” and wet.
Can I use liquid food coloring to make the chocolate pink?
Never use standard liquid food coloring with white chocolate. The water in the dye will cause the chocolate to seize instantly. If you want to change the color, you must use oil-based candy colors or powdered dyes. For this recipe, the freeze-dried raspberries provide plenty of natural color without the risk.
How long do these stay fresh?
When stored in an airtight container in a cool, dry place, these clusters will stay fresh and crunchy for 2 to 3 weeks. If the pecans were toasted properly, they will maintain their snap. If they start to taste “stale,” it is usually because they were exposed to too much air or humidity.
Why is my chocolate still soft at room temperature?
If the chocolate doesn’t firm up, it likely got too hot during the melting process and lost its “temper.” This means the fat crystals are unaligned. You can fix this by popping them in the fridge to force them to set, but they will need to be kept cold as they will soften again quickly at room temperature.
White Chocolate Pecan Clusters
Course: DessertCuisine: AmericanDifficulty: easy12
clusters10
minutes5
minutes15
Minutes195
kcalAmerican
Ingredients
12 ounces high-quality white chocolate (chopped bars or couverture wafers preferred)
1.5 cups toasted pecan halves, roughly chopped
1/2 cup freeze-dried raspberry crumbles
1/4 cup red sprinkles
1 teaspoon coconut oil (optional for extra shine)
Directions
- Prepare a baking sheet by lining it with parchment paper or a silicone mat. This is essential for a clean release once the chocolate sets.
- To solve the seizing problem, use a double boiler or a glass bowl over a pot of barely simmering water. Ensure the bottom of the bowl does not touch the water. Steam is the enemy of chocolate, so make sure no water droplets enter the bowl.
- Add the white chocolate and coconut oil to the bowl. Stir constantly with a rubber spatula. As soon as the chocolate is 80 percent melted, remove the bowl from the heat entirely. The residual heat will melt the remaining pieces. This prevents the chocolate from reaching the scorching point where it becomes grainy.
- Gently fold the chopped toasted pecans into the smooth chocolate until every piece is fully coated.
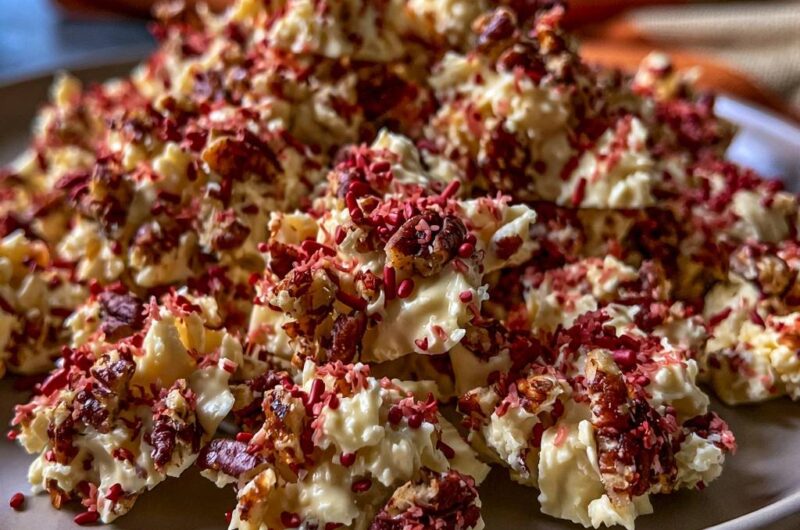
- Use a tablespoon to drop mounds of the mixture onto the prepared baking sheet. To achieve the textured, “spiky” look seen in the image, use a fork to pull small peaks of chocolate upward as you drop each cluster.
- While the chocolate is still wet, immediately and generously top each cluster with the freeze-dried raspberry crumbles and red sprinkles. Ensure the toppings cover the peaks of the clusters for a vibrant finish.
- Let the clusters sit at room temperature for at least 30 minutes to set. For a faster set and a better snap, place the tray in the refrigerator for 15 minutes. Store in an airtight container in a cool place.
Notes
- To prevent seizing, ensure no water or steam touches the chocolate. Using high-quality chocolate bars rather than chips will result in a smoother melt.