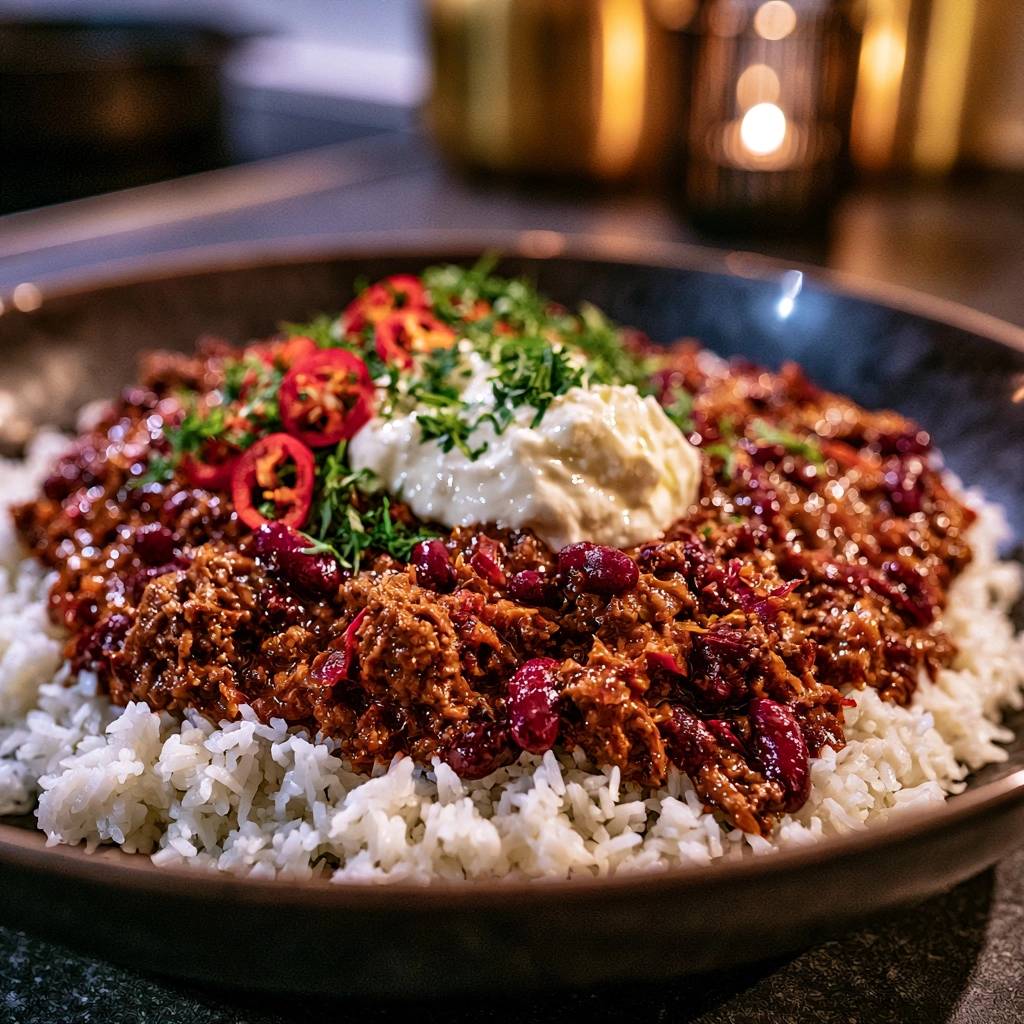
Stop settling for chili that runs all over your plate and turns your rice into a mushy, unappetizing mess. Most home cooks struggle with a thin, watery consistency that lacks depth, but the secret to a restaurant-quality bowl lies in two professional techniques: the “bloom” and the “reduction.” When you master these, you transform humble ground beef into a rich, mahogany-colored masterpiece that clings to every grain of rice.
The sensory appeal of this dish comes from the stark contrast between the vibrant, thick sauce and the snowy white, individual grains of rice. You aren’t just making a stew; you’re creating a concentrated beef base that carries a smoky, earthy heat. By simmering the liquid down until it reaches a jam-like density, you ensure that every bite is packed with intense flavor rather than diluted broth.
The real expertise shows in how you handle the tomato paste and spices. I’ve found that most people toss their spices into the liquid, which is a huge mistake. You must toast the spices and the tomato paste directly against the hot metal of the pan until the paste turns a dark brick red. This specific step removes the metallic “tinny” taste and unlocks fat-soluble flavor compounds that boiling simply can’t reach.
The Anatomy of Thick Beef Chili
Every ingredient in this recipe serves a structural purpose to ensure the final result is dense and velvety. I recommend using lean ground beef, specifically a 90/10 or 93/7 blend. While fat adds flavor, too much grease will create an oily film that prevents the sauce from adhering to the rice grains, leaving you with a slick, heavy mouthfeel.
Long-grain white rice is the essential foundation here because of its structural integrity. Unlike short-grain varieties that turn sticky, long-grain rice stays fluffy and separate, providing the perfect “nooks and crannies” for the thick chili to nestle into. It acts as a neutral, textured canvas for the bold, spiced beef.
Tomato paste is your secret weapon for viscosity. Instead of relying on flour or cornstarch, which can make the sauce look cloudy or taste pasty, the concentrated solids in tomato paste provide a natural thickness. When reduced properly, it creates a glossy glaze that coats the kidney beans and beef crumbles perfectly.
Selecting the Right Beef and Aromatics
If you use beef with a high fat content, you’ll likely end up with a puddle of orange oil on top of your bowl. Stick to lean cuts to keep the flavors clean. When it comes to your aromatics, take the time to finely dice your onion. Large chunks of onion break the visual flow of the thick sauce, whereas a fine dice melts into the background, providing sweetness without the bulk.
Fresh garlic is non-negotiable for a long simmer. The pre-minced stuff in jars often has a bitter, acidic preservative that becomes more pronounced as the sauce reduces. Freshly smashed and minced cloves provide a mellow, buttery pungency that rounds out the heat of the chili powder.
The Spice Profile: Beyond Heat
We use a trio of chili powder, cumin, and smoked paprika to build a complex flavor profile. The chili powder provides the base heat, but the cumin adds an essential earthy, nutty note that anchors the dish. It balances the natural acidity of the tomatoes and the richness of the beef.
Smoked paprika is the “cheat code” for depth. It introduces a charred, wood-fired essence that makes the chili taste like it spent all day over a campfire. This smokiness mimics the complexity of expensive dried chilies without the hassle of soaking and blending them yourself.
Essential Tools for Heat Retention
You need a heavy-bottomed skillet or a cast-iron Dutch oven for this recipe. Thin, cheap pans have “hot spots” that will scorch your spices and tomato paste before they have a chance to bloom. A heavy pan distributes heat evenly, which is vital when you’re trying to achieve a deep sear on the beef.
A fine-mesh strainer is also a must-have tool for the rice preparation. You cannot get rice truly fluffy if you don’t wash away the surface starch. A standard colander has holes that are too large, letting the grains slip through, so stick to a tight mesh to ensure every grain is rinsed clean.
Phase One: Achieving Non-Gummy Fluffy Rice
The biggest mistake people make with rice is treating it like pasta. Rice is covered in excess surface starch that, if left alone, turns into a glue-like paste during cooking. You must rinse the rice under cold water, swirling it with your fingers, until the water runs crystal clear. This simple step ensures the grains remain individual and light.
Once you’ve brought the water to a boil and dropped it to a simmer, leave the lid on. Every time you peek, you release the steam that is doing the heavy lifting. After the 15-minute cook time, the rice still isn’t done. You must let it sit, off the heat and covered, for at least 5 minutes.
This “rest and steam” period allows the moisture to redistribute evenly through each grain. If you fluff it immediately, the grains are often fragile and will break, leading to a mushy texture. After five minutes, use a fork to gently lift and separate the grains. You’ll see a noticeable difference in the height and lightness of the rice.
Phase Two: The Sear and Fond Development
To get that deep mahogany color, you need to trigger the Maillard reaction. When you add the beef to the hot oil, spread it out and then leave it alone. Don’t touch it for at least three or four minutes. You want the bottom to develop a dark, crispy crust that looks almost like a well-seared steak.
As the beef sears, it leaves behind “fond”—those little brown bits stuck to the bottom of the pan. This isn’t burnt food; it’s concentrated flavor. When you eventually add the broth, these bits will dissolve into the liquid, giving your chili a savory depth that you can’t get from a spice jar alone.
Once the bottom is browned, break the meat into small crumbles. Add your onions and garlic now. The moisture from the onions will help loosen some of that fond, and the fat from the beef will soften the aromatics until they are translucent and sweet.
Phase Three: Toasting Spices and The Tomato Bloom
This is the most critical phase for flavor development. Clear a small circle in the center of your pan, exposing the hot surface. Drop your tomato paste and spices right there. Stir them constantly for about two minutes. You’ll notice the aroma change from raw and sharp to toasted and savory.
The heat unlocks the essential oils in the cumin and paprika, which are fat-soluble. By toasting them in the beef fat before adding the broth, you ensure the flavor is carried throughout the entire dish. The tomato paste will darken from a bright red to a deep, rusty brick color, signaling that the natural sugars have caramelized.
Phase Four: The Reduction Simmer for Maximum Density
Most recipes tell you to cover the pot while simmering, but that’s how you end up with soup. We want to simmer this chili uncovered. This allows the water in the beef broth to evaporate, leaving behind a concentrated glaze. You’re looking for the liquid to reduce by about a third.
You’ll know it’s ready when you can pull a wooden spoon through the center of the pan and the sauce “tracks.” This means the sauce stays parted for a second before slowly flowing back together. This density ensures the chili sits proudly on top of the rice rather than soaking into it.
Troubleshooting Thin or Watery Chili
If you accidentally added too much broth and the sauce looks thin, don’t panic. The easiest fix is to take a few of the kidney beans and mash them against the side of the pan with your spoon. The natural starches inside the beans will act as a thickener, instantly tightening the sauce without changing the flavor.
If the sauce tastes too salty after the reduction, do not add water, as this will ruin the texture. Instead, add a small pinch of sugar or a little extra sour cream when serving. The fat and sweetness will help neutralize the perception of salt on your palate.
Flavor Variations and Protein Swaps
While lean beef is the classic choice, you can swap it for ground bison or lamb for a more sophisticated, gamey profile. Bison is incredibly lean, so you may need an extra teaspoon of oil. If you want to add a professional “secret ingredient,” stir in a teaspoon of unsweetened cocoa powder during the spice bloom. It adds a bitter, dark complexity similar to a Mexican mole.
Another great trick is adding a splash of leftover black coffee along with the beef broth. The acidity and roasted notes of the coffee enhance the “beefiness” of the meat and help darken the sauce to that coveted mahogany hue. It won’t taste like coffee; it will just taste more intense.
Plating for Visual Impact and Texture
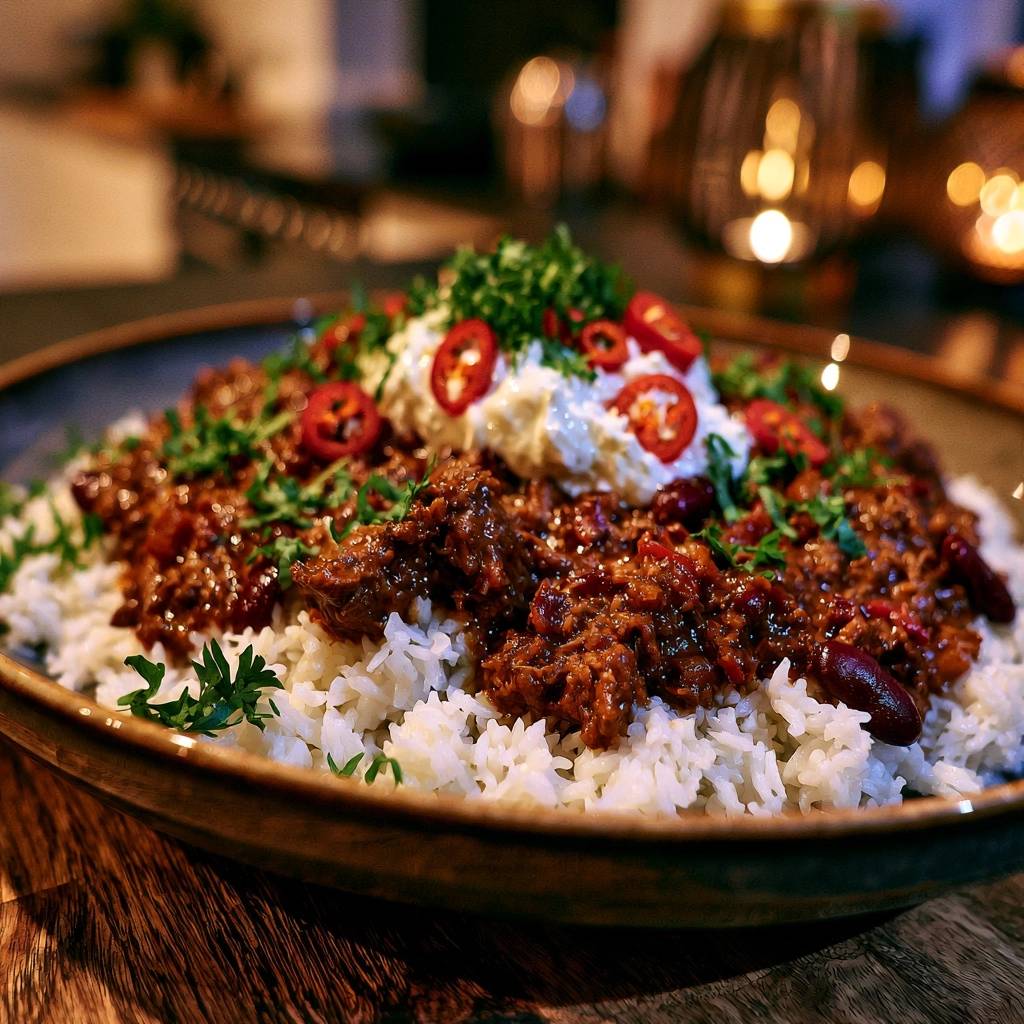
Presentation matters because we eat with our eyes first. Use a shallow bowl rather than a deep one. Create a wide, flat bed of rice and mound the chili right in the center. This keeps the rice visible around the edges, highlighting the contrast between the dark beef and the white grains.
Add a cold dollop of sour cream or Greek yogurt directly in the center of the hot chili. The temperature contrast is delightful. Finish with thinly sliced red chilies for a pop of color and a handful of fresh cilantro. The brightness of the herbs cuts through the richness of the reduced sauce perfectly.
Make Ahead Strategy and Storage
Chili is famous for tasting better the next day. As it sits in the fridge, the proteins continue to break down and the spices meld together, creating a more harmonious flavor. However, you must store the rice and the chili in separate airtight containers. If you store them together, the rice will act like a sponge and suck all the moisture out of your sauce.
The beef chili base freezes beautifully for up to three months. I recommend freezing it in individual portions so you can have a gourmet meal ready in minutes. The rice, however, doesn’t freeze as well and can become grainy, so it’s best to make a fresh batch of rice when you’re ready to eat your frozen chili.
Expert Preparation Troubleshooting
Why is my rice crunchy even after 15 minutes?
This usually happens because of steam loss. If your lid doesn’t fit tightly, the water evaporates before the rice can absorb it. If you’re at a high altitude, you may also need to add an extra 2-3 tablespoons of water and cook for an additional 5 minutes. Always ensure the pot stays covered during the resting phase to finish the softening process.
Can I use brown rice instead of white?
You can, but you’ll need to adjust your ratios and timing. Brown rice requires about 2 1/4 cups of water for every cup of rice and takes 40-45 minutes to cook. Keep in mind that brown rice has a nuttier, chewier texture that changes the mouthfeel of the dish, making it heartier but less “velvety” than the white rice version.
How do I dial back the heat without losing flavor?
The heat primarily comes from the chili powder and the fresh chili garnish. To keep the flavor but lose the burn, ensure you remove all seeds and white membranes from the red chili garnish. You can also increase the amount of sour cream or Greek yogurt stirred into your bowl, as the dairy proteins bind to the capsaicin and neutralize the heat.
My beef is grey, not brown—what happened?
Grey meat is a sign of steaming rather than searing. This happens if your pan isn’t hot enough when the meat goes in, or if you crowded the pan too much. If the meat releases a lot of liquid, drain it off, crank up the heat, and let the meat sit undisturbed until it actually fries in the remaining oil to develop that brown crust.
Is there a substitute for beef broth?
If you’re out of beef broth, mushroom stock is the best alternative because it provides a similar “umami” depth. You can also use a teaspoon of beef bouillon paste mixed with a cup of water. In a pinch, chicken broth works, but the color of the final sauce will be slightly lighter and the flavor less intensely savory.
Slow-Simmered Beef Chili over Fluffy Rice
Course: Main CourseCuisine: AmericanDifficulty: easy4
servings15
minutes45
minutes60
Minutes580
kcalAmerican
Ingredients
1 lb lean ground beef
2 cups long-grain white rice
1 can (15 oz) kidney beans, rinsed and drained
1 large onion, finely diced
3 cloves garlic, minced
3 tablespoons tomato paste
1 tablespoon chili powder
1 teaspoon ground cumin
1/2 teaspoon smoked paprika
1 cup beef broth
1 red chili pepper, sliced for garnish
1/2 cup thick sour cream or Greek yogurt
Fresh cilantro, finely chopped
2 tablespoons vegetable oil
Salt and pepper to taste
Directions
- To ensure your rice is never gummy, rinse it under cold water until the water runs clear. Combine 2 cups rice with 3 cups water and a pinch of salt in a pot. Bring to a boil, then reduce to a low simmer, cover, and cook for 15 minutes. Remove from heat and keep covered for 5 minutes to trap steam before fluffing with a fork.
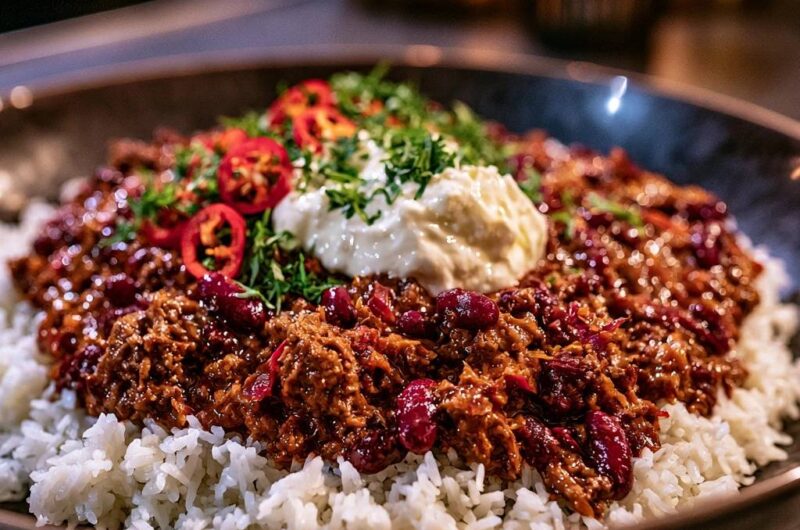
- Heat oil in a large heavy-bottomed skillet or Dutch oven over medium-high heat. Add the ground beef in a flat layer and let it sit undisturbed for 3-4 minutes. This “sear phase” develops the deep brown crust seen in the image and prevents the meat from steaming in its own juices.
- Once browned, break up the meat into small crumbles. Add the diced onions and garlic. Sauté for 5 minutes until the onions are soft and starting to caramelize.
- To fix thin sauce: Clear a space in the center of the pan and add the tomato paste, chili powder, cumin, and paprika. Stir the paste and spices directly against the hot pan surface for 2 minutes. This “blooms” the spices and toasts the tomato paste, which acts as the primary thickening agent for that jam-like consistency.
- Pour in the beef broth and add the kidney beans. Scrape the bottom of the pan to release all the browned bits (fond).
- Reduce heat to medium-low and simmer uncovered for 25 to 30 minutes. Simmering uncovered is essential; it allows the liquid to reduce significantly until the sauce is thick enough to coat the back of a spoon and hold its shape on the rice.
- Season generously with salt and pepper.
- To serve, create a wide bed of fluffy white rice in a shallow bowl. Mound the thick chili in the center. Top with a large, centered dollop of sour cream, fresh sliced red chilies, and a heavy sprinkle of chopped cilantro to match the visual presentation.
Notes
- To ensure the thickest consistency, simmer the chili uncovered to allow for liquid reduction. Rinsing the rice before cooking prevents it from becoming gummy or mushy.