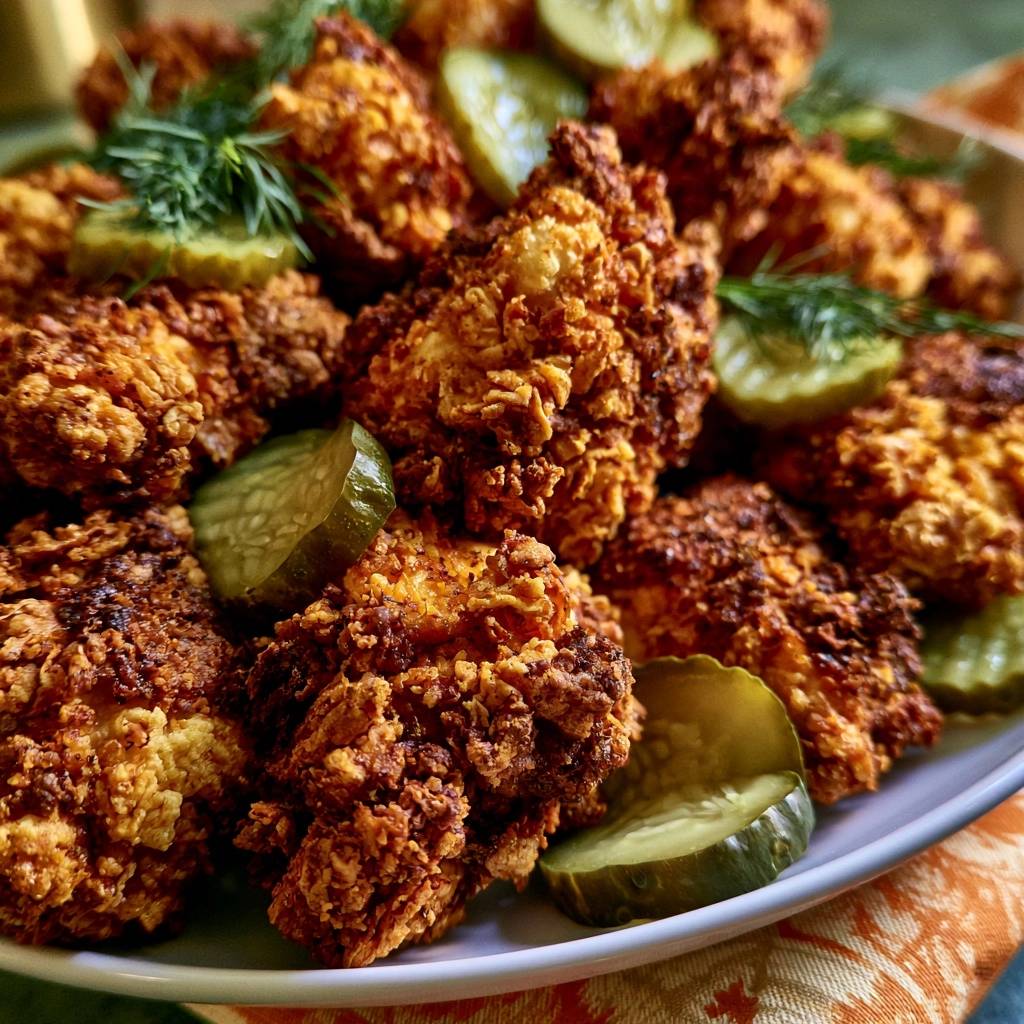
Stop settling for fried chicken that loses its crunch before it even hits the table. The biggest frustration with homemade nuggets is a coating that turns soft, greasy, and unappealing within minutes. This recipe solves that by using a triple-textured dredge technique combined with a high-heat fry that locks in moisture while creating a craggy, glass-like exterior.
By incorporating actual pickle brine into the marinade and crushed cornflakes into the flour, we ensure a shatteringly crisp bite that stays crunchy for hours. You’ll experience a punchy, acidic zing that cuts right through the richness of the fried coating. It’s a sensory experience that balances salt, tang, and an audible crunch in every single mouthful.
The secret to this professional-grade texture is the “hydration rest” before the chicken ever touches the oil. Most home cooks rush the bird from the flour bowl straight into the pan, which causes the breading to flake off. Letting the coated chicken sit for ten minutes allows the starches to bond to the protein, creating a permanent, armor-like crust that won’t budge.
The Science of the Pickle Brine Marinade
Brining isn’t just about adding flavor; it’s a chemical transformation of the meat. The acetic acid found in dill pickle juice acts as a gentle tenderizer, breaking down the tough protein fibers in the chicken thighs. This ensures that even after a trip through hot oil, the interior remains incredibly juicy and supple.
Furthermore, the salt content in the brine helps the chicken cells retain water through osmosis. When the heat hits the meat, the moisture stays locked inside rather than evaporating and leaving you with a dry, stringy nugget. You’ll notice the meat takes on a slightly pinkish hue from the brine, which is a sign of a deep, flavorful cure.
Timing is everything when it comes to this acidic bath. A 30-minute soak is the sweet spot for a quick weeknight meal, but two hours will give you that intense “dill-forward” profile. However, don’t let it sit overnight. If the chicken marinates for too long, the acid will over-process the proteins, resulting in a mushy, unpleasant texture that loses its structural integrity.
Essential Components for the Ultra-Crispy Coating
We use 1.5 pounds of chicken thighs because the higher fat content stands up better to the intense heat of frying compared to lean breast meat. Thighs stay moist and forgiving, providing a rich contrast to the sharp tang of the pickle juice. Cutting them into uniform 1.5-inch pieces ensures they cook through at the exact moment the crust reaches peak golden brown.
The spice blend is carefully calibrated to provide depth without overwhelming the dill notes. Paprika offers a beautiful sunset-orange glow to the finished crust, while garlic and onion powders provide a savory, aromatic backbone. A touch of cayenne pepper adds a subtle back-end heat that lingers on the tongue, perfectly balancing the cool acidity of the pickles.
Why Cornstarch and Cornflakes Beat Plain Flour
Standard all-purpose flour contains protein that develops gluten when it touches liquid, which can lead to a chewy, bread-like coating. By swapping a portion of that flour for cornstarch, we effectively “shorten” the crust. Cornstarch doesn’t develop gluten, resulting in a brittle, crispier shell that shatters when you bite into it.
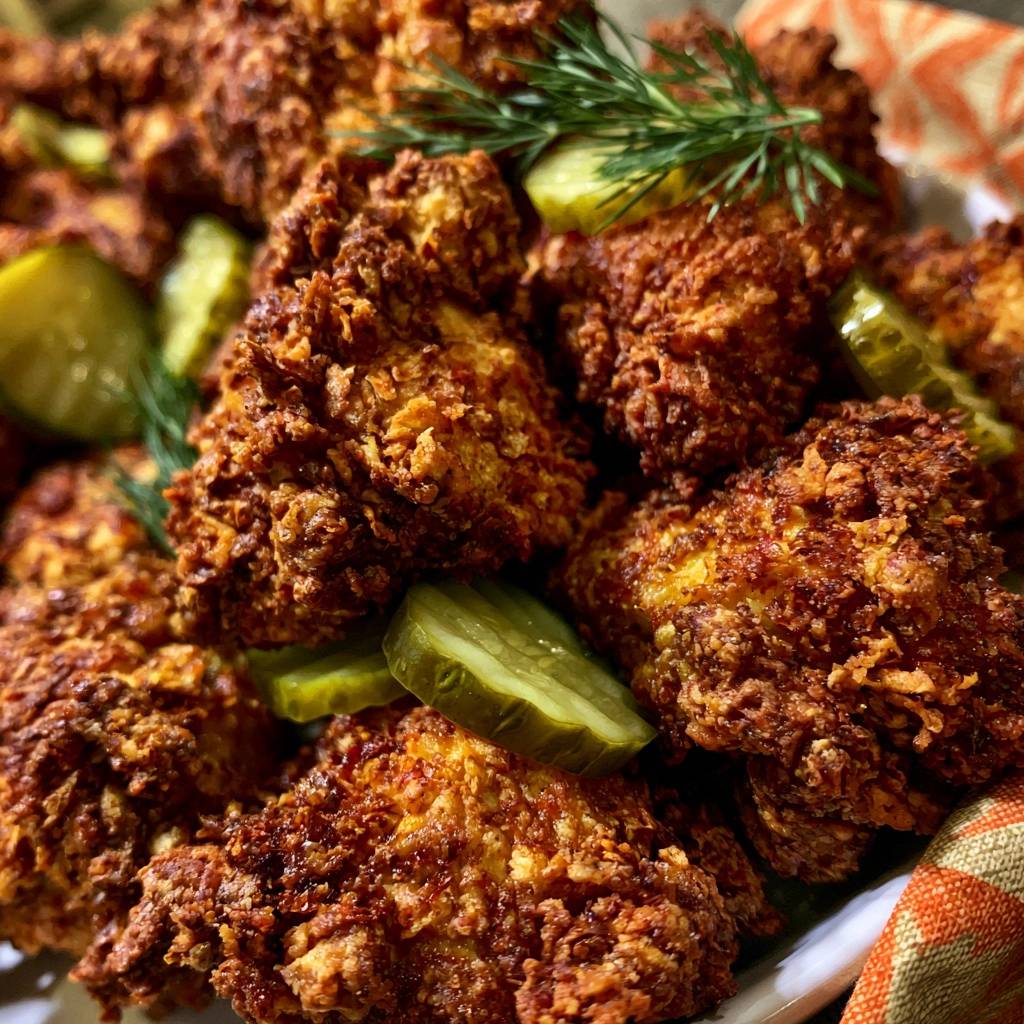
The real “anti-soggy” hero, however, is the crushed cornflakes. These flakes create mechanical “craggy ridges” and uneven peaks across the surface of the chicken. This massive increase in surface area means more places for the oil to crisp up, creating those signature nooks and crannies that hold onto extra flavor and provide maximum crunch.
The Role of Buttermilk and Egg Wash
Buttermilk is a classic frying staple for a reason. Its lactic acid provides a secondary layer of tenderization while its thick consistency helps the dredge adhere. By whisking in two tablespoons of the pickle brine, we layer the flavor profile directly into the “glue” of the recipe.
The addition of eggs to the buttermilk creates a sturdy protein binder. This mixture acts as the bridge between the initial flour dusting and the final heavy cornflake dredge. Without the eggs, the heavy crust would likely slide off the slick surface of the chicken during the vigorous bubbling of the frying process.
Step-by-Step: Achieving the Craggy Texture
Achieving that professional, craggy look requires a specific three-phase technique. First, you must pat the brined chicken completely dry with paper towels. If the meat is too wet, the flour will turn into a gummy paste rather than a light coating. This initial dredge in the flour and cornstarch mix creates a dry “primer” for the rest of the ingredients.
Next comes the hydration dip. Submerge the floured chicken into the buttermilk and egg wash, ensuring every crevice is covered. Lift the piece and let the excess drip off for a second. You want it coated, but not swimming in liquid, or the final layer will become a clumpy mess in your dry bowl.
The final press is where the magic happens. Toss the wet chicken into the cornflake and flour mixture and use your palms to firmly squeeze the coating onto the meat. This “squeeze” technique forces the dry bits into the wet wash, creating the irregular, bumpy texture that fries up into golden ridges. Don’t be afraid to be firm; you want that coating to become one with the chicken.
The Critical 10-Minute Resting Period
Once your chicken is perfectly breaded, place it on a wire rack and walk away for ten minutes. This is the most skipped step in home frying, yet it’s the most important. During this time, the moisture from the egg wash hydrates the starches in the flour and cornflakes.
This hydration creates a structural bond, essentially “gluing” the crust to the meat. If you drop the chicken into the oil immediately, the moisture inside the meat will turn to steam and push the coating away, causing it to fall off. A rested nugget is a successful nugget.
Mastering the High-Heat Fry Technique
Temperature management is the difference between a greasy nugget and a masterpiece. You need to maintain your oil at 350°F (175°C). At this temperature, the moisture in the crust evaporates instantly upon contact, creating a steam barrier that prevents the oil from soaking into the meat.
Therefore, you must fry in small batches. If you crowd the pan with too much cold chicken at once, the oil temperature will plummet. When the oil drops below 325°F, the chicken begins to boil in oil rather than fry, leading to a heavy, oil-logged crust that feels leaden in the mouth.
Choosing the Right Neutral Frying Oil
Peanut oil is the gold standard for this recipe because of its high smoke point and neutral flavor profile. It allows the delicate dill and garlic notes to shine through without adding any heavy aftertaste. If peanut allergies are a concern, canola oil is an excellent, affordable alternative that handles high heat well.
Avoid using unrefined oils like extra virgin olive oil or butter for this process. These fats have low smoke points and will burn long before the chicken is cooked through. Burnt oil will impart a bitter, acrid flavor to your beautiful cornflake crust, ruining the balance of the dish.
Troubleshooting Common Fried Chicken Failures
If your coating is falling off in the pan, it usually means the chicken was too wet before the first dredge or you skipped the 10-minute rest. Ensure you pat the meat dry and give the starches time to set. This bond is what keeps the “craggy” bits attached during the fry.
If the exterior is dark brown but the inside is still raw, your oil is too hot. Use a thermometer to stay at 350°F. Conversely, if the chicken looks pale and feels greasy, your oil is too cold. Always wait a minute or two between batches for the oil to return to the target temperature.
Optimal Cooling: Wire Racks vs. Paper Towels
Most people instinctively reach for paper towels to drain fried food, but this is a “steam trap” mistake. When hot chicken sits on a flat, absorbent surface, the heat trapped underneath creates steam. That steam has nowhere to go but back into the crust, turning your crispy bottom into a soggy mess.
Instead, use a wire cooling rack set over a baking sheet. This allows air to circulate 360 degrees around the chicken. The excess oil will still drip away, but the bottom of the nugget will stay just as shatteringly crisp as the top. This simple switch preserves the texture for much longer.
Side Dishes to Balance the Brine
Because this chicken is salty and tangy, you want side dishes that offer a creamy or sweet contrast. A cold, creamy coleslaw is the perfect partner, as the mayo-based dressing mellows the sharp vinegar of the dill. The crunch of fresh cabbage also echoes the crunch of the chicken crust.
Honey-drizzled biscuits or a side of charred corn on the cob also work beautifully. The natural sugars in the corn and the sweetness of the honey provide a “sweet and salty” dynamic that makes the pickle flavor pop. These pairings create a balanced plate that keeps your palate excited for the next bite.
Expert Tips for Storage and Reheating
If you have leftovers, store them in an airtight container in the fridge for up to three days. However, never use a microwave to reheat them. The microwave vibrates water molecules, which will turn that beautiful cornflake crust into a soft, rubbery skin in seconds.
To bring back the “ultra-crispy” status, use an air fryer or oven. Reheat at 375°F for about 5 to 7 minutes. This high heat re-activates the fats in the crust, crisping it back up without drying out the juicy thigh meat inside. It will taste almost as good as the moment it left the fryer.
Freezing Pre-Breaded Chicken Nuggets
You can actually prepare these nuggets in advance for a quick meal later. After the final press and the 10-minute rest, place the uncooked nuggets on a tray and freeze them for an hour. Once they are firm, transfer them to a freezer bag.
When you’re ready to eat, you can fry them directly from frozen. Just add an extra two minutes to the cook time and keep a close eye on the oil temperature. This is a fantastic way to have high-quality, homemade fried chicken ready at a moment’s notice.
Frequently Asked Questions
Can I use chicken breast instead of thighs?
Yes, you can use chicken breast, but you must be careful not to overcook it. Breast meat is much leaner and can become dry very quickly. I recommend cutting the pieces slightly larger and reducing the frying time by about 30 seconds to ensure the white meat stays juicy.
How do I keep the oil temperature consistent without a thermometer?
While a thermometer is best, you can use the “wooden spoon” trick. Dip the handle of a wooden spoon into the oil; if it bubbles steadily around the wood, it’s usually around 350°F. If it bubbles violently, it’s too hot. If only a few bubbles appear, let it heat up longer.
Is there a gluten-free substitute for the flour and cornflakes?
Absolutely. You can replace the all-purpose flour with a 1-to-1 gluten-free flour blend. For the crunch, use certified gluten-free cornflakes or crushed gluten-free rice cereal. The cornstarch is naturally gluten-free and will still provide that essential brittle texture you’re looking for.
Can this recipe be made in an Air Fryer?
Yes, though the texture will be slightly different. Spritz the breaded nuggets generously with oil spray on all sides. Air fry at 400°F for 12-15 minutes, flipping halfway through. The oil spray is crucial for getting that golden-brown color and preventing the flour from looking chalky.
How long does the leftover pickle juice last in the fridge?
Leftover brine from a jar of pickles can last for several weeks in the refrigerator as long as it stays contaminated-free. However, once you have used the brine to marinate raw chicken, you must discard it immediately. Never reuse brine that has touched raw poultry for any other purpose.
Ultra-Crispy Dill Pickle Fried Chicken
Course: Main CourseCuisine: AmericanDifficulty: easy4
servings20
minutes15
minutes35
Minutes480
kcalAmerican
Ingredients
1.5 lbs chicken thighs, cut into 1.5-inch bite-sized pieces
1 cup dill pickle juice (brine)
1/2 cup buttermilk
1 cup all-purpose flour
1/2 cup cornstarch
1.5 cups crushed cornflakes or Panko breadcrumbs (for the visual craggy texture)
1 tablespoon paprika
1 teaspoon garlic powder
1 teaspoon onion powder
1/2 teaspoon cayenne pepper
1 teaspoon black pepper
2 large eggs
Neutral vegetable oil for frying (Peanut or Canola)
Fresh dill sprigs for garnish
Sliced dill pickles for serving
Directions
- The Brine: Place the chicken pieces in a bowl and cover with the dill pickle juice. Let marinate for at least 30 minutes (up to 2 hours). This tenderizes the meat and infuses the pickle flavor directly into the protein.
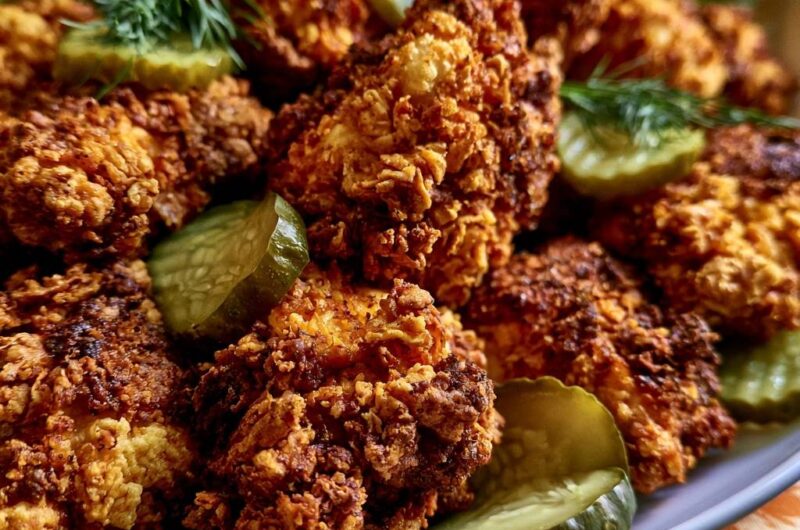
- The Dry Mix: In a shallow bowl, whisk together the flour, cornstarch, crushed cornflakes, paprika, garlic powder, onion powder, cayenne, and black pepper. The cornstarch prevents gluten development, while the crushed flakes provide the deep, craggy ridges seen in the image.
- The Wet Mix: In a second bowl, whisk the eggs and buttermilk together. Add 2 tablespoons of the pickle brine to this mixture for extra tang.
- The Craggy Coating: Remove chicken from the brine and pat dry with paper towels. Dredge in the flour mixture, dip into the egg wash, and then press firmly back into the flour/cornflake mixture. Squeeze the coating onto the chicken to create those signature “nooks and crannies.”
- The Set: Let the coated chicken rest on a wire rack for 10 minutes before frying. This allows the starches to hydrate, ensuring the coating bonds to the chicken and doesn’t fall off in the oil.
- The Fry: Heat 2 inches of oil in a heavy skillet or Dutch oven to 350°F (175°C). Fry the chicken in small batches to avoid dropping the oil temperature. Fry for 4 to 5 minutes, turning once, until the exterior is deep golden brown and the internal temperature reaches 165°F.
- The Drain: Drain on a wire rack set over a baking sheet rather than paper towels. Air circulation around the entire nugget prevents steam from softening the bottom, keeping it ultra-crispy.
- Serve: Garnish generously with fresh dill sprigs and extra pickle slices as shown in the image. Serve immediately.
Notes
- Draining on a wire rack instead of paper towels is essential to prevent steam from softening the bottom of the chicken.