For years, I struggled to replicate that perfect crunchy-bottom texture found only in the best takeout kitchens; my wrappers were always sticky or gummy.
The secret is a reliable two-step cooking method that guarantees perfectly crisp Restaurant-Style Potstickers every time, moving beyond traditional methods.
This approach transforms frozen gyoza into a masterpiece, giving you the satisfying, iconic crunch paired with a perfectly tender, steamed filling.
Ditch the Takeout: Why This Potsticker Method Changes Everything
Solving the Gummy Wrapper Dilemma
Traditional steaming methods often lead to wrappers that are unevenly cooked, resulting in a thick, gummy texture on top.
The two-step method uses a precise amount of water, ensuring all moisture evaporates completely, leaving the bottom free to dry out and crisp up beautifully during the final phase.
Speed and Simplicity: Restaurant Quality in Under 20 Minutes
This recipe requires only 5 minutes of prep and 12 minutes of active cooking time for a total of 17 minutes.
It’s a truly rapid solution for high-quality weeknight meals, leveraging the speed of frozen dumplings without sacrificing premium texture.
The Golden Ratio: Crunchy Bottoms and Perfectly Steamed Tops
The technique precisely balances the initial high-heat searing phase with the immediate, controlled steaming phase.
This critical transition ensures the bottom is deeply golden and crunchy while the top wrapper remains delicately tender and the filling is fully cooked.
Preparation Foundation: Essential Tools and Ingredients
The Critical Equipment for a Perfect Sear
A large, high-quality nonstick skillet is non-negotiable for this recipe to handle the drastic temperature changes without causing adhesion.
Crucially, you must use a tight-fitting lid to trap steam effectively; any steam leakage slows the cooking process and ruins the potential wrapper texture.
Selecting the Best Frozen Dumplings or Gyoza
Look for dumplings or gyoza with moderately thin wrappers, as thicker ones take too long to crisp and risk burning during the final uncovered phase.
Whether you choose chicken or vegetable filling, ensure the dumplings are uniformly flat on one side for maximum contact with the hot oil.
Simple Kitchen Staples for the Sealing Phase
-
Neutral Cooking Oil:
Use a high smoke point oil like vegetable, canola, or grapeseed; this prevents the oil from breaking down and smoking during the initial high-heat sear.
-
Cold Water:
The water MUST be cold. Pouring cold water into the hot oil creates a necessary thermal shock and rapid, intense steam release, which kickstarts the uniform cooking process.
Mastering the Crispy Bottom: Your Two-Step Cooking Formula
-
Prep the Sear: Achieving the Shimmering Oil
Heat your nonstick skillet over medium-high heat. Add the neutral oil and wait until it begins to subtly shimmer-this visual cue indicates the perfect temperature to prevent adhesion.
Carefully place the frozen dumplings flat-side down, making sure there is absolutely no touching between pieces. Spacing is crucial for even heat distribution and crisping.
-
Initial High-Heat Sizzle (2 to 3 Minutes)
Cook the dumplings undisturbed for 2 to 3 minutes. Do not move or adjust them during this time; you need a stable, continuous sizzle.
This initial sear develops the foundation of the crust, and the bottoms should transition to a very light, delicate golden color.
For more guaranteed crunch, check out these crispy chicken and veggie dumplings.
-
Phase One: The Crucial Steam Immersion
Immediately pour the cold water into the hot pan-the steam will erupt heavily. This rapid, aggressive steam generation is correct and necessary to cook the filling from frozen.
Quickly and tightly cover the skillet to trap all the steam, then immediately reduce the heat to medium-low. Steam the dumplings for 6 to 8 minutes until the top wrappers appear translucent.
-
Phase Two: The Uncovered Crisp-Up
Carefully remove the lid to release the pent-up steam, and immediately increase the heat back to medium-high.
This is the essential crisp phase: water evaporation allows the remaining oil to return to frying temperature, allowing the bottoms to dry out completely.
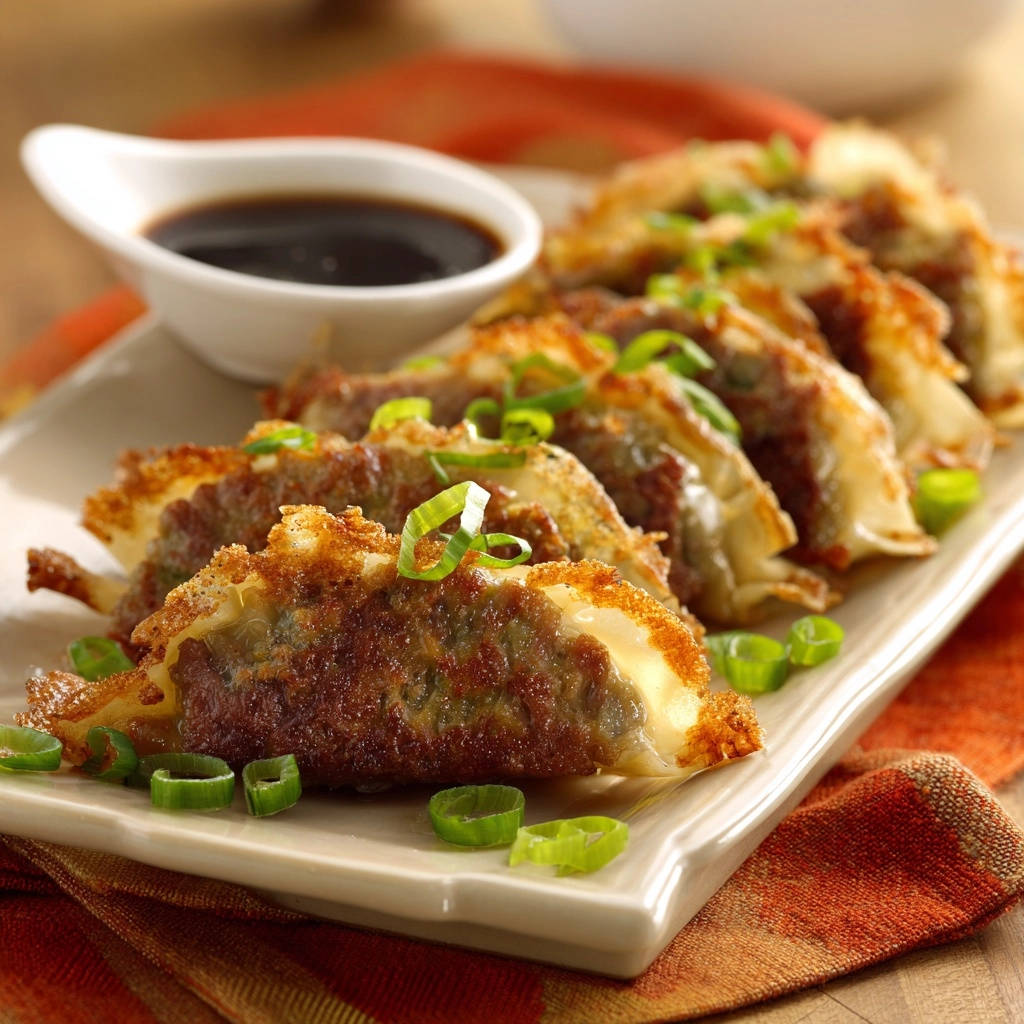
Continue cooking for 2 to 4 minutes until the bottoms are a deep golden brown and you hear a distinct, sharp sizzling sound indicating maximum crunch.
-
The Stress-Free Release and Finishing Touch
Use a thin metal spatula to gently loosen the dumplings. They should release immediately without tearing, confirming the successful execution of the two-step method.
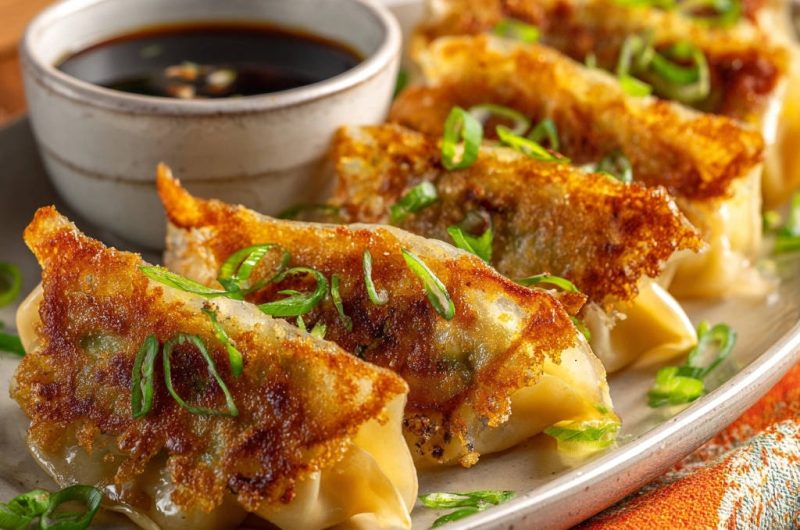
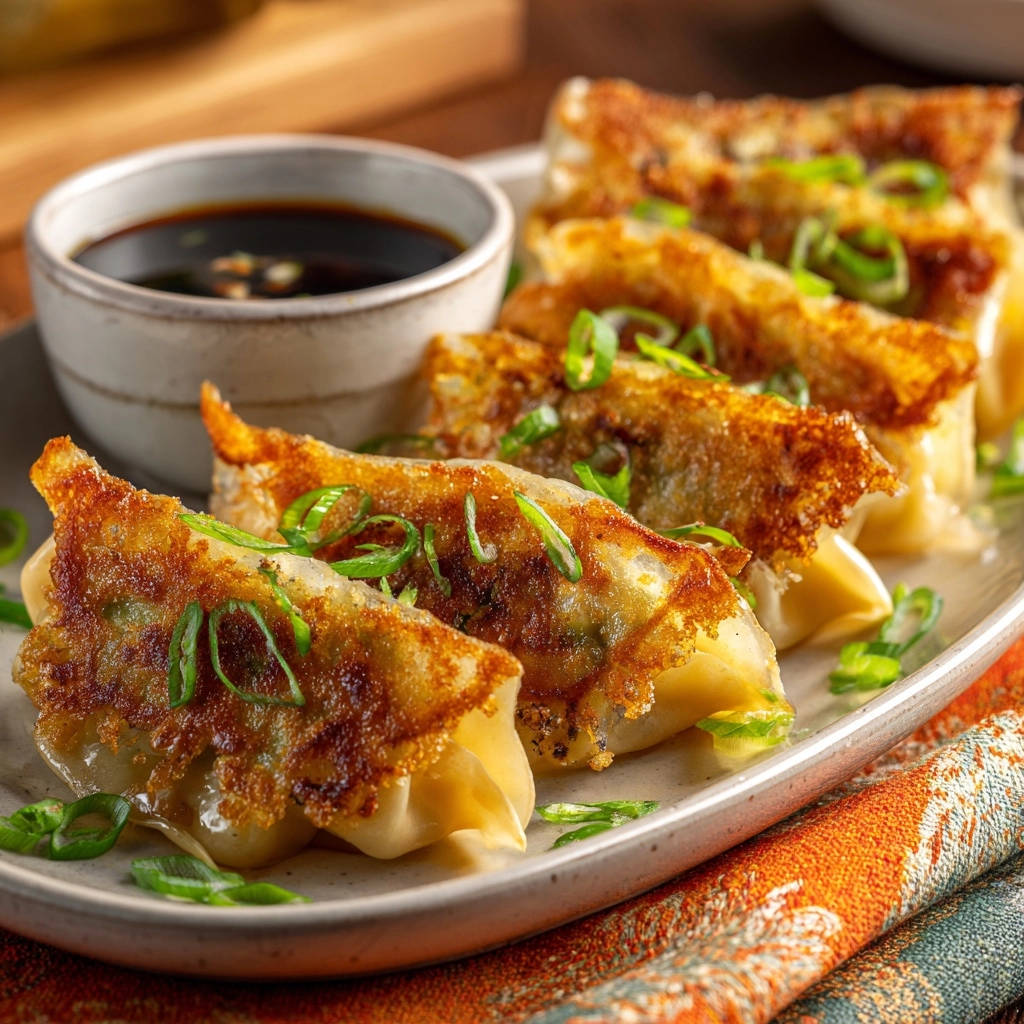
Arrange your finished Restaurant-Style Potstickers crispy side up for the best possible presentation and texture contrast.
Elevating the Experience: The Ultimate Dipping Sauce Trio
Understanding the Classic Soy-Vinegar Balance
The dipping sauce starts with the classic pairing of soy sauce, which provides rich umami depth, and rice vinegar, which introduces essential acidity and brightness.
This balance of savory and tangy flavors cuts through the richness of the potsticker filling and perfectly complements the fried wrapper texture.
Adjusting Heat and Aromatics: Chili Flakes and Sesame Oil
A small addition of sesame oil is essential, providing a deep, complex, nutty aroma that defines authentic Asian dumplings.
For an extra layer of nutty depth, explore these sticky sesame glazed chicken thighs.
Chili flakes are entirely optional but provide a welcome layer of customizable heat. Use them sparingly for a gentle warmth or more boldly for a significant kick.
Presentation Matters: Garnishing and Serving Suggestions
Garnish the finished plate generously with thinly sliced scallions immediately after cooking for a burst of fresh color and flavor.
Complementary Dishes to Try
If you enjoyed these potstickers, consider these fresh and flavorful options to round out your meal.