
I know the disappointment of cutting into a beautiful pie only to see the filling collapse into a watery mess. That challenge drove me to refine one simple, transformative technique that solves the runny pie problem completely, ensuring a set slice every single time.
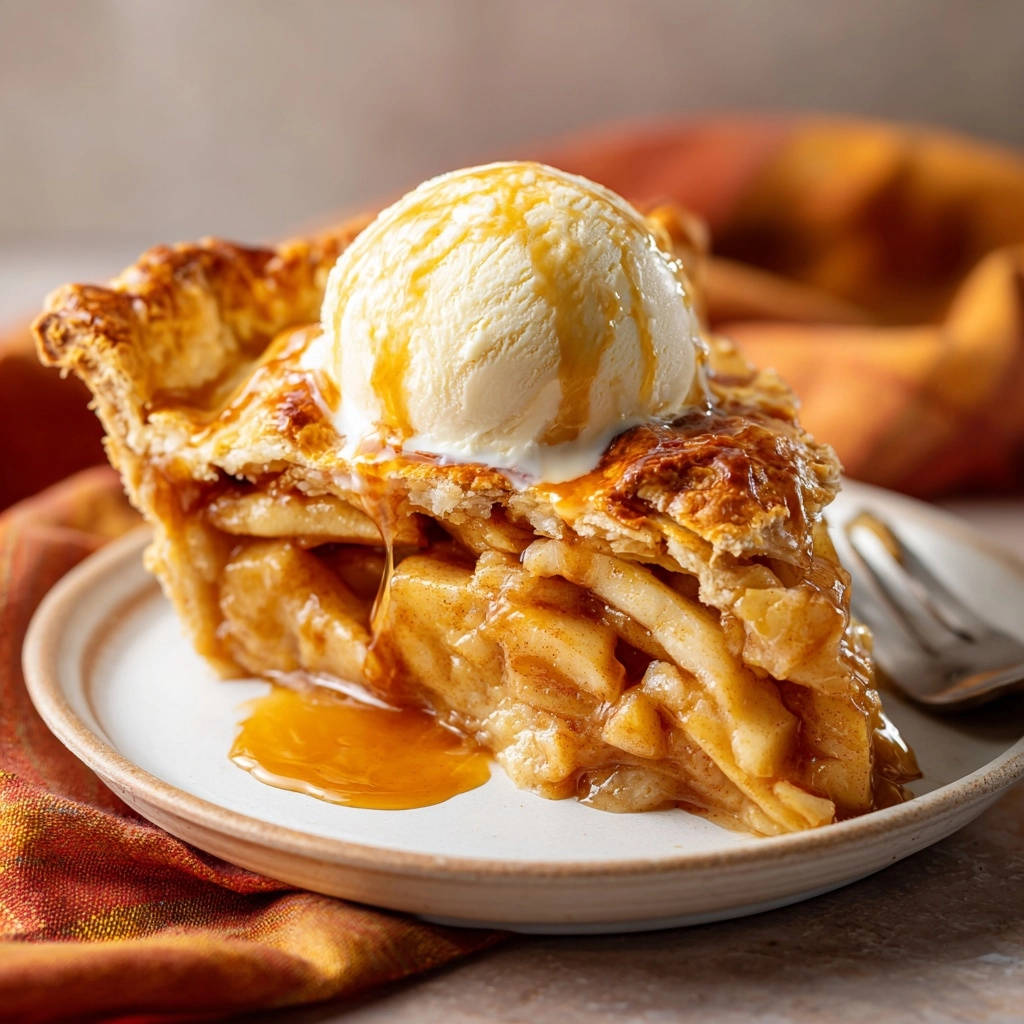
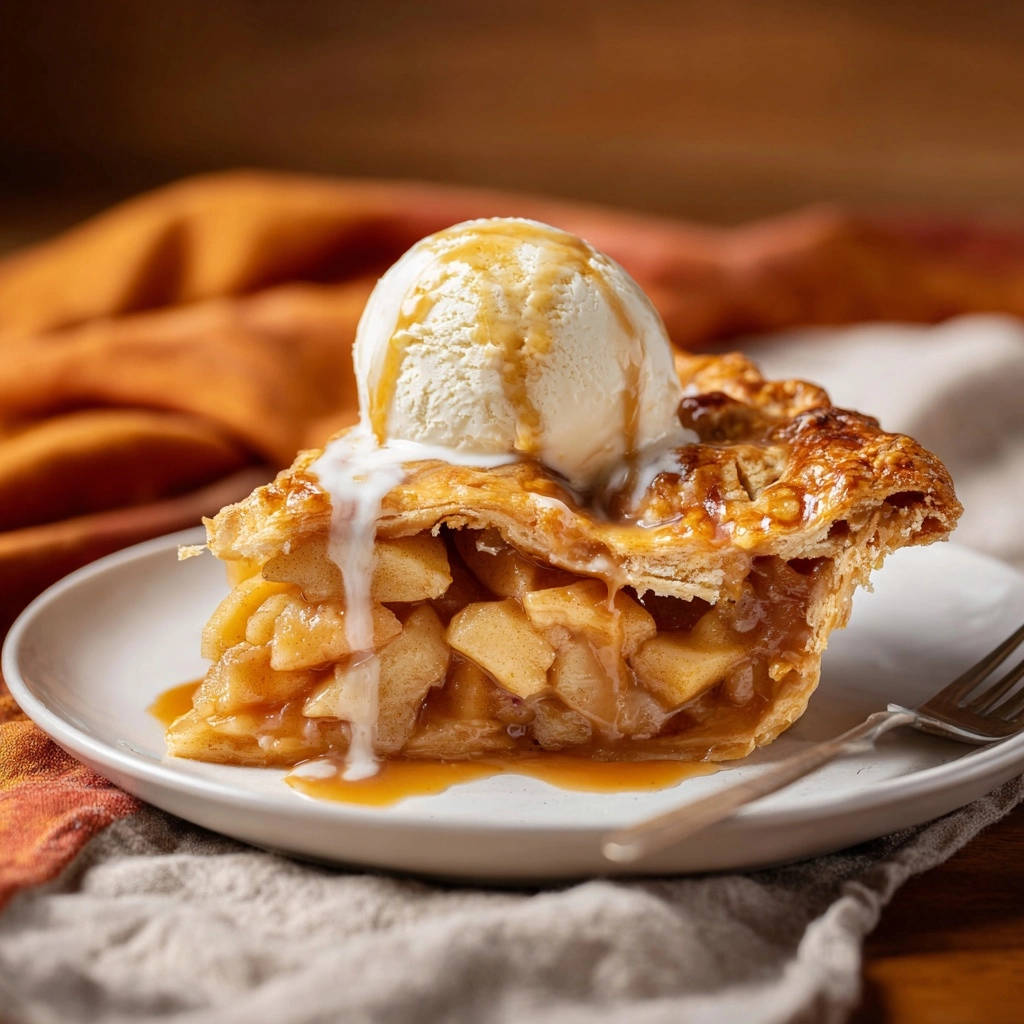
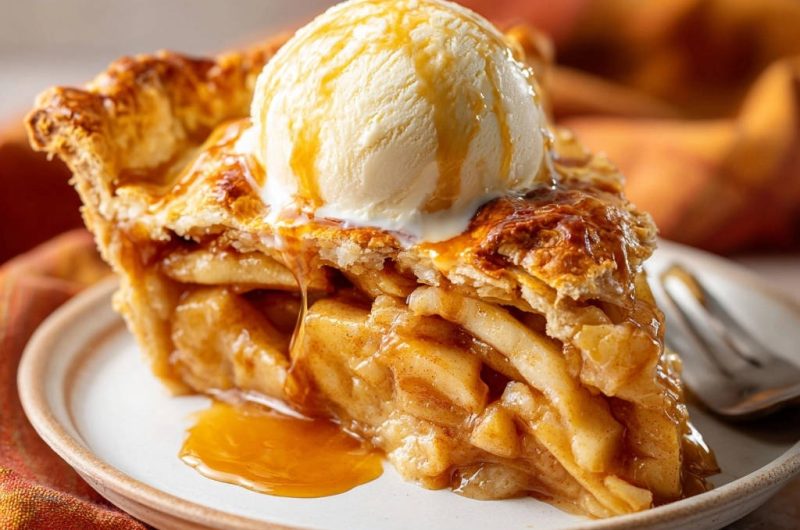
This guaranteed method delivers the structure and rich, caramel flavor necessary for a perfect Bakery-Style Apple Pie, allowing you to achieve professional results at home.
For a similar rich treat, explore how to achieve walnut fudge brownies with our strategy.
The ‘Never Watery’ Secret of True Bakery-Style Apple Pie
Why Standard Apple Pie Fillings Collapse
The main culprit is the high moisture content within fresh apples. When heated rapidly inside the crust, the water quickly turns to steam, creating a loose filling and a soggy bottom crust.
Traditional baking relies solely on the thickener (flour or cornstarch) to absorb this liquid, but the speed of moisture release often overwhelms it, resulting in structural failure.
The Magic of Pre-Cooking: Controlling Moisture and Flavor
Briefly cooking the sliced apples in a skillet forces them to release their excess moisture outside of the pie shell before assembly.
This not only controls the liquid that would cause a runny pie but also jump-starts the thickening process and aids in the caramelization of the sugars, deepening the overall flavor profile significantly.
Building the Best: Ingredients for Superior Crust and Filling
Achieving the Flaky Double Crust: Essential Techniques
The key to flakiness lies in keeping the butter cubes cold-aim for pea-sized chunks mixed with coarse crumbs.
These pieces of cold fat melt during baking, creating steam pockets that lift the dough layers for a shatteringly crisp texture.
Handle the dough minimally; overworking it develops gluten rapidly, leading to a tough, dry crust instead of a tender, flaky one.
Selecting the Perfect Apple Blend for Structure and Flavor
A mix is mandatory: use firm, tart apples like Granny Smith for necessary acidity and structure that prevents mushiness during the long bake.
Balance this with sweeter, softer-textured apples like Honeycrisp or Fuji for complexity and depth of flavor.
The Role of Sweeteners and Thickeners
The combination of granulated and light brown sugar adds depth; brown sugar provides molasses notes essential for that rich, ‘bakery-style’ caramel flavor.
Using all-purpose flour results in a sturdy, opaque filling, whereas substituting cornstarch yields a clearer, glossier finish and often requires slightly less quantity.
For a similar smooth texture, explore creamy eggnog custard pie.
Gear Guide: Essential Tools for Perfect Pie Crafting
The Importance of a Quality 9-inch Pie Plate
Metal conducts heat quickly, ensuring a brown bottom crust, while ceramic or glass holds heat longer, allowing visual monitoring of the color.
Complementary Flavors
To round out your bakery-style apple pie experience, consider these sweet and satisfying options.
- For a breakfast treat that echoes the warm spices of your pie, try these Cinnamon Sugar Jam-Filled Waffles.
- If you enjoy the puffed texture and apple goodness, you’ll appreciate the airy rise of this Apple Dutch Baby Pancake.
Pastry Blender vs. Fingertips: Cutting in the Butter
A pastry blender keeps the butter coldest and fastest, perfect for beginners; using fingertips is fine but requires very cold hands and efficiency to prevent melting the fat.
Rolling Pin and Bench Scraper
Use a sturdy rolling pin to achieve a consistent 1/8-inch thickness for even baking, and a bench scraper helps lift and transfer the delicate dough without tearing.
From Dough to Dessert: A Detailed Guide to Assembling Your Masterpiece
Phase 1: Preparing and Chilling the Butter-Rich Dough
- Combining Dry Ingredients and Cutting in Butter:
Incorporate the butter until the mixture looks like coarse sand, ensuring those key pea-sized butter chunks remain visible for flakiness.
- Adding Ice Water and Forming Disks:
Add the ice water slowly, mixing just until the dough barely clumps together-this minimum mixing prevents gluten development and maintains tenderness.
- The Mandatory Chill Time:
Chilling for at least one hour is non-negotiable; it relaxes the gluten tightened during mixing and firms up the butter, making the dough easy to roll without sticking.
Phase 2: The Transformative Pre-Cooked Apple Filling (Crucial Step)
- Tossing the Ingredients to Coat:
Ensure every apple slice is thoroughly coated with the sugar, spice, and thickener mixture before cooking to distribute the thickening agents evenly.
- The Skillet Transfer and Moisture Release:
Cook the coated apples over medium heat for 7 to 10 minutes, stirring occasionally, until the released liquid starts to bubble and thicken slightly.
This step explicitly releases the excess water that would otherwise lead to a soggy bottom, guaranteeing a sturdy, set slice of Bakery-Style Apple Pie.
- Cooling the Filling Completely:
Remove the mixture from heat, stir in the tablespoon of butter for richness, and ensure the filling cools completely to room temperature before proceeding.
Warm filling risks melting the cold butter in the raw pie crust, compromising the final flakiness.
Phase 3: Rolling, Fitting, and Crimping the Perfect Seal
- Rolling the Bottom Crust and Fitting the Plate:
Roll the dough evenly and gently fit it into the 9-inch plate, ensuring a full 1-inch overhang for proper sealing.
- Adding the Cooled Filling:
Pour the pre-cooked apples into the crust, packing them snugly but without crushing the slices to maintain an even pie height.
- Topping, Venting, and Sealing the Pie:
Place the top crust over the apples, trim the edges, and crimp or flute the overhang tightly to form a robust, airtight seal.
Cutting several vents (slits) in the top crust is critical; these openings allow steam to escape efficiently, preventing pressure buildup and a blown-out crust.
Phase 4: Mastering the Two-Temperature Bake for Golden Perfection
- The High-Heat Start (425°F):
Bake at the high temperature for the first 15 minutes. This quickly sets the crust structure, ensuring the fat puffs up and the edges solidify.
- Reducing Heat (375°F) and Finishing the Bake:
Lower the heat and bake for an additional 45 to 55 minutes until the crust is deeply golden brown and the filling visibly bubbles thickly in the center vents.
- The Final, Critical Cooling Period:
Allow the pie to cool completely on a rack for a minimum of 3 to 4 hours after baking.
This long wait time is absolutely essential because the thickener only fully sets after the pie cools, ensuring that perfect structural set slice.
Expert Tips and Troubleshooting for Pie Success
Why Cooling is Non-Negotiable: The 3-Hour Wait
If you slice the pie while it is still warm, the thickeners are not yet fully activated, leading to a runny serving regardless of your pre-cooking efforts.
Patience is the final ingredient for achieving professional structural integrity; the 3 to 4-hour cool guarantees the slice holds its architectural form.
Preventing Burned Edges: When and How to Apply Foil
If the crust edges begin to darken prematurely, typically around 30 to 40 minutes into the bake, create a ring or strip of aluminum foil.
Place this foil shield loosely around the pie’s perimeter to deflect the direct heat, allowing the center to finish baking without scorching the fragile crust.
Customizing the Topping: Egg Wash vs. Cream Wash
An egg wash (beaten egg mixed with a splash of water or milk) provides a high sheen and promotes a rich, deep golden-brown color.
A simple brush of cream or milk provides a softer, matte finish and a less intense golden hue.
Troubleshooting: My Bottom Crust is Still Soggy!
A soggy bottom crust, despite pre-cooking, often means the filling was not cooled completely or the pie plate material failed to transfer sufficient heat.
Ensure the pie bakes on the lowest rack or a preheated baking steel for maximum heat transfer to the base.
Serving, Storing, and Enjoying Your Perfect Apple Pie
Make-Ahead Tips: Preparing Components Days in Advance
Dough disks can be wrapped tightly and refrigerated for up to 3 days or frozen for up to 3 months for ultimate convenience.
The pre-cooked apple filling stores beautifully in an airtight container in the refrigerator for up to 2 days, making day-of assembly incredibly fast.
The Best Way to Store Leftovers and Reheat Slices
Cover leftover pie loosely and refrigerate for up to 4 days; avoid wrapping too tightly, as moisture buildup can cause the crust to soften.
Reheat individual slices in a toaster oven or standard oven (350°F) for about 10 minutes to restore the crust’s delightful crispness.
Classic Pairings: Beyond Vanilla Ice Cream
While vanilla ice cream is traditional, try serving your pie with a drizzle of homemade salted caramel sauce or a generous slice of sharp cheddar cheese melted atop the warm slice.
A dollop of spiced whipped cream, perhaps infused with maple syrup, also elevates this perfect Bakery-Style Apple Pie beautifully.
Frequently Asked Questions About Apple Pie Baking
Can I Use Cornstarch Instead of Flour in the Filling?
Yes, cornstarch creates an acceptable, clearer, and glossier filling, but you should use approximately half the amount of cornstarch compared to the flour specified in the recipe.
Can I Bake the Pie in a Glass Dish?
Absolutely. Glass conducts heat more gently than metal, which helps prevent a scorched bottom, and it allows you to visibly monitor the bottom crust’s progress throughout the bake.
Is Blind Baking the Bottom Crust Necessary for This Recipe?
No. Because the pre-cooking technique has already removed the majority of excess moisture from the apples, blind baking is rendered unnecessary, saving a crucial step and time.
Why Do I Need Two Different Baking Temperatures?
The initial 425°F blast quickly sets the crust’s structure and achieves maximum flakiness before the filling gets too hot.
Reducing the temperature to 375°F allows the apples sufficient time to soften fully and the filling to achieve the necessary internal temperature without the top crust burning.
Stop fearing the watery slice and embrace this proven pre-cooking method. Once you experience the perfect structural integrity of this amazing Bakery-Style Apple Pie, you’ll never go back to the traditional, moisture-risk method. Enjoy your masterpiece!
Apple Pie
Course: DessertCuisine: AmericanDifficulty: medium8
servings35
minutes1
hour5
minutes450
kcal60
minutesNever suffer a runny apple pie filling again! This recipe features a critical pre-cooking technique that solves the watery mess problem, guaranteeing a thick, caramel-laced filling that holds its shape perfectly. Achieve that professional, bakery-style slice at home.
Ingredients
For the Crust (Makes 2 Disks, for a Double Crust Pie):
2 1/2 cups all purpose flour
1 teaspoon salt
1 cup (2 sticks) cold unsalted butter, cubed
1/2 cup ice water
For the Filling:
6 medium baking apples (like Granny Smith and Honeycrisp mix), peeled, cored, and sliced 1/4 inch thick
3/4 cup granulated sugar
1/4 cup light brown sugar, packed
1/4 cup all purpose flour (or substitute cornstarch for a glossier finish)
1 teaspoon ground cinnamon
1/2 teaspoon nutmeg
2 tablespoons fresh lemon juice
1/4 teaspoon salt
1 tablespoon unsalted butter
For Assembly and Topping:
1 large egg, beaten (for egg wash)
1 tablespoon coarse sugar (like turbinado), optional
Vanilla ice cream and caramel sauce, for serving
Directions
- Prepare the Crust: Combine flour and salt in a large bowl. Cut in the cold butter using a pastry blender or your fingertips until the mixture resembles coarse crumbs with some pea sized pieces of butter remaining. Gradually add ice water, one tablespoon at a time, mixing gently until the dough just comes together. Divide the dough into two flat disks, wrap each tightly in plastic wrap, and chill for at least 1 hour.
- The Thick Filling Technique (Solving the Watery Issue): Place the sliced apples, sugars, flour, cinnamon, nutmeg, lemon juice, and salt into a very large bowl. Toss everything thoroughly to coat. Transfer the apple mixture to a large skillet. Cook the apples over medium heat for 7 to 10 minutes, stirring occasionally, until they have slightly softened and the liquid released by the apples has started to bubble and thicken slightly. This step releases the excess moisture before it can steam and ruin the bottom crust during baking. Remove from heat and stir in the 1 tablespoon of butter. Let the filling cool to room temperature.
- Assemble the Pie: Preheat oven to 425 degrees F. On a lightly floured surface, roll out one disk of dough and carefully fit it into a 9 inch pie plate. Trim the edges, leaving a 1 inch overhang. Pour the cooled, pre-cooked apple filling into the prepared crust.
- Top and Seal: Roll out the second disk of dough. Place it over the apples. Trim the edges and crimp or flute to seal the top and bottom crusts together. Cut several vents (slits) in the top crust to allow steam to escape.
- Bake: Brush the top crust with the beaten egg wash and sprinkle with coarse sugar, if desired. Place the pie on a baking sheet to catch any drips. Bake at 425 degrees F for 15 minutes.
- Finish Baking: Reduce the oven temperature to 375 degrees F. Continue baking for an additional 45 to 55 minutes, or until the crust is deeply golden brown and the filling is bubbling thickly in the center vents. If the edges begin to brown too quickly, cover them loosely with aluminum foil.
- Cool: This step is critical for structure. Let the pie cool completely on a wire rack for at least 3 to 4 hours before slicing. This allows the thickened filling to fully set up and hold its perfect shape when served. Serve warm with vanilla ice cream and a drizzle of caramel sauce.
Notes
- The crust requires at least 1 hour of chilling time. Allow the finished pie to cool completely (3-4 hours) before slicing for the filling to fully set.


