
I spent years battling flat, disappointing spreads until I realized temperature control was the secret to truly great cookie texture. This recipe for Classic Chocolate Chunk Cookies finally cracked the code, transforming them into irresistibly thick, chewy rounds every single time.
It relies on a mandatory chill step that guarantees structural integrity and delivers the ultimate, bakery-style chewiness we all crave.
Beyond Basic: Why This Classic Chocolate Chunk Cookies Recipe Cracks the Code
This method solves the perennial problem of cookie spread by focusing intensely on the stability of the dough structure before baking.
For another approach to chewy centers, you might explore frosted matcha cookies.
We utilize a precise butter-to-sugar ratio combined with a specific mixing and chilling sequence to optimize results.
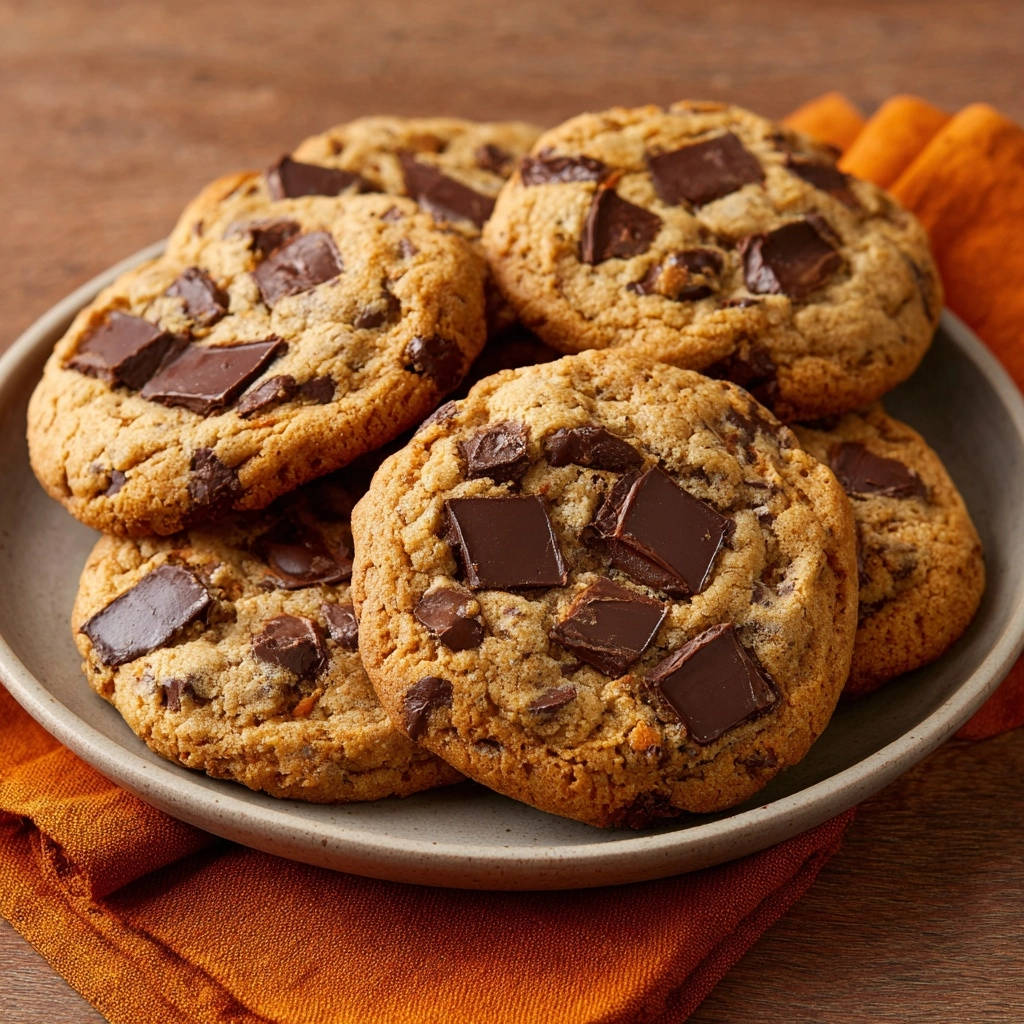
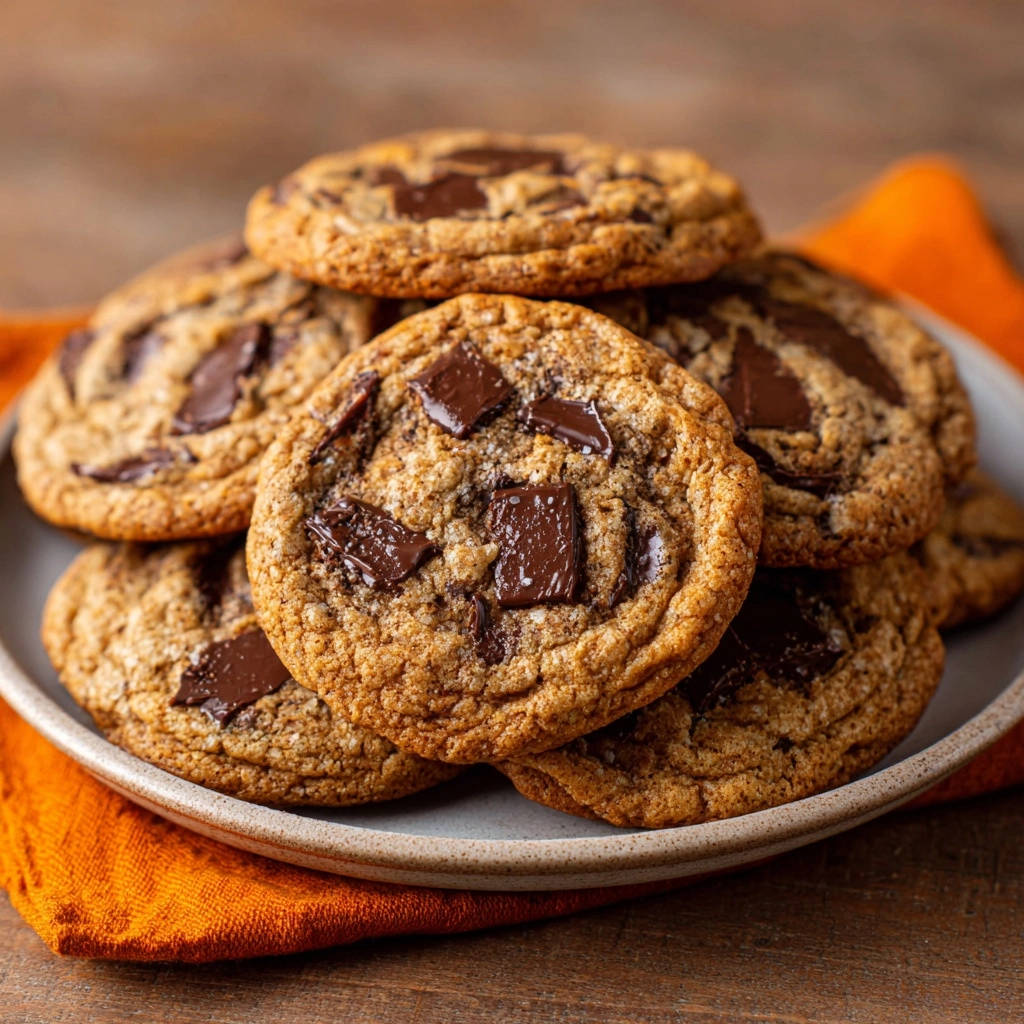
The resulting cookies are perfectly balanced, featuring a rich, buttery flavor, intensely chewy centers, and beautifully golden, slightly crisp edges.
The Anti-Spread Technique: Guaranteeing Thick, Chewy Results
The mandatory chill is scientifically proven to prevent premature spreading in the oven. When the butter softens during mixing, chilling the scooped dough for a minimum of two hours allows the fat to resolidify completely.
This means the butter melts much slower in the hot oven, giving the flour and leavening agents the necessary time to set the structure.
Dough hydration also improves during this extended period, concentrating the flavor and ensuring a perfectly thick final cookie.
The Perfect Texture Balance: Chewy Center, Golden Edges
Achieving that coveted chewy center requires pulling the cookies out when they look slightly underdone in the middle.
The edges should be deeply golden, but the centers must still appear noticeably soft and pale.
Allowing them to rest on the hot baking sheet for five minutes initiates the crucial residual cooking process, which locks in the moist interior while ensuring the edges are set and structurally sound.
Essential Gear for Your Classic Chocolate Chunk Cookies Adventure
Stand Mixer or Hand Mixer
This tool is essential for the creaming phase, allowing butter and sugars to incorporate enough air for a light and fluffy dough structure.
Parchment Paper or Silicone Mats
Non-negotiable for consistent baking, parchment paper prevents sticking and ensures easy cleanup, promoting an even bake across the bottom of the cookies.
Cookie Scoop (2 Tablespoon Size Recommended)
A standardized scoop ensures every cookie is uniform in size, guaranteeing even baking times across the entire batch for flawless results.
Mastering the Ingredients: Building Blocks of Flavor
Success starts with understanding how each component interacts, moving beyond simple measurements to optimize flavor and structure.
We are focused on selecting ingredients that work synergistically to create the ultimate texture profile in these incredible thick cookies.
The Fat Foundation: The Right Ratio of Butter and Sugars
We use softened, never melted, butter because it holds the tiny air pockets created during the creaming process, which is vital for the cookie’s rise.
The balanced 1:1 ratio of granulated and brown sugar is purposeful, controlling both crispness and moisture.
- Unsalted Butter, Softened
This provides rich flavor and the structural base; using butter that is properly softened allows for optimal air incorporation during creaming.
- Granulated Sugar
It contributes to the slight spread of the cookie and ensures the signature crispness of the cookie edges.
- Packed Light Brown Sugar
This ingredient contains molasses, which adds necessary moisture, deep flavor depth, and is essential for achieving the signature chewiness.
Flour, Salt, and Leavening: Achieving the Perfect Rise
Proper incorporation of the dry ingredients prevents dense, tough cookies. Accuracy is crucial here, especially when measuring flour.
Too much flour is the fastest route to a dry and crumbly result, so precision is key.
- All-Purpose Flour and Measuring Tips
Always use the spoon-and-level method to avoid compacting the flour; scooping directly from the bag leads to over-measurement.
- Baking Soda and Salt Synergy
Baking soda is our leavening agent, relying on the acidic brown sugar for activation and rise. Salt balances the sweetness and enhances the overall rich flavor profile.
The Double Chocolate Strategy: Chips vs. Chunks
Using both chocolate chips and roughly chopped chunks maximizes visual appeal and textural contrast.
Chips integrate seamlessly into the dough for baseline flavor distribution, while the chunks melt into gooey, impressive puddles.
For even more rich chocolate, try these molten raspberry chocolate lava cookies.
We reserve some chunks to press onto the outside of the cold dough balls right before baking for that coveted rustic, bakery-window appearance.
Step-by-Step Guide: Your Path to Classic Chocolate Chunk Cookies Perfection
The Creaming Phase: Creating Air and Structure
Begin by beating the softened butter, granulated sugar, and brown sugar on medium speed. Run the mixer for a full three minutes, scraping down the sides as needed, until the mixture is visibly pale, light, and very fluffy.
This thorough aeration step is foundational to building a tender, light crumb structure.
Incorporating Wet Ingredients Gently
Add the eggs one at a time, mixing only until they are just combined, then quickly follow with the vanilla extract.
Overmixing at this stage can prematurely activate gluten development, which can lead to tough cookies instead of tender ones.
Combining Dry Ingredients Separately
Whisk the flour, baking soda, and salt together in a separate bowl to ensure the leavening agents are distributed evenly.
Gradually incorporate this dry mixture into the wet ingredients on the lowest speed, mixing only until the final streaks of flour disappear. Stop the moment the dough just comes together.
The Final Fold: Protecting the Dough
Switch to a rubber spatula and gently fold in the chocolate chips and about half of the reserved chocolate chunks.
Use minimum motion during this step to avoid deflating the air pockets built during creaming and to prevent overworking the gluten development.
The Mandatory Chill: Scoop, Wrap, and Wait
Scoop the dough into uniform 2-tablespoon sized balls and arrange them tightly onto a parchment-lined sheet pan.
Tightly cover the entire pan with plastic wrap and transfer to the refrigerator. Chilling for a minimum of two hours, or ideally up to 24 hours, is crucial to solidify the butter and ensure these Classic Chocolate Chunk Cookies bake up thick, not flat.
Prepping for the Oven and Adding Finishing Touches
Preheat your oven to 375°F. While the oven heats, remove the chilled dough balls from the fridge.
Gently press the remaining chocolate chunks onto the top and sides of the cold dough balls for maximum visual appeal and superior chocolate distribution.
Baking and Rotating for Even Color
Place the dough balls two inches apart on the baking sheet. Bake for 10 to 12 minutes, making sure to rotate the pan 180 degrees halfway through the bake time.
The cookies are done when the edges are set and golden brown, but the centers appear noticeably soft and pale, signaling a perfect chewy interior.
The Cooling Process: The Crucial Final Step
Do not rush this-let the baked cookies rest on the hot baking sheet for five full minutes before attempting to move them.
The residual heat from the sheet pan will continue to cook the centers just enough to prevent a raw interior while maximizing the desired chewy texture.
Then, transfer them carefully to a wire rack to finish cooling completely.
Chef’s Secrets: Elevating Your Classic Chocolate Chunk Cookies Game
Optimize Your Butter Temperature: Using butter that is slightly cooler (around 65°F instead of 70°F) helps maintain structure before the chill.
This small temperature difference gives you a wider window of stability during the initial mixing process.
The Flour Scoop Method: Always spoon flour into your measuring cup and level it off; scooping directly from the bag leads to over-measurement and dry cookies.
The Salt Sprinkle: Sprinkle flaky sea salt on top of the dough balls right before baking for a complex flavor contrast.
The small dose of salt cuts the sweetness and enhances the richness of the chocolate.
Troubleshooting Common Cookie Pitfalls
My Cookies Still Came Out Flat! What Went Wrong?
The butter was likely too warm when mixed, or the chill time was insufficient, resulting in quick spreading once the cookies hit the oven.
Ensure your oven temperature is accurate; an oven running too low will also contribute significantly to premature spread.
Why Are My Cookie Centers Undercooked?
If the centers are too soft or raw, your oven might be running hot, setting the edges before the middle can properly bake through.
Alternatively, you may have transferred the cookies off the baking sheet too quickly before the residual heat could finish the cooking process.
My Dough Tastes Salty/Metallic.
This usually indicates a measuring error with the leavening agents, specifically the baking soda or salt.
Ensure these dry ingredients are thoroughly whisked together and measured precisely to avoid concentrated pockets of flavor.
Storage, Serving, and Make-Ahead Planning
How to Store Baked Cookies for Maximum Freshness
Store fully cooled cookies in an airtight container at room temperature for up to five days.
To prevent them from drying out, place half a slice of sandwich bread in the container; the cookies will absorb the bread’s moisture instead of losing their own internal moisture.
Freezing Classic Chocolate Chunk Cookies Dough Balls
Scoop and chill the dough as directed, then transfer the solid dough balls to a freezer-safe bag or container.
Dough can be frozen for up to three months. Bake the frozen dough balls directly from the freezer, adding 2-4 minutes to the total baking time (no need to thaw).
Creative Serving Suggestions and Flavor Pairings
These rich, thick cookies are perfect for making homemade ice cream sandwiches using high-quality vanilla bean or sea salt caramel ice cream.
For pairing, serve them warm alongside a glass of cold whole milk or a dark roast coffee to perfectly balance the inherent sweetness.
Frequently Asked Questions About Chocolate Chunk Cookies
How Long Can I Chill the Cookie Dough?
While the recipe requires a minimum of two hours to ensure the butter solidifies, the cookie dough is safe and actually improves in flavor when chilled for up to 24 hours.
The longer chill time further hydrates the flour and deepens the molasses flavor from the brown sugar, making it an excellent make-ahead option.
Can I Substitute Chocolate Chips for Chunks Entirely?
Yes, you can substitute chips, but you will lose the distinct visual appeal and the intense, molten pockets that the large chunks provide.
Chunks offer a superior textural contrast in these thick, soft cookies, which is highly recommended for the best result.
What is the Best Oven Temperature for These Cookies?
The 375°F temperature is optimal for thick cookies because the higher heat sets the edges quickly, preventing immediate spread while allowing the center to remain soft.
Baking at 350°F often requires a longer bake time, which risks drying out the center and compromising the desired chewiness.
Ready to Impress? Share Your Classic Chocolate Chunk Cookies Masterpiece!
Mastering the Classic Chocolate Chunk Cookies recipe is deeply satisfying because the results are so reliably exceptional.
More Sweet Treats to Try
Since you’re enjoying these chocolate chunk cookies, you might like these other baked goods.
- For a different take on chewy bars, consider these Chewy Chocolate Chip Oatmeal Bars, which offer a satisfying texture without being crumbly.
- If you enjoy warm, spiced flavors, these Cinnamon Sugar Jam-Filled Waffles bring a delightful sweetness with a fruity center.
Once you embrace the mandatory chill, you will never struggle with flat cookies again-this is the true anti-spread technique.
Get baking and prepare to be obsessed with the guaranteed thickness and incredible chew of these ultimate homemade treats!

Chocolate Chunk Cookies
Course: DessertCuisine: AmericanDifficulty: easy4
18 cookies20
minutes12
minutes350
kcal120
minutesStop baking flat, disappointing cookies! This recipe guarantees thick, chewy, and gorgeous chocolate chunk cookies every time by using a simple, crucial chilling technique. They are easy to make and impossible to resist.
Ingredients
1 cup (2 sticks) unsalted butter, softened
3/4 cup granulated sugar
3/4 cup packed light brown sugar
2 large eggs
1 tablespoon vanilla extract
2 1/4 cups all-purpose flour
1 teaspoon baking soda
1/2 teaspoon salt
1 cup chocolate chips
1 cup roughly chopped chocolate chunks (for texture and topping)
Directions
- Prepare the Dough Base. In a large mixing bowl or stand mixer, beat the softened butter, granulated sugar, and brown sugar on medium speed until the mixture is light and fluffy, about 3 minutes.
- Add Wet Ingredients. Beat in the eggs one at a time until just combined, followed by the vanilla extract. Do not overmix.
- Combine Dry Ingredients. In a separate bowl, whisk together the flour, baking soda, and salt. Gradually add the flour mixture to the wet ingredients, mixing on low speed until the dough just comes together. Be careful not to overmix; stop mixing when you no longer see streaks of flour.
- Fold in Chocolate. Gently fold in the chocolate chips and about half of the chocolate chunks using a spatula.
- The Anti-Spread Technique (Solve the Pain Point). This step is crucial for ensuring thick, non-flat cookies. Scoop the dough into 2-tablespoon-sized balls and place them on a parchment-lined baking sheet. Cover the sheet tightly with plastic wrap and chill the dough for a minimum of 2 hours, or up to 24 hours. Cold dough melts slower in the oven, preventing premature spreading.
- Prep for Baking. Preheat your oven to 375 degrees F. Remove the chilled dough balls from the refrigerator. For the rustic look seen in the image, gently press the remaining chocolate chunks onto the top and sides of the chilled dough balls before baking.
- Bake. Place the cookies 2 inches apart on the baking sheet. Bake for 10 to 12 minutes, rotating the sheet halfway through, until the edges are golden brown but the centers still look slightly soft.
- Cool and Serve. Let the cookies cool on the baking sheet for 5 minutes before transferring them to a wire rack to cool completely. The residual heat will finish cooking the center and lock in that perfect, chewy texture.
Notes
- The minimum 2-hour chilling step is crucial to prevent the dough from spreading prematurely during baking.


