

I spent years frustrated by homemade brownies that always turned out dull and cakey, never achieving that iconic crackled top.
This specific formula for Ultimate Fudgy Chocolate Chip Brownies introduces one simple, expert technique-the 60-second whisk-that solves the shiny crust problem forever.
For an even fudgier texture, check out ultimate fudge lava brownies that truly deliver.
You are guaranteed a dense, moist, intensely rich treat every single time you bake this recipe.
For an even richer texture in your brownies, explore walnut fudge brownies.
The Game Changer: Unlocking That Perfect Shiny Brownie Crust
The Science Behind the ’60-Second Whisk’
The vigorous whisking (60 seconds minimum) combines the granulated sugar, eggs, and slightly warm melted fat intensely.
This mechanical action partially dissolves the sugar and incorporates just enough air to create a thin, unstable meringue layer on the surface of your batter.
When baking, this protein and sugar layer solidifies first, resulting in that highly desired, delicate, paper-thin, crackly crust.
Fudge vs. Cake: How the Technique Guarantees Fudgy Results
By beating the sugar and eggs into slightly warm melted fat, we minimize gluten development and maximize sugar solubility.
This technique prioritizes density and moisture retention, ensuring a supremely fudgy center rather than a dry, light, cakey crumb.
Decoding the Ingredients: What Makes These Ultimate Fudgy Chocolate Chip Brownies So Rich?
The Chocolate Blend: Unsweetened Baking Chocolate is Key
Using pure unsweetened baking chocolate provides deep, uncompromising cocoa flavor intensity that sweetened chocolate cannot match.
We rely on the added sugars for sweetness, ensuring a perfectly balanced bittersweet base for these fudgy treats.
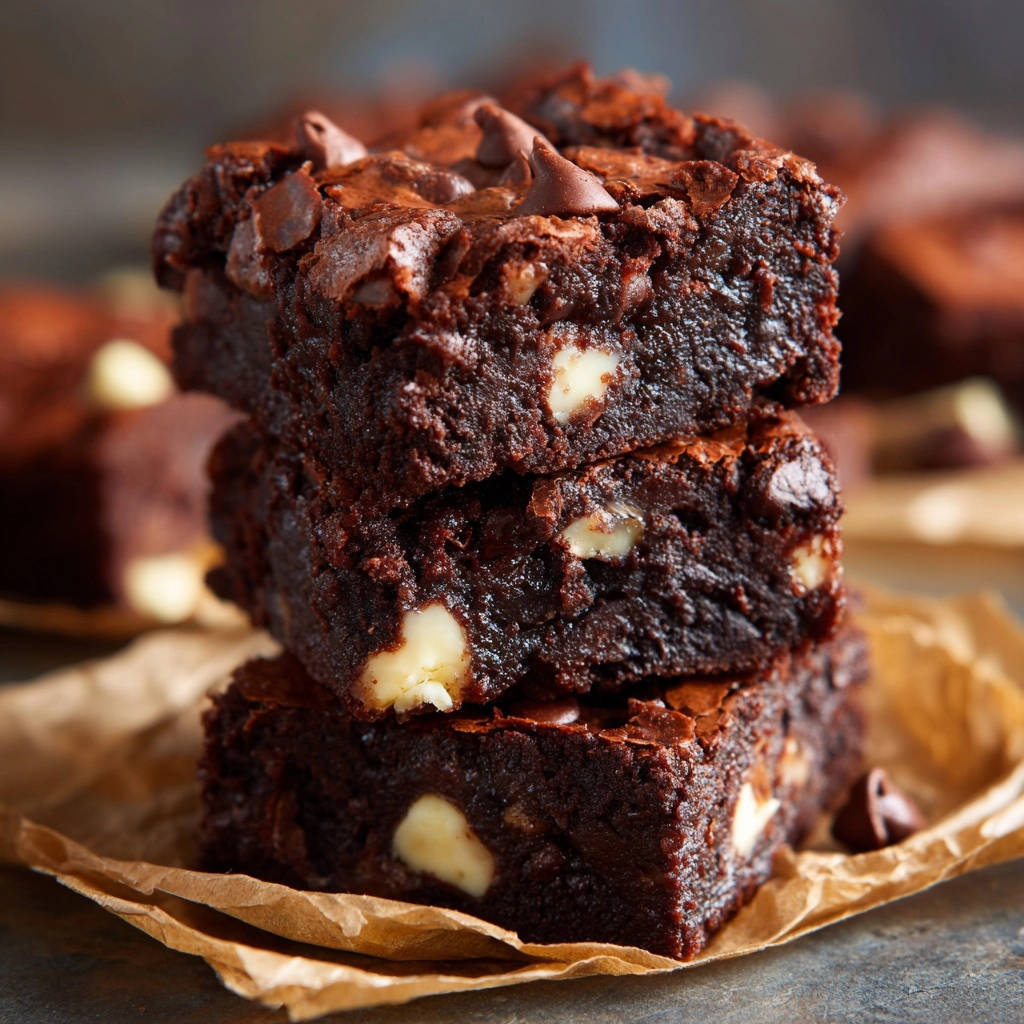
A high-quality mix of dark chocolate and sweeter white or blond chips adds visual interest and textural complexity.
Why Room Temperature Eggs Are Non-Negotiable
Room temperature eggs are crucial for creating a stable emulsion with the warm melted butter and chocolate mixture.
Cold eggs will shock the warm fats, causing them to seize or separate, preventing the necessary sugar dissolution required for the shiny crust.
The Importance of Brown Sugar vs. Granulated Sugar Ratio
Granulated sugar provides the primary structure and necessary chewiness, which contributes directly to the crust’s texture.
Brown sugar, which contains molasses, draws and retains moisture; using it guarantees maximum fudgy density in the center of your Ultimate Fudgy Chocolate Chip Brownies.
Crafting Your Batch of Ultimate Fudgy Chocolate Chip Brownies: A Detailed Guide
Phase 1: Setting the Stage (Prep and Melting)
Preheat your oven to 350°F and line your 8×8 metal pan with parchment paper, leaving generous overhangs on two sides to act as handles.
Melt the butter and chopped unsweetened chocolate gently over a double boiler or in short microwave intervals until perfectly smooth.
It is crucial to let this rich mixture cool slightly, about five minutes, before combining it with the sugar and eggs.
Phase 2: Implementing the Signature Shiny Crust Technique
In a large bowl, combine the slightly cooled chocolate mixture with both granulated and brown sugars, mixing thoroughly.
Incorporate the room temperature eggs one at a time, ensuring they are fully mixed before adding the next one.
Now, vigorously whisk the entire batter-by hand or with a mixer-for a full 60 seconds until the mixture thickens, lightens in color, and develops a glossy sheen; this builds your crust.
Stir in the vanilla extract immediately after completing the whisking time.
Phase 3: The Gentle Fold: Avoiding Overmixing
Whisk together the flour, cocoa powder, and salt separately to ensure even distribution and prevent lumps.
Gently fold the dry ingredients into the wet batter using a rubber spatula, working only until the last streaks of flour disappear.
Be extremely careful not to overmix, as this rapidly develops gluten, resulting in a tough, non-fudgy texture.
Phase 4: Achieving Perfect Doneness and Essential Cooling
Bake the brownies for 28 to 32 minutes; the center should look slightly set but not fully firm.
The perfect fudgy brownie is slightly underbaked; a wooden skewer inserted halfway between the edge and center should come out with moist, fudgy crumbs attached, not wet batter.
The two-hour cooling period in the pan on a wire rack is non-negotiable for achieving that signature dense, moist texture and enabling clean, precise slicing.
Next-Level Baking: Advanced Tips for Maximizing Fudginess
Customizing the Ultimate Fudgy Chocolate Chip Brownies Mix-ins
While the chocolate chips are essential, you can elevate these treats with custom additions:
More Sweet and Savory Ideas
If you’re craving more chocolatey goodness or something with a satisfying crunch, explore these other recipes.
- For another chewy treat that complements rich chocolate, consider these Chewy Chocolate Chip Oatmeal Bars, offering a delightful texture.
- If you enjoy the crispiness often found in baked goods, you might like these Golden Crispy Hash Brown Patties for a different kind of satisfying crunch.
Salty Crunch: Gently fold in half a cup of crushed, mini pretzel sticks during the final mixing step for a satisfying salt-and-sweet contrast.
Nutty Texture: Toasted walnuts or pecans (about 3/4 cup) add a beautiful dimension; always toast nuts first to intensify their flavor.
Alternative Chips: Swap out half the chocolate chips for peanut butter or butterscotch chips for a completely different, complementary flavor profile.
The Cold Cut Secret: Getting Razor-Sharp Edges
For razor-sharp edges worthy of a bakery display, chill the fully cooled brownies in the refrigerator for 30 minutes before slicing.
Use a large, sharp chef’s knife dipped in very hot water and immediately wiped completely dry between every single cut to prevent sticking and dragging crumbs.
Can I Use a Different Pan Size or Material? (Adjusting Time)
This recipe is calibrated for an 8×8 metal pan, which provides the rapid, even heat conduction necessary for chewy edges.
If you must use a glass pan, reduce the oven temperature by 25°F (to 325°F) and extend the baking time by 5 to 8 minutes.
Addressing Common Challenges (FAQs and Troubleshooting)
Why Did My Brownies Come Out Too Dry or Cakey?
The two main culprits are overmixing the flour and overbaking the treats, both of which rapidly dry out the fudgy center.
Ensure you stop mixing as soon as the flour disappears and always remove the pan when the center still looks slightly underdone, trusting the residual heat to finish them.
Can I Make This Recipe Ahead of Time?
Finished Ultimate Fudgy Chocolate Chip Brownies can be stored for several days, making them excellent for advance preparation.
Do not attempt to refrigerate the batter before baking; chilling will break the crucial sugar-fat emulsion that creates the shiny crust guarantee.
How Should I Store My Ultimate Fudgy Chocolate Chip Brownies for Maximum Freshness?
Store your brownies tightly wrapped at room temperature in an airtight container for up to four days; refrigeration often makes them unnecessarily hard.
For longer storage, freeze whole or sliced brownies tightly wrapped in foil for up to three months, thawing them overnight on the counter before serving.
Serve, Store, and Share: Your Ultimate Fudgy Chocolate Chip Brownies Masterpiece
Perfect Pairings: Serving Suggestions Beyond Ice Cream
A simple dusting of flaky sea salt on the warm, just-cut squares instantly elevates the chocolate intensity and expertly cuts the sweetness.
Pair these decadent treats with a dark roast coffee or a shot of strong espresso, utilizing the bitterness to balance the incredible richness.
For a sophisticated dessert, serve warm pieces alongside a dollop of fresh whipped cream lightly flavored with a hint of orange zest or vanilla bean.
Now that you understand the science of the 60-second whisk, you are ready to achieve true brownie mastery and leave behind dull, cakey results forever.
Get your ingredients ready, trust this reliable technique, and prepare for the fudgiest, shiniest batch of chocolate treats you’ve ever made.

Fudgy Brownies
Course: DessertCuisine: AmericanDifficulty: medium16
squares15
minutes30
minutes350
kcal45
minutesTired of cakey brownies? This recipe guarantees a fudgy interior and the coveted, shiny, crackly crust using one simple egg technique. Learn the trick that delivers bakery-quality results every single time.
Ingredients
1 cup Unsalted butter
4 ounces Unsweetened baking chocolate, chopped
1 1/2 cups Granulated sugar
1/2 cup Packed light brown sugar
3 Large eggs, room temperature
1 tablespoon Vanilla extract
3/4 cup All-purpose flour
1/4 cup Unsweetened cocoa powder
1/2 teaspoon Salt
1 cup Chocolate chips (a mix of dark and white/blond chips)
Directions
- Prepare the Pan and Oven Preheat oven to 350 degrees F. Line an 8×8 inch metal baking pan with parchment paper, leaving an overhang on two sides for easy removal. Spray lightly with non-stick spray.
- Melt the Fats Combine the butter and chopped baking chocolate in a heatproof bowl set over a saucepan of simmering water (or use a microwave in 30-second intervals), stirring until fully melted and smooth. Remove from heat and allow to cool slightly, about 5 minutes.
- THE SHINY CRUST TECHNIQUE In a separate large mixing bowl, combine the cooled melted chocolate mixture, granulated sugar, and brown sugar. Mix thoroughly. Add the eggs one at a time, mixing well after each addition. Now, the key step: Vigorously whisk the batter (using a handheld whisk or electric mixer) for 60 full seconds until the mixture thickens slightly and looks smooth and glossy. This intensive beating of the sugar and eggs into the warm fat builds the meringue-like top layer necessary for the crust. Stir in the vanilla extract.
- Add Dry Ingredients In a medium bowl, whisk together the flour, cocoa powder, and salt. Gently fold the dry ingredients into the wet mixture using a rubber spatula until just combined. Be careful not to overmix; stop when streaks of flour disappear.
- Incorporate Chips Gently fold in 3/4 cup of the chocolate chips. Pour the batter into the prepared pan and spread evenly. Sprinkle the remaining 1/4 cup of chips over the top of the batter.
- Bake Bake for 28 to 32 minutes. The center should look slightly set but a wooden skewer inserted halfway between the center and the edge should come out with moist, fudgy crumbs attached, not wet batter.
- Cool Completely Allow the brownies to cool fully in the pan on a wire rack for at least 2 hours before lifting out using the parchment paper overhang and cutting into squares. Cooling is essential for achieving the perfect fudgy texture and clean slices.
Notes
- Cooling fully is critical for a fudgy texture and clean cuts. The intensive whisking step ensures the iconic crackly top.


